Snippets’. Chats with Creatives. We are back with series two! Here at Digital Fabrics we love everything print, pattern and colour and we love to know what makes designers tick. This second series is all about asking some fun and different questions and learning about the inspirations and ideas behind the artist and their work. We hope to inspire others by sharing snippets of these creative stories. We gave the artists and designers featured a varied and different set from series one list of questions to choose from so we will learn something new from everyone involved, should be fun!
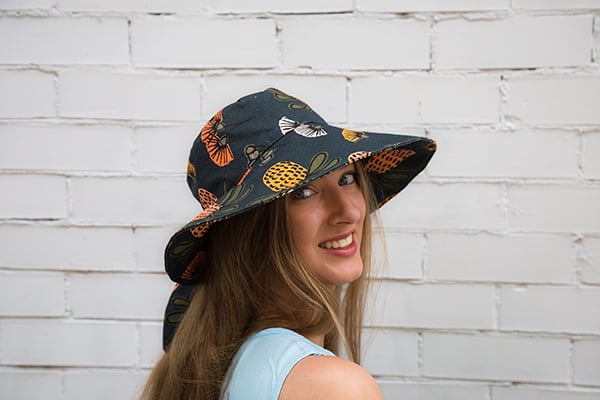
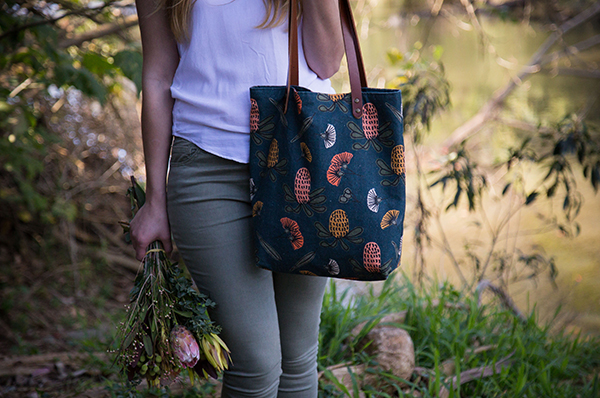
Today on Snippets we are talking to Katelyn Tso, the textile designer behind Indigo Thread, a beautiful brand creating homewares, accessories and clothing as part of the slow fashion movement.
Tell us a bit about yourself, your brand/label name what your creative practice is, how and when you began:
I’m Katelyn, the designer and maker behind Indigo Thread. I’ve always loved design. All through high school I would make my own clothes, screen printing, sewing and adjusting op shop finds. After school I started studying Interior Design, however after the first year I realised that interior design wasn’t for me, rather I loved designing individual textile products. It wasn’t until I became a mum that I found the time to sew again and I started Indigo Thread. I’m now a self-taught textile designer, making accessories, homewares and a clothing range coming soon.

 Where do you call home?
I currently live in Sydney but I grew up on The Central Coast of NSW and it still feels like home to me.
What 3 words best describe your creative style.
Simple Shapes – Fun Prints (sorry that’s more than 3 words)
Which part of the creative process is your favourite and why?
Seeing the finished product come together for the first time. Sometimes I skip ahead, not completing the steps in the most effective order because I’m so excited to see the finished product.
 How would you describe your work, and what influences your style?
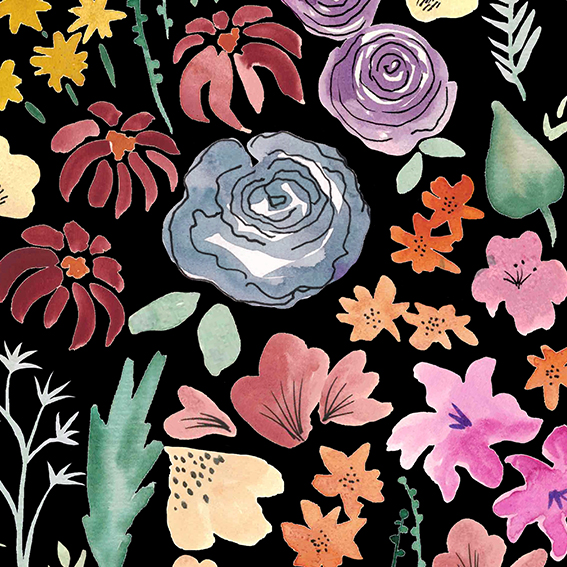
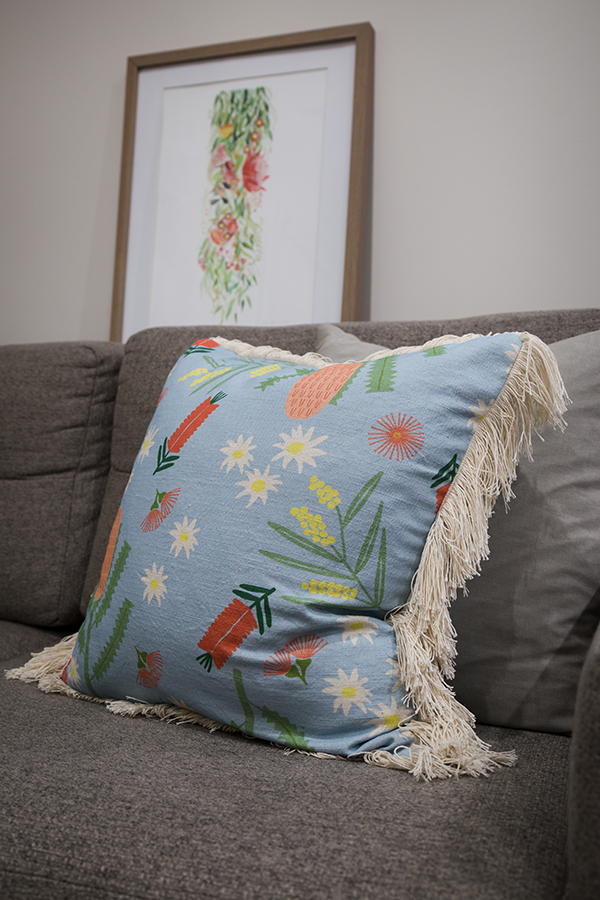
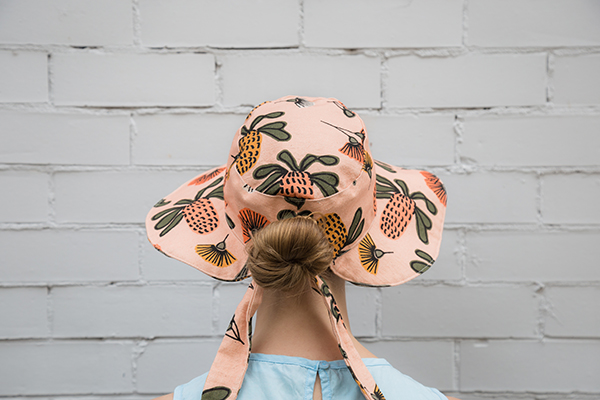
Simple designs and shapes with stylised and fun floral prints inspired by Australian native flowers. My desire for practical yet attractive products fuels my designs.
What does a typical creative day look like for you? How do you stay on plan and organised?
Being a work from home/stay at home mum means that it can be a bit all over the place and my work is very disrupted. I have a little more time now that my eldest has started preschool 3 days a week but I still have to fit work into small time slots throughout the day. I stay organised by writing lists. Daily, weekly and monthly to-do-lists help me keep focused.
Depending on the time of year and if I have a market to prep for, I could be just sewing sewing sewing. Whereas other quieter times I get a chance to design some new products and fabrics, so it varies a lot.
Tell us about your creative space, what are your tips for keeping a creative studio space organised.
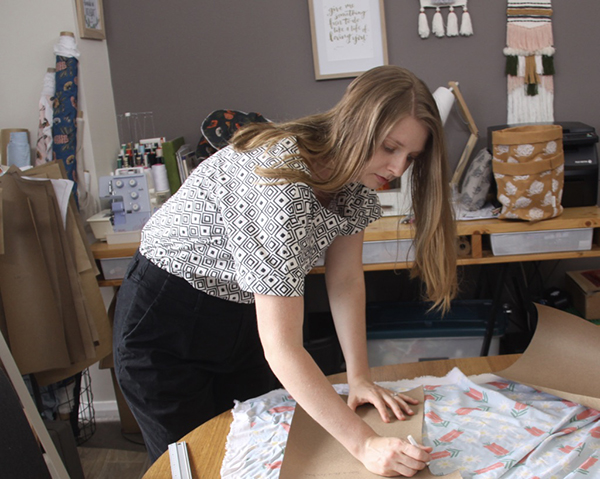
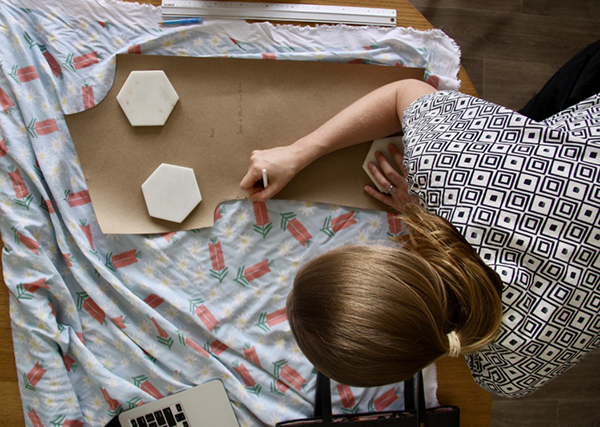
My studio isn’t really a studio. It’s a big desk in the living room of my 2 bedroom apartment. My husband hates that I take up so much space in our home, especially when I take over the dining table as well (it’s the perfect place for screen printing and cutting out fabric). I would love to have a studio one day, or at least a separate room that I can shut the door on the mess but for now it’s working for me. I don’t mind a little bit of creative clutter but I do regularly have to re-organise so that I have the space to work and I always feel like I can work better with a clean workspace. The best tip I have is get a good storage system. I have these amazing deep drawers in my work desk (custom built by my dad out of an old pallet) that store all my sewing bits and pieces as well as a cupboard full of fabric.
 What/who inspired you to take the leap in to your creative venture, how did you get started?
I just started Indigo Thread as a hobby while I was on maternity leave and I think that made it not feel like a leap, it just kind of happened naturally. I didn’t have the pressure to make money from it straight away which was nice and I think I’ve enjoyed the process more because of it.
Tell us about how you get your creative juices flowing, what is your process?
I am inspired constantly by the beautiful world around me. By colours, shapes and nature. I’m often taking photos of flowers or colour combinations to reference later as well as looking at clothing styles and figuring out how they were made.
 What projects or collaborations from last year stuck out, good or bad and what is coming up this year that you would like to plug!
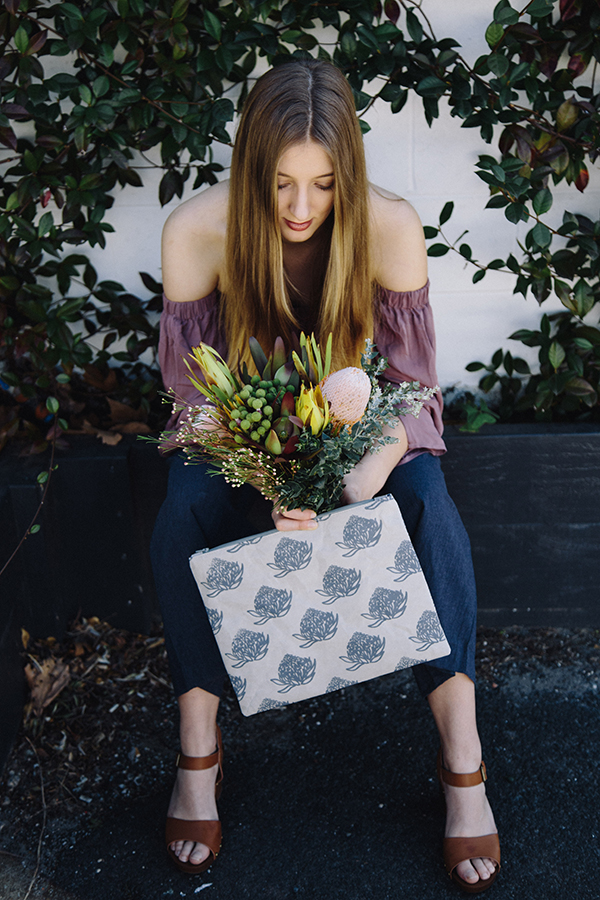
I loved working with my bestie, Nicole from Better Together Paper, on a collaboration of Prezzie Sacks last year. We love a chance to catch up and be creative together.
This year I’m so excited to be launching a range of women’s tops. I’m currently still in the design phase but they will be released in the next month or so. Think simple boxy tops in my Australian botanical fabrics.
 You can follow what Katelyn is upto: Website, Instagram, Facebook.
Snippets’. Chats with Creatives. We are back with series two! Here at Digital Fabrics we love everything print, pattern and colour and we love to know what makes designers tick. This second series is all about asking some fun and different questions and learning about the inspirations and ideas behind the artist and their work. We hope to inspire others by sharing snippets of these creative stories. We gave the artists and designers featured a varied and different set from series one list of questions to choose from so we will learn something new from everyone involved, should be fun!
Today on Snippets we are talking to Katelyn Tso, the textile designer behind Indigo Thread, a beautiful brand creating homewares, accessories and clothing as part of the slow fashion movement.
Tell us a bit about yourself, your brand/label name what your creative practice is, how and when you began:
I’m Katelyn, the designer and maker behind Indigo Thread. I’ve always loved design. All through high school I would make my own clothes, screen printing, sewing and adjusting op shop finds. After school I started studying Interior Design, however after the first year I realised that interior design wasn’t for me, rather I loved designing individual textile products. It wasn’t until I became a mum that I found the time to sew again and I started Indigo Thread. I’m now a self-taught textile designer, making accessories, homewares and a clothing range coming soon.

 Where do you call home?
I currently live in Sydney but I grew up on The Central Coast of NSW and it still feels like home to me.
What 3 words best describe your creative style.
Simple Shapes – Fun Prints (sorry that’s more than 3 words)
Which part of the creative process is your favourite and why?
Seeing the finished product come together for the first time. Sometimes I skip ahead, not completing the steps in the most effective order because I’m so excited to see the finished product.
 How would you describe your work, and what influences your style?
Simple designs and shapes with stylised and fun floral prints inspired by Australian native flowers. My desire for practical yet attractive products fuels my designs.
What does a typical creative day look like for you? How do you stay on plan and organised?
Being a work from home/stay at home mum means that it can be a bit all over the place and my work is very disrupted. I have a little more time now that my eldest has started preschool 3 days a week but I still have to fit work into small time slots throughout the day. I stay organised by writing lists. Daily, weekly and monthly to-do-lists help me keep focused.
Depending on the time of year and if I have a market to prep for, I could be just sewing sewing sewing. Whereas other quieter times I get a chance to design some new products and fabrics, so it varies a lot.
Tell us about your creative space, what are your tips for keeping a creative studio space organised.
My studio isn’t really a studio. It’s a big desk in the living room of my 2 bedroom apartment. My husband hates that I take up so much space in our home, especially when I take over the dining table as well (it’s the perfect place for screen printing and cutting out fabric). I would love to have a studio one day, or at least a separate room that I can shut the door on the mess but for now it’s working for me. I don’t mind a little bit of creative clutter but I do regularly have to re-organise so that I have the space to work and I always feel like I can work better with a clean workspace. The best tip I have is get a good storage system. I have these amazing deep drawers in my work desk (custom built by my dad out of an old pallet) that store all my sewing bits and pieces as well as a cupboard full of fabric.

 What/who inspired you to take the leap in to your creative venture, how did you get started?
I just started Indigo Thread as a hobby while I was on maternity leave and I think that made it not feel like a leap, it just kind of happened naturally. I didn’t have the pressure to make money from it straight away which was nice and I think I’ve enjoyed the process more because of it.
Tell us about how you get your creative juices flowing, what is your process?
I am inspired constantly by the beautiful world around me. By colours, shapes and nature. I’m often taking photos of flowers or colour combinations to reference later as well as looking at clothing styles and figuring out how they were made.
 What projects or collaborations from last year stuck out, good or bad and what is coming up this year that you would like to plug!
I loved working with my bestie, Nicole from Better Together Paper, on a collaboration of Prezzie Sacks last year. We love a chance to catch up and be creative together.
This year I’m so excited to be launching a range of women’s tops. I’m currently still in the design phase but they will be released in the next month or so. Think simple boxy tops in my Australian botanical fabrics.
 You can follow what Katelyn is upto: Website, Instagram, Facebook.
Nailed It. Creative business success story
Here at Digital Fabrics we love finding a new and interesting success story on a brand or business that is inspiring to the creative community. We thought it would be useful and informative to find out how these creative businesses nailed it, lessons learned on the way and tips they might have. We have asked them to share important “How to’s” and growth hacking tips for start-ups and emerging designers. Read it, get motivated and nail it yourself!
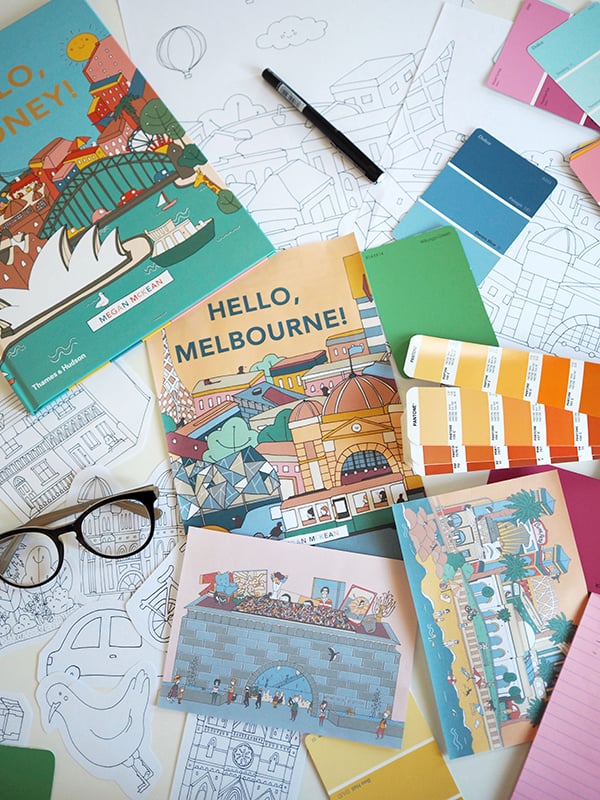
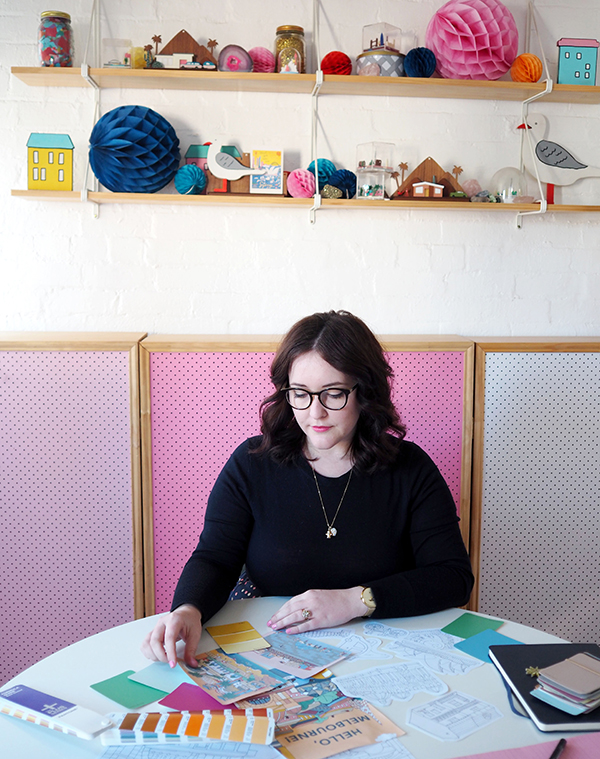
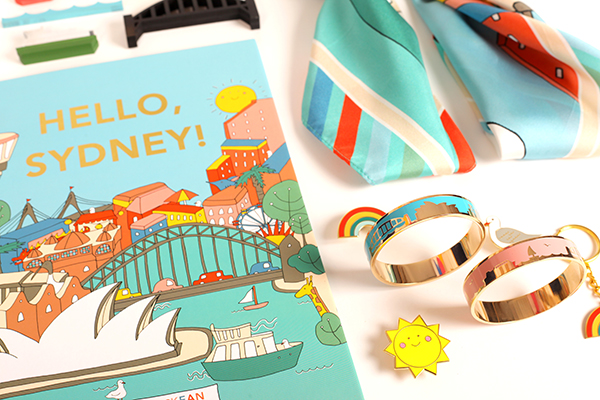
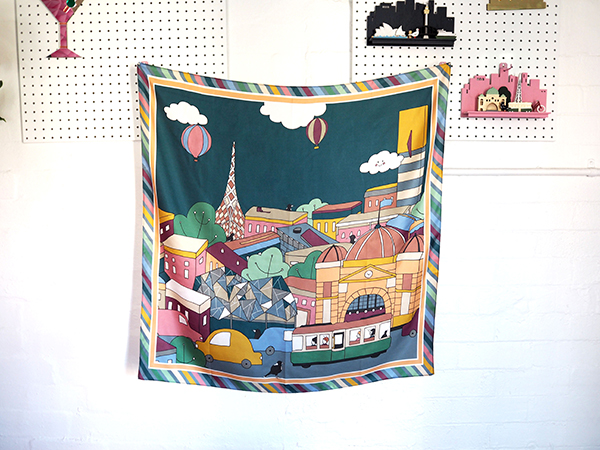
First up in this new series is Megan Mckean from Mckean Studio, an inspiring design label based in Sydney who create colourful, fun travel keepsakes with a modern twist.
 Tell us about your creative business, what’s it all about and how did it begin?
McKean Studio is a design label with a focus on contemporary souvenirs. We’ve been running our business for almost 4 years now, and it came about after working on some passion projects to soothe the post-travel blues! Inspired by our time spent holidaying around the world, our pieces are a modern take on travel keepsakes.
Do you work on Mckean Studio full time now?
I work full time in McKean Studio, and am coming up on my 1 year anniversary of full time self employment! It’s been a rocky road for retail in the past year, but an interesting challenge in diversifying my skill set and exploring other avenues that I might not have otherwise considered. It’s been really great to have the time to focus more on what I’m passionate about, and try out so many different projects.
If so, how long did it take you to get to that place and what advice do you have on career transitioning for creatives hoping to do the same.
I’ve been really fortunate with the timing of all my transitions, and each stage of change in the business has come about quite organically. I was working part time on McKean Studio and part time in a retail role for several years after studying, and this was perfect as it allowed me to create for McKean Studio without huge overheads or financial commitments (and still bringing in enough income to pay my rent each week). Having the flexibility of a casual position alongside the business also allowed for travel, which has been really vital for both my inspiration and product development. I think everyone finds the groove that works best for them, and there’s certainly no shame in having a ‘day job’ or part time role if it facilitates the creative work you want to be doing.
 What goals do you think are important to achieve before you can make that leap?
For me, making the decision to go full time in my business was mostly influenced by time; I was down to just one day per week in my previous role, and finding that I still wasn’t able to fit everything I needed to into my week. I had a couple of years of business data to look over and ensure that it was going to be sustainable, so eventually just had to bite the bullet and make the jump!
With your experience in mind, would you recommend to jump full steam ahead into a business giving it your full energy, with big intentions right away or would you suggest doing it slowly and giving the business time to grow before making the leap?
I think if the opportunity is there to grow the business slowly and steadily, then I tend to lean more towards ‘cautious optimism’ and continue on that path. But at the same time, you can’t leap a chasm in two jumps, so it comes to a point where you’ve just got to make a decision. I always told myself that if the worst happened and I wasn’t able to sustain the business, then I’m still totally employable and can go and work elsewhere!
 Manufacturing is a complicated process, there are so many angles to consider. Do you have any disaster stories? If so, what did you learn from that experience?
There are no major disaster stories, but plenty of ‘face-palm’ moments and frustrations at not always being able to achieve the end result I had in mind. I’ve worked with such a wide range of materials and manufacturing processes, between handmaking myself, local production, and offshore production, and have learned that sometimes trial and error is the only way to figure out what’s best! I’ve had some annoying communication errors with international suppliers that have meant the quality of a product isn’t where it needs to be (even just simple things like a print resolution not being high enough for the product) and other projects locally that I’ve sunk a LOT of money into but haven’t been able to find an affordable solution for the final production. I’m still working on that one! 😉
What is your advice on working with manufacturers for those who are just at the beginning of their journey?
Local is best wherever possible, there’s nothing better than being able to problem solve in person, or communicate directly with a business who knows exactly what the problem you’re having is, and how to solve it. I would always say it’s better to start small and closer to home, until you’ve got a better understanding of the processes and the outcomes to scale up from there.

 You do a lot of the trade shows and big markets such as Finders Keepers and the Big Design Market. What are the biggest benefits other than sales that you think come from attending them as a brand?
We don’t do any trade shows, only a couple of the big markets each year, and it’s such a great chance to get to spend time with our customers and chat directly with them. We get invaluable feedback from this face to face contact (even just on colour choices, or product suggestions) and it’s always lovely to chat with our audience and trade travel stories!
If you were to start your creative journey all over again, would you begin differently and what avenue you would take to accelerate your venture, if any?
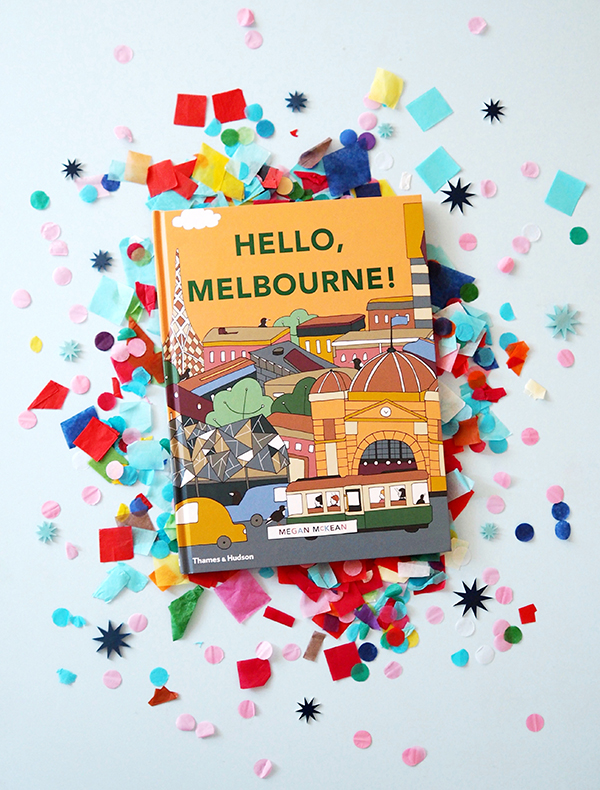
I’ve been incredibly fortunate to have had my creative journey run quite smoothly, so the only thing I would change if I could go back in time would be to tell myself to chill out a little bit! I’m a big worry wart when it comes to future planning, and wish I could have been a little more relaxed about trusting the timing. So many great projects I’ve been able to work on have popped up out of nowhere, and there’s no amount of planning I could have done to have made them happen. Even the books, which are such an important part of my career now, I had no plans to pursue at the time I was approached by my publisher. It was a wonderful, serendipitous meeting and something that I was able to find a new passion for and work into our range perfectly.
 We saw that you have been nominated for small publishers Children’s Book of the Year, which is pretty impressive! Do you have any exciting projects coming up that you can tell us about?
I’m so delighted to have long listed for an Australian Book Industry Award, and I’m still pinching myself! Working on the books the last 2 years has been such a different way of working and a great brain stretch… so keep an eye out for something new in that category later in the year!
You have travelled the globe soaking up souvenir inspiration, where is on your list for the future and could you ever see yourself living somewhere other than Australia?
I am always dreaming of living overseas, and we’ve been so fortunate to spend time in some beautiful cities all around the world. I’d love to live in New York one day, or retire early in Palm Springs (or live bi-coastally between the two!). We also often talk about moving to Sweden, so you just never know! We love Sydney for now though. We’ve got some other travel coming up this year to Japan, but after that we’ll see where the wind blows us!

 Tell us something people might not know about Mckean Studio.
I think something that people don’t always know about McKean Studio is that everything is made/designed by just the two of us! I do all of the illustration work, and handle all of the production down to packing and sending out every order. People often think we’re a much bigger operation than we are, and I always chuckle when we get work experience and internship requests (as flattering as they are!). Our Mini Cities are entirely handmade and hand painted here in Sydney, and all of the new pieces are connected and work-shopped for quite a long time before they’re produced.

You can follow what Mckean Studio is upto: Website, Instagram, Facebook.
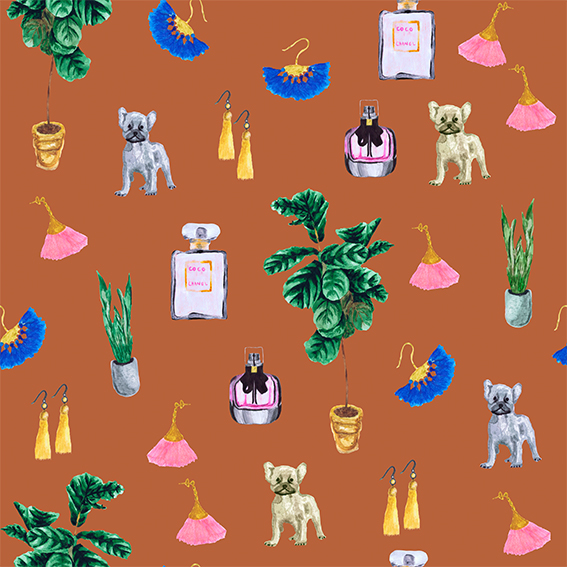
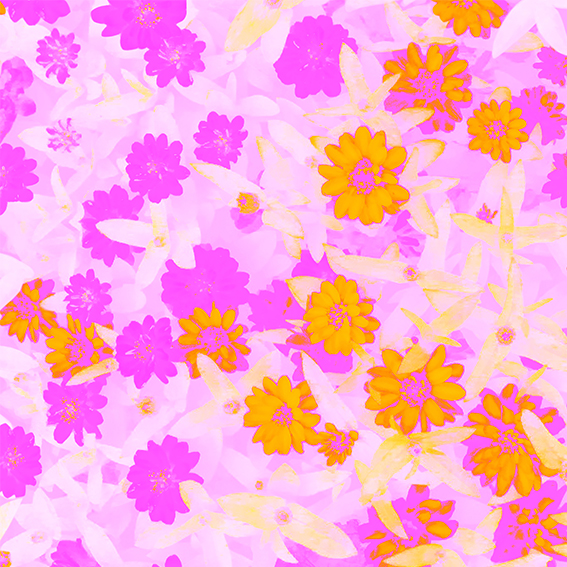
We’re launching a new range of prints at Digital Fabrics! It’s been a little while since we brought you our last set of designs and this time we took a different approach to bringing you new prints. Rather than focus on one cohesive collection, we’ve had three artists create three different prints for you just in time for Mother’s Day!

The collection of prints range from flirty to psychedelic to sophisticated, and feature both hand-painted illustration and digital manipulation. With three very different styles represented, we’re sure there’s something for everyone.
 If you’re needing fresh ideas on what to spoil mum with this Mother’s Day, we’ve got you covered and have put together a few DIY ideas that we just know you’ll both love. A custom made gift speaks volumes, and is guaranteed to be a winner with mum this year!
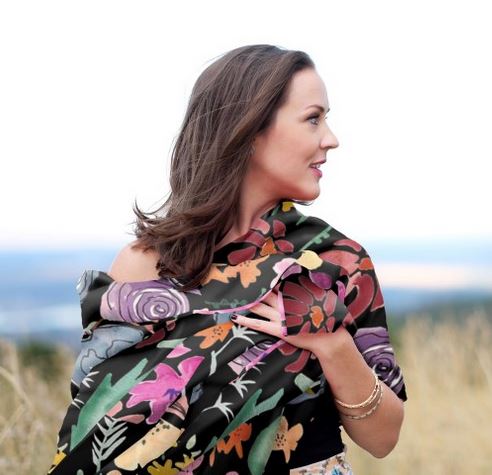
 Got accessories in mind for a mum who always looks fabulous? How about making a gorgeous and versatile scarf? For something bold or bright you might want to use either our Roxy or Dilly fabrics. If you were thinking of something a little more sheer we would recommend our super soft Chiffon.
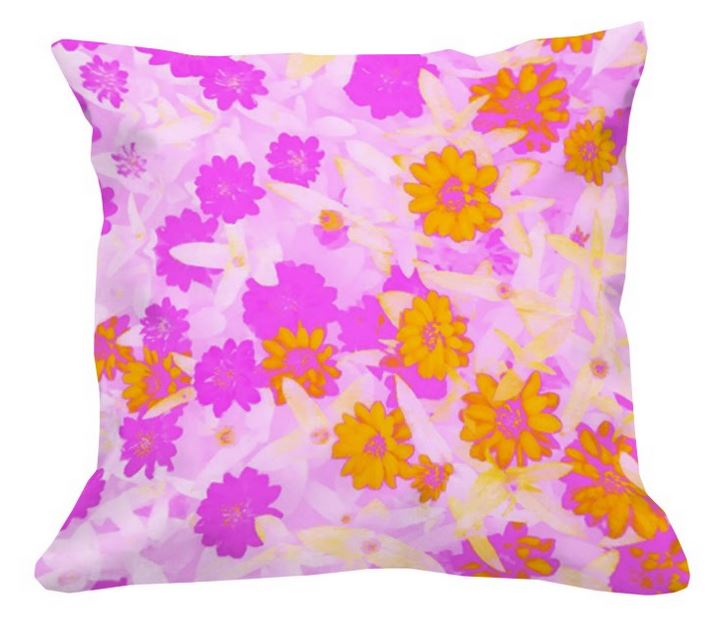
 If you think home-wares might be better suited, how about a tablecloth? Our Cotton Linen is an absolute dream for a decadent feeling table setting and our Waratah and Panama fabrics are excellent polyester options for durability. You could also make napkins to match! And we can’t forget the ever perfect gift of a stunning, custom-made cushion! It could be the perfect opportunity to try out our new Organic Cotton Canvas that we’re very excited to introduce! Of course our Cotton Linen, Waratah and Panama fabrics are also perfect for cushion covers too.
 So whatever your, or your mum’s style, there’ something here to get you started on any handmade Mother’s Day gifts you might have been thinking about. Let us know how we can help you realise your next DIY textile project!
These prints are now available for purchase in our Design Library!
Nailed It. Creative business success story
Here at Digital Fabrics we love finding a new and interesting success story on a brand or business that is inspiring to the creative community. We thought it would be useful and informative to find out how these creative businesses nailed it, lessons learned on the way and tips they might have. We have asked them to share important “How to’s” and growth hacking tips for start-ups and emerging designers. Read it, get motivated and nail it yourself!
First up in this new series is Megan Mckean from Mckean Studio, an inspiring design label based in Sydney who create colourful, fun travel keepsakes with a modern twist.
 Tell us about your creative business, what’s it all about and how did it begin?
McKean Studio is a design label with a focus on contemporary souvenirs. We’ve been running our business for almost 4 years now, and it came about after working on some passion projects to soothe the post-travel blues! Inspired by our time spent holidaying around the world, our pieces are a modern take on travel keepsakes.
Do you work on Mckean Studio full time now?
I work full time in McKean Studio, and am coming up on my 1 year anniversary of full time self employment! It’s been a rocky road for retail in the past year, but an interesting challenge in diversifying my skill set and exploring other avenues that I might not have otherwise considered. It’s been really great to have the time to focus more on what I’m passionate about, and try out so many different projects.
If so, how long did it take you to get to that place and what advice do you have on career transitioning for creatives hoping to do the same.
I’ve been really fortunate with the timing of all my transitions, and each stage of change in the business has come about quite organically. I was working part time on McKean Studio and part time in a retail role for several years after studying, and this was perfect as it allowed me to create for McKean Studio without huge overheads or financial commitments (and still bringing in enough income to pay my rent each week). Having the flexibility of a casual position alongside the business also allowed for travel, which has been really vital for both my inspiration and product development. I think everyone finds the groove that works best for them, and there’s certainly no shame in having a ‘day job’ or part time role if it facilitates the creative work you want to be doing.
 What goals do you think are important to achieve before you can make that leap?
For me, making the decision to go full time in my business was mostly influenced by time; I was down to just one day per week in my previous role, and finding that I still wasn’t able to fit everything I needed to into my week. I had a couple of years of business data to look over and ensure that it was going to be sustainable, so eventually just had to bite the bullet and make the jump!
With your experience in mind, would you recommend to jump full steam ahead into a business giving it your full energy, with big intentions right away or would you suggest doing it slowly and giving the business time to grow before making the leap?
I think if the opportunity is there to grow the business slowly and steadily, then I tend to lean more towards ‘cautious optimism’ and continue on that path. But at the same time, you can’t leap a chasm in two jumps, so it comes to a point where you’ve just got to make a decision. I always told myself that if the worst happened and I wasn’t able to sustain the business, then I’m still totally employable and can go and work elsewhere!
 Manufacturing is a complicated process, there are so many angles to consider. Do you have any disaster stories? If so, what did you learn from that experience?
There are no major disaster stories, but plenty of ‘face-palm’ moments and frustrations at not always being able to achieve the end result I had in mind. I’ve worked with such a wide range of materials and manufacturing processes, between handmaking myself, local production, and offshore production, and have learned that sometimes trial and error is the only way to figure out what’s best! I’ve had some annoying communication errors with international suppliers that have meant the quality of a product isn’t where it needs to be (even just simple things like a print resolution not being high enough for the product) and other projects locally that I’ve sunk a LOT of money into but haven’t been able to find an affordable solution for the final production. I’m still working on that one! 😉
What is your advice on working with manufacturers for those who are just at the beginning of their journey?
Local is best wherever possible, there’s nothing better than being able to problem solve in person, or communicate directly with a business who knows exactly what the problem you’re having is, and how to solve it. I would always say it’s better to start small and closer to home, until you’ve got a better understanding of the processes and the outcomes to scale up from there.

 You do a lot of the trade shows and big markets such as Finders Keepers and the Big Design Market. What are the biggest benefits other than sales that you think come from attending them as a brand?
We don’t do any trade shows, only a couple of the big markets each year, and it’s such a great chance to get to spend time with our customers and chat directly with them. We get invaluable feedback from this face to face contact (even just on colour choices, or product suggestions) and it’s always lovely to chat with our audience and trade travel stories!
If you were to start your creative journey all over again, would you begin differently and what avenue you would take to accelerate your venture, if any?
I’ve been incredibly fortunate to have had my creative journey run quite smoothly, so the only thing I would change if I could go back in time would be to tell myself to chill out a little bit! I’m a big worry wart when it comes to future planning, and wish I could have been a little more relaxed about trusting the timing. So many great projects I’ve been able to work on have popped up out of nowhere, and there’s no amount of planning I could have done to have made them happen. Even the books, which are such an important part of my career now, I had no plans to pursue at the time I was approached by my publisher. It was a wonderful, serendipitous meeting and something that I was able to find a new passion for and work into our range perfectly.
 We saw that you have been nominated for small publishers Children’s Book of the Year, which is pretty impressive! Do you have any exciting projects coming up that you can tell us about?
I’m so delighted to have long listed for an Australian Book Industry Award, and I’m still pinching myself! Working on the books the last 2 years has been such a different way of working and a great brain stretch… so keep an eye out for something new in that category later in the year!
You have travelled the globe soaking up souvenir inspiration, where is on your list for the future and could you ever see yourself living somewhere other than Australia?
I am always dreaming of living overseas, and we’ve been so fortunate to spend time in some beautiful cities all around the world. I’d love to live in New York one day, or retire early in Palm Springs (or live bi-coastally between the two!). We also often talk about moving to Sweden, so you just never know! We love Sydney for now though. We’ve got some other travel coming up this year to Japan, but after that we’ll see where the wind blows us!

 Tell us something people might not know about Mckean Studio.
I think something that people don’t always know about McKean Studio is that everything is made/designed by just the two of us! I do all of the illustration work, and handle all of the production down to packing and sending out every order. People often think we’re a much bigger operation than we are, and I always chuckle when we get work experience and internship requests (as flattering as they are!). Our Mini Cities are entirely handmade and hand painted here in Sydney, and all of the new pieces are connected and work-shopped for quite a long time before they’re produced.

You can follow what Mckean Studio is upto: Website, Instagram, Facebook.
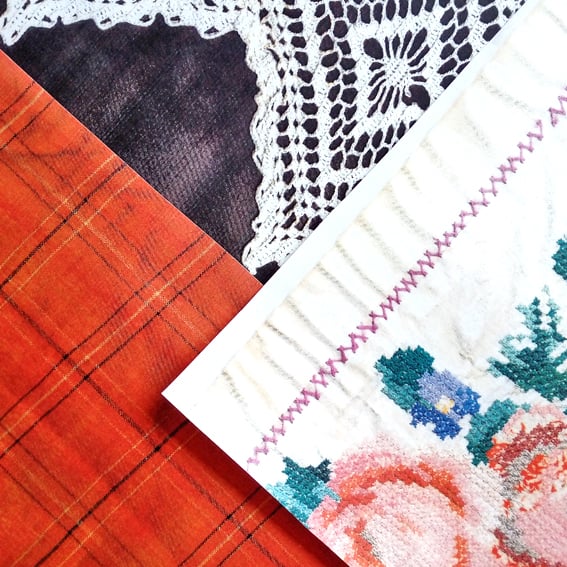
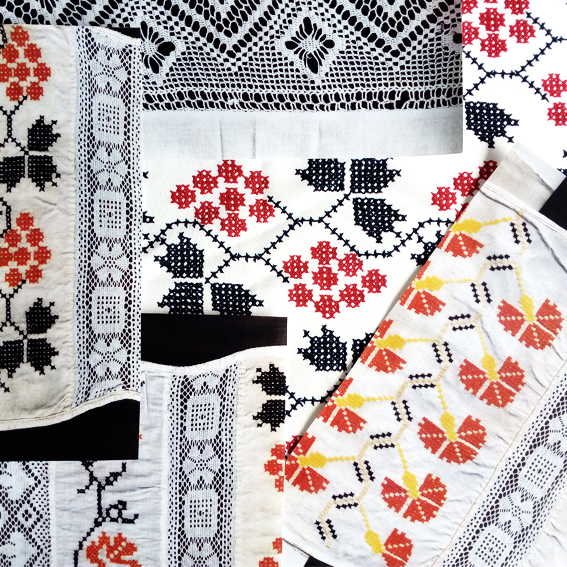
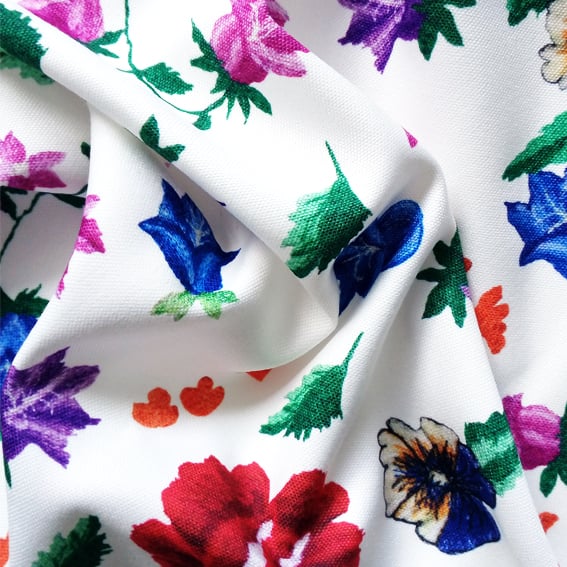
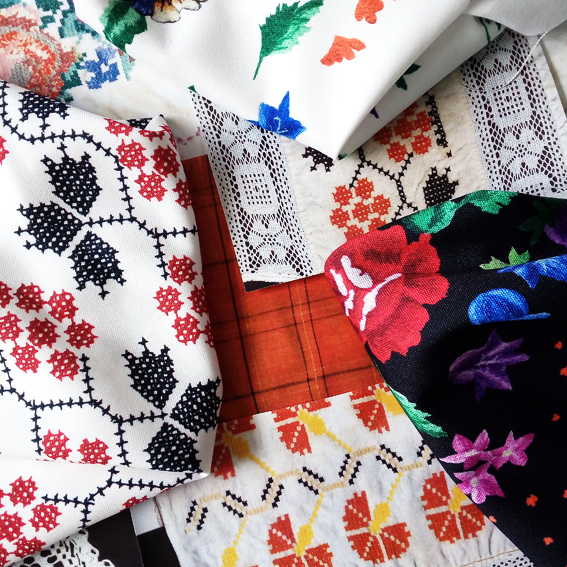
Exciting news from us at Digital Fabrics, we have launched a new textile collection! This time we dove head first into a private collection of vintage European textiles and found just the inspiration we needed! The Boho-Chic trend is one that pops up time and time again, and it’s for good reason. We just can’t get enough of bohemian patchwork, colours and textures, and have designed a range of prints heavily inspired by collected embroidery treasures.


Whilst the boho design aesthetic is undoubtedly fabulous, the statement style can be a little overwhelming for some. We wanted to create timeless re-imaginings that pared-back the heavily embellished designs typical of bohemian textiles, resulting in versatile and accessible designs.


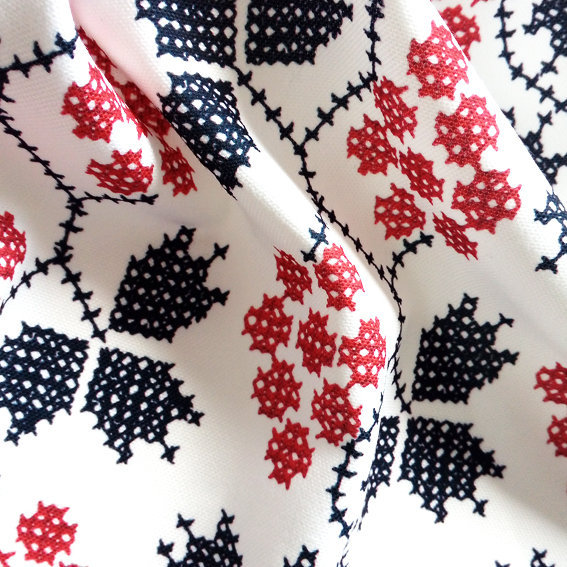
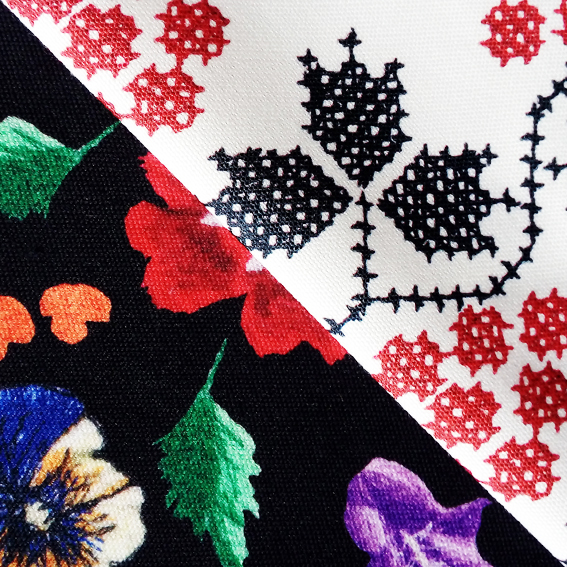
 Elements of vintage textiles were scanned, redrawn and redesigned to create the Babushka collection. Finding the balance between streamlined design and textured details was key in maintaining the essence of folk embroidered pieces whilst still giving them a more contemporary feel, and negative space became as important a feature to focus on as the motifs and designs themselves.

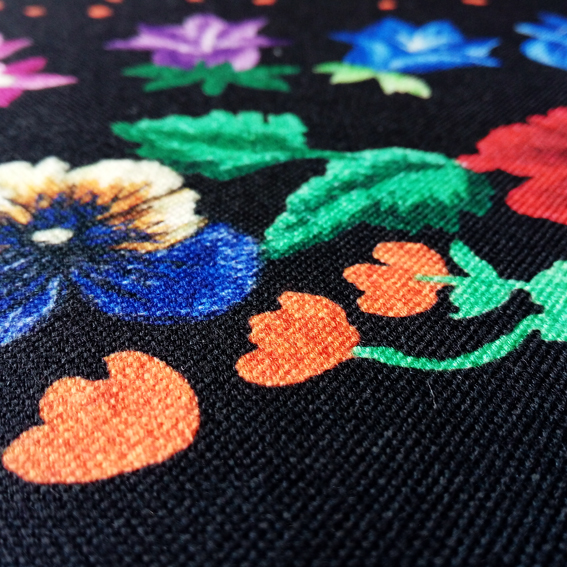
 The collection features both flirty, feminine motifs and minimal, geometric design elements, whilst using bold contrasting colours to maintain a crisp aesthetic throughout the range. The range revamps vintage embroidered textiles, resulting in elegant, graphic designs that can be used for so much more than the blouses and table-wear that we so often associate with the bohemian style. We cannot wait to see what you create with these prints!
The Babushka Collection is available for purchase in our Design Library!
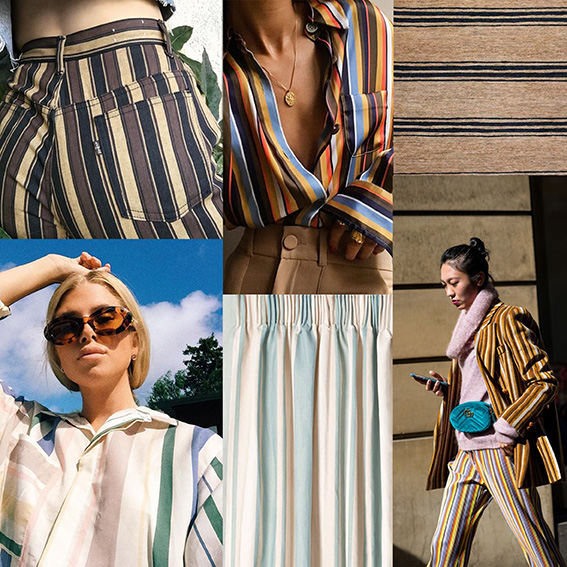
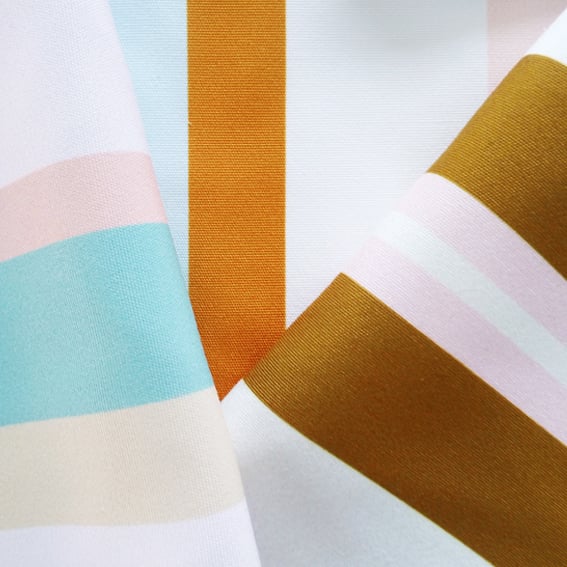
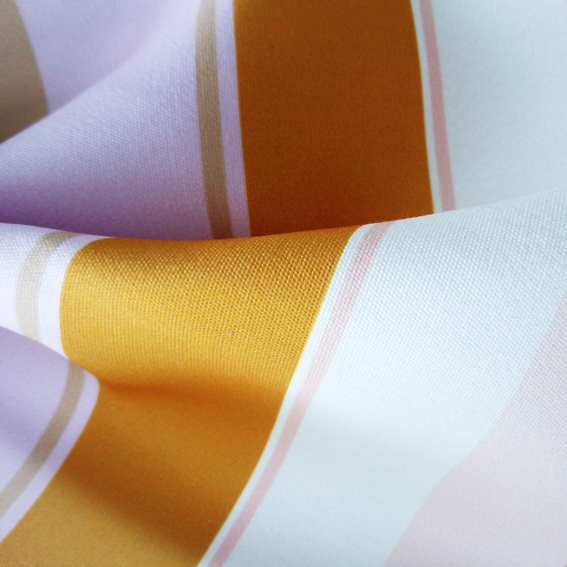
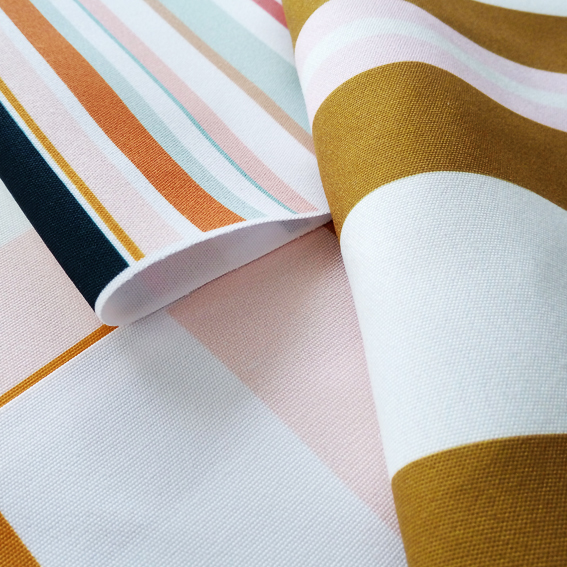
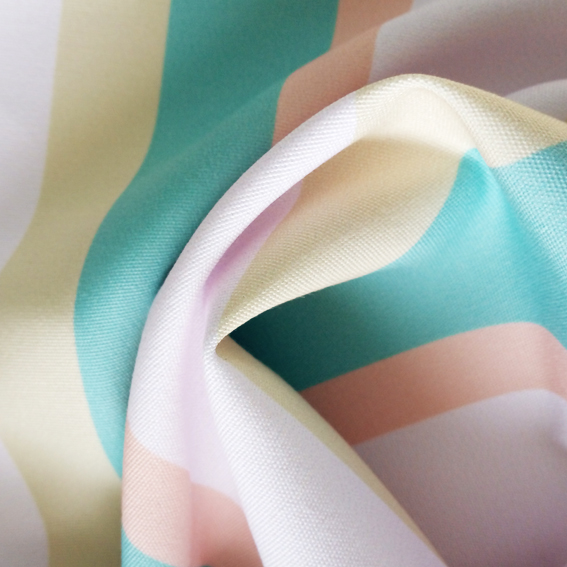
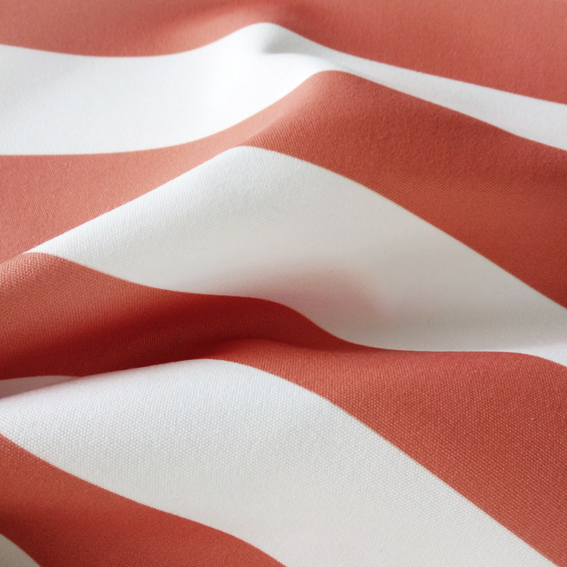
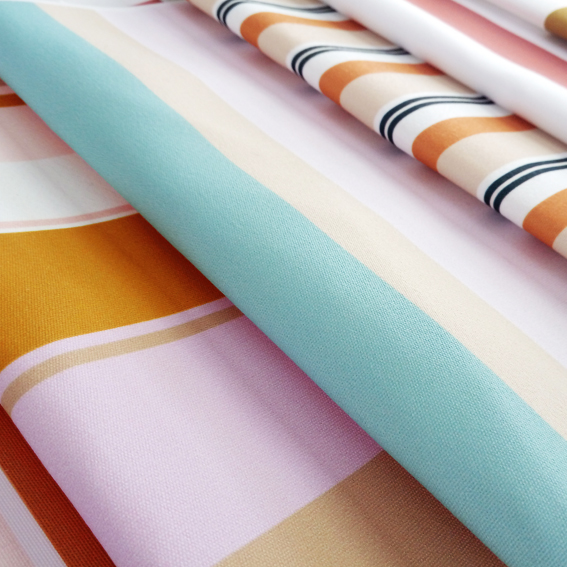
Stripes are an absolutely timeless design staple! But with them always being in style it’s easy to sometimes forget just how fabulous and versatile they are. Here at Digital Fabrics we wanted to shine the spotlight on stripes again, and have created a gorgeous range of prints that re-imagines classic stripe designs – introducing our Stripped Back Collection.

 Our most recently designed textile collections drew focus to luscious textures and the organic nature of hand drawn motifs. What better way to keep things interesting than to launch a series of designs that celebrates crisp lines, formal shapes and a timeless aesthetic. It was crucial to adopt interesting considerations of both colour and form since we were working in the continuous design space of ‘stripes’. Not only did the designs need to feel fresh, it was also essential to create a diverse collection to avoid designing prints that were too similar to each other.


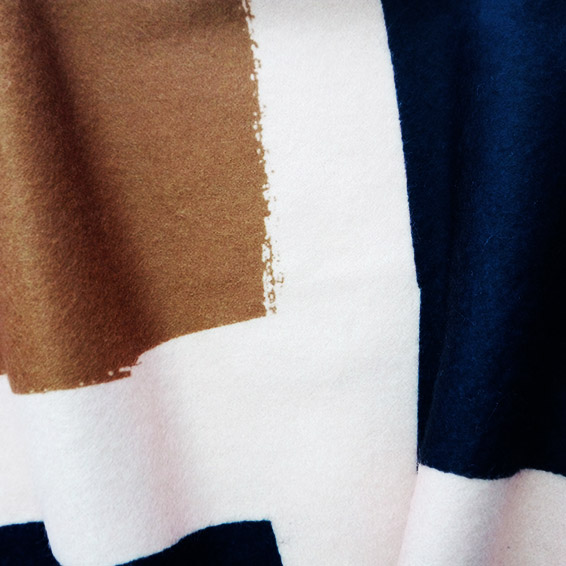
 Variation in band width was key in generating a distinct range of textiles. This allowed us to develop wide, colour-blocked styles as well as contemporary revivals of the pinstripe. Colour was also a major element when it came to designing striking stripe prints. The collection re-imagines neutrals, using soft blush pinks in the same way that you would typically use brown and cream colours. The range pairs these neutrals with dreamy sorbet inspired hues, bold mustards and deep navy accents.

 The collection features prints which are both minimal and edgy, with some designs undeniably inspired by the rich history of stripe patterns in print design. These designs would be fabulous in both the home and the wardrobe, and we can’t wait to see what you do with them!
The Stripped Back Collection is available for purchase in our Design Library!
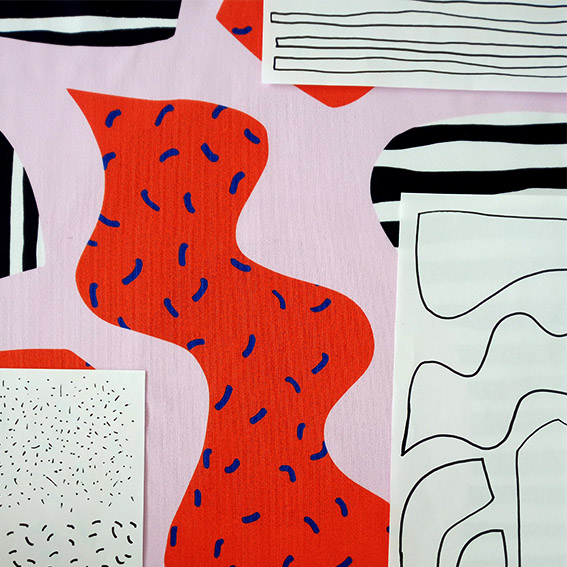
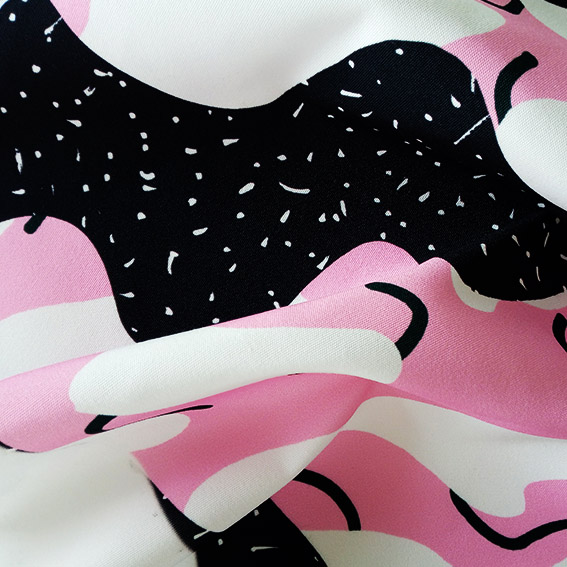
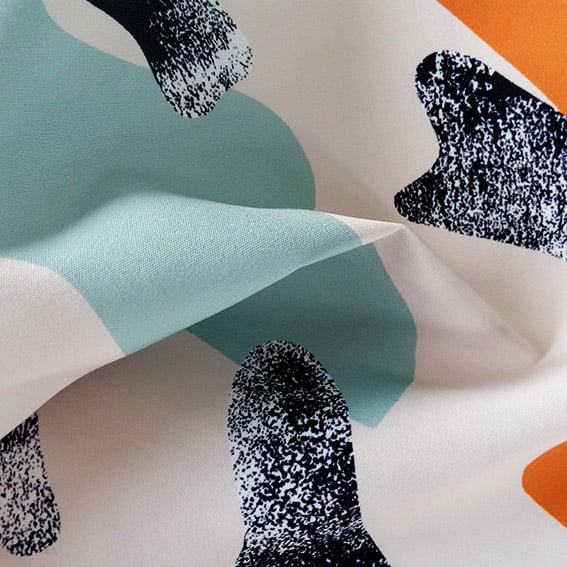
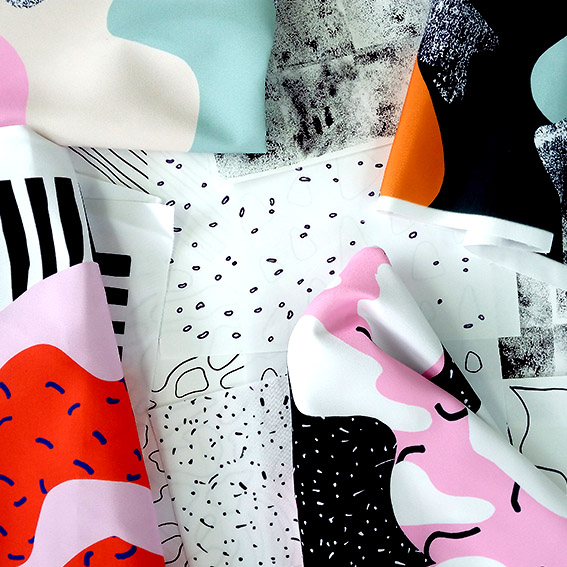
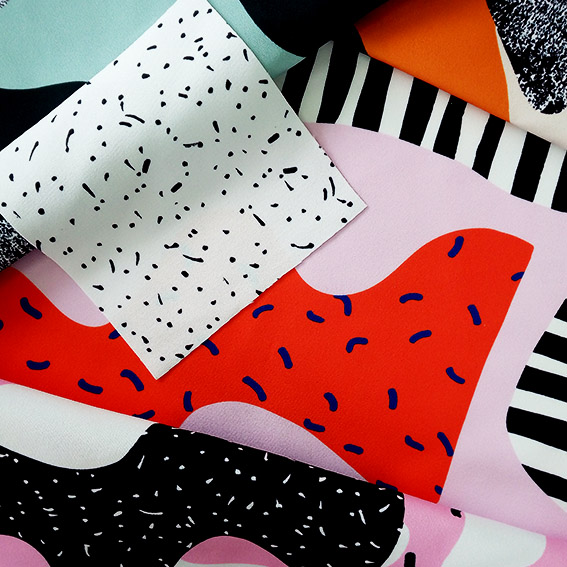
Here at Digital Fabrics we have a very exciting textile collection to launch just before the end of the year, with a really fun range of fabric prints to get you through Summer. The designs are inspired by dynamic and quirky Memphis design surface patterns and uses contrasting colours, shapes and textures to create playful designs that can be used together or on their own.


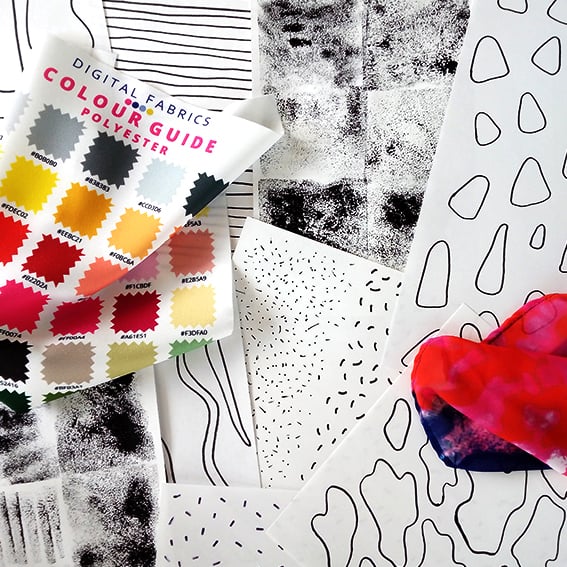
All of the print designs started out on paper! By using different mark making processes with a variety of materials such as markers, paints, pens and sponges, graphic shapes and surfaces began to emerge. These were then dissected and collaged together to create interesting designs with lots of energy.


Colour is such a key component of this collection and it was really important to get them right. We combined very on trend pastel shades, with timeless neutrals, and whites to contrast with bold blacks and splashes of electric warm colours.


The Memphis Summer Collection is perfect to get those creative juices flowing over the next few months! Whether it’s making something in time for an event over the festive season or it’s because you’ve finally some free time to work on a DIY project, Digital Fabrics can help out with your fabric printing needs. We see these designs working for both interiors and fashion, with statement cushions and fabulous Summer dresses being the first things that come to mind!
The Memphis Summer Collection is available for purchase in our Design Library!
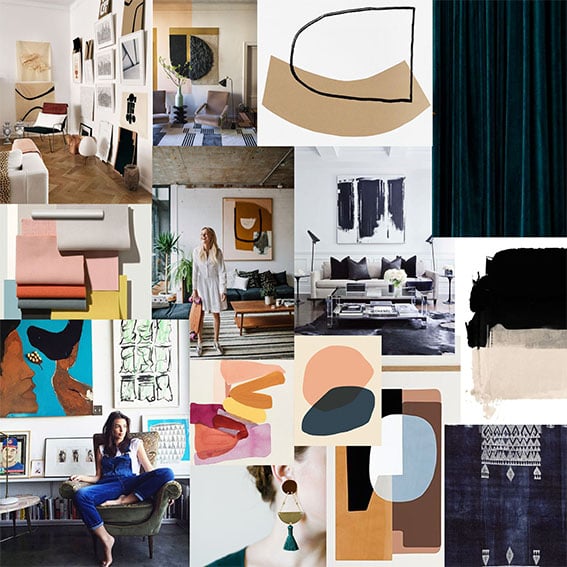
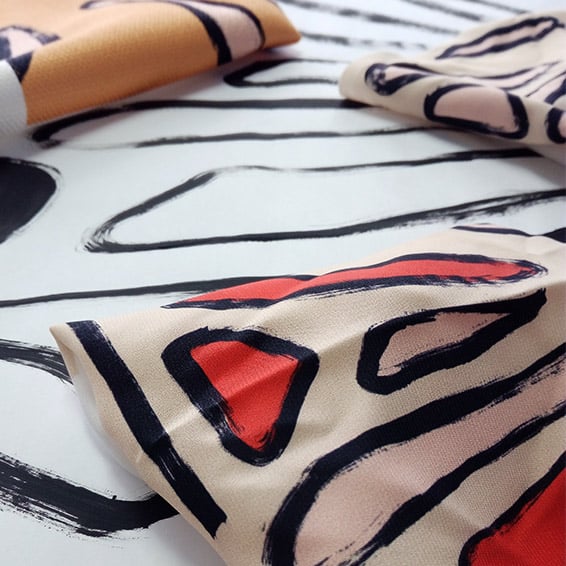
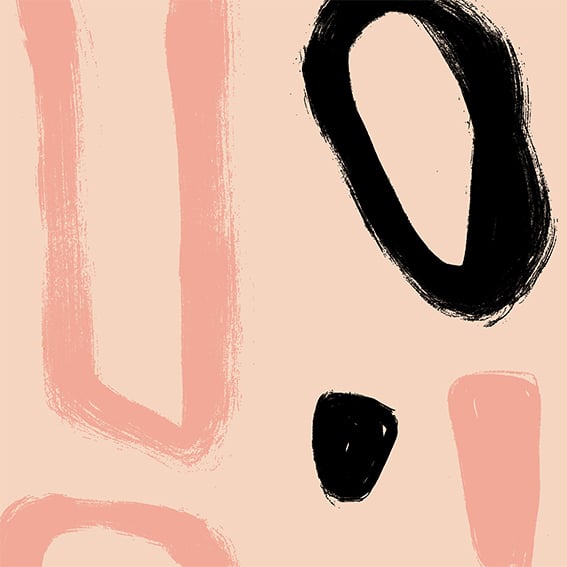
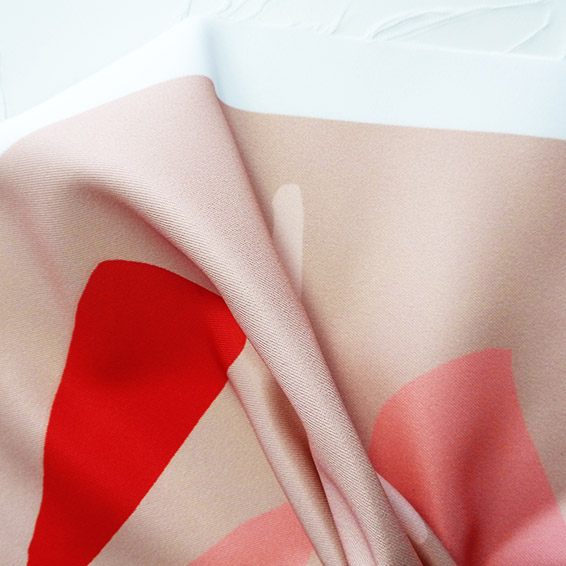
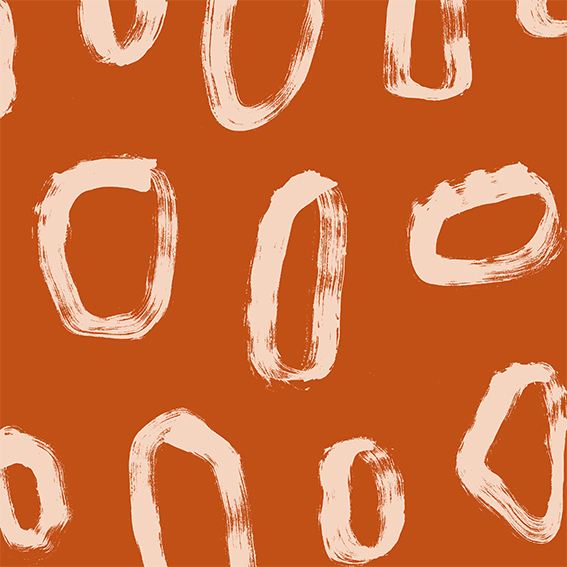
We’re very excited here at Digital Fabrics to be dropping another range of yummy prints! This time we’re inspired by bold earthy colours and organic forms, bringing to you a collection of hand painted, textural abstract designs.


Our Sunset Gum design is a small scale abstract print with bold contrasting colours. Who doesn’t love a splash of red?

Our Blush Pebble design is a medium scale graphic print. We just can’t get enough of pink!


Our Ochre Scatter design is a small scale print with a fabulous burnt vermilion colourway, able to liven up any space or outfit!

Our Clay design is a medium scale print with bold geometric shapes and a deep warm colour palette.
The Artful Simplicity collection is available for purchase in our Design Library. We can’t wait to see what you do with them!
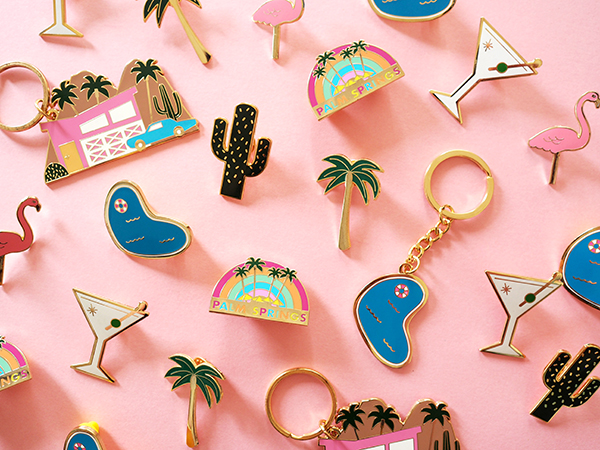
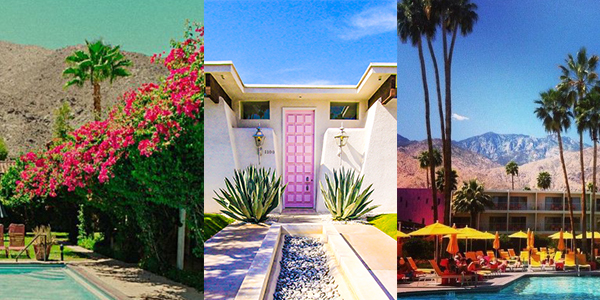
Exciting news! We have a new competition for all Textile designers out there, budding or experienced. The theme is ‘Palm Springs’. We know, fun right?

Create a fabric design for ‘interiors’ or ‘fashion’ inspired by ‘Palm Springs’ using any method you want. This could be photograph, paint, collage, sketch and could be based on colour, texture, architecture or landscape, there are no boundaries. Let your creativity GO WILD!
There will be 3 winners:
1st Prize will receive $250 worth of custom printing on a fabric from our stock plus a 45cm x 45cm cushion on waratah with their winning design, insert included.
2nd Prize will receive $100 worth of custom printing on a fabric plus a 45cm x 45cm cushion on waratah with their winning design, insert included.
3rd Prize will receive $50 worth of custom printing on a fabric plus a 45cm x 45cm cushion on waratah with their winning design, insert included.
All top ten designs will receive a strike-off of their design.
How it works:
Create it. Design it. Share it! Get your friends to share it too.
Why?
The top 10 designs will be voted for by the public, so share your designs with your friends, get them voting for you!
From the Top 10, there will also be one public voted winner, this will be the design that gets the most likes and the prize will be one 45cm x 45cm cushion with their design. Yay!
The competition will open on Saturday 21st October and close on Thursday 16th November at 9am Eastern Standard Time. All voting will close at 9am Eastern Standard Time Monday 20th November.
Top 10 will be announced on Monday 20th November on social media and will be featured on our website.
Winners will be announced on Friday 24th November.
Rules:
- Upload your design onto your Instagram account.
- Add the tag: #dfpalmsprings and tag us: Digital Fabrics @digitalfabrics so we can find your entry! If you don’t use the correct hash tag we may not see your design.
- We love to know the story behind the design and what inspired you so tell us everything!
All designs must be submitted by Thursday 16th November 9am Eastern Standard Time to be included in the competition.
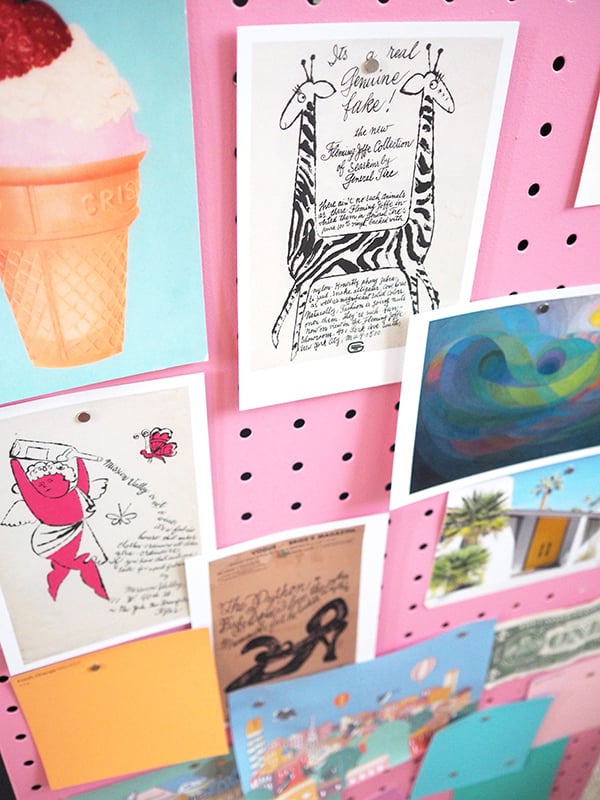
Just a little inspiration for you to enjoy:
 Terms and conditions:
This competition for Australian residents only.
Please use the correct hashtag to be included: #dfpalmsprings and tag us @digitalfabrics to ensure we can see your entry.
Only entries with the correct hashtag #dfpalmsprings will be in the running of the competition.
Unlimited entries allowed.
The team at Digital Fabrics will choose the finalists.
The winning prize can be used for one fabric type only from our stock fabric collection.
The 45cm x 45cm cushion will be printed front and back and mailed to you.
We can’t wait to see all the designs!
DF Team
Save
Save
Save
Save
Save
Save
Save
 How would you describe your work, and what influences your style?
 What/who inspired you to take the leap in to your creative venture, how did you get started?
 What projects or collaborations from last year stuck out, good or bad and what is coming up this year that you would like to plug!
 You can follow what Katelyn is upto: Website, Instagram, Facebook.