Cushion Cover File Set Up Tutorial
Interested on how to make your custom cushions?
Here are some helpful steps on how to set up your artwork ready to print with us.
You can print custom cushions from any type of design photographic, hand drawn/painted, created in Photoshop or Illustrator, the possibilities are endless! Any size, any shape, front and back or just front panels of cushions.
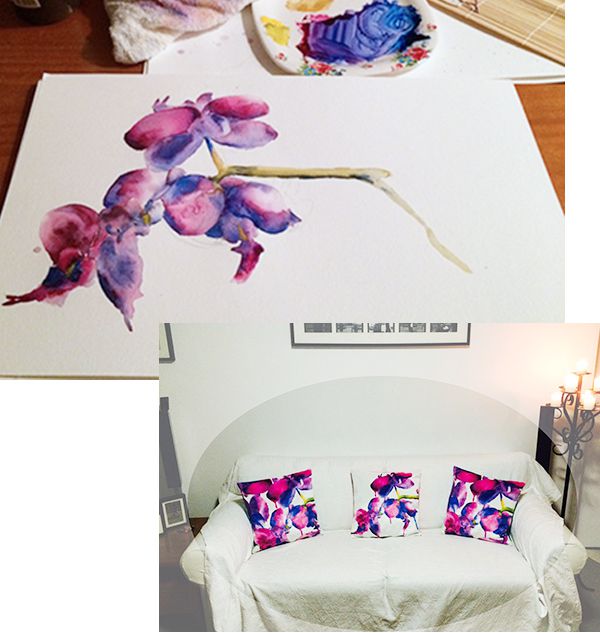
For this how-to we chose to paint beautiful Orchids in watercolour. Once painting is finished and dry we digitized the artwork by scanning it at high dpi of 300, artwork also can be photographed.
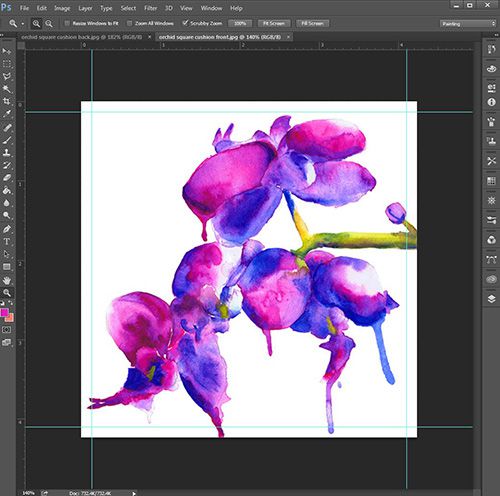
After artwork is scanned and manipulated to desired colour and placement create a new canvas in RGB colour mode, 48 x 48 cm for finished size cushion cover of 45cm x 45cm including 1.5cm seam allowance on all sides of the cushion covers.
To help remember that there is seam allowance on the artwork put guidelines on all sides 1.5cm in (these guidelines won’t show when printed). Place an artwork on art board, play around with the placement until you get the look you are after and be mindful that anything outside of the guidelines will not be seen. We print digitally onto white fabric, for this specific cushion we wanted a white background so we left the background white, if you want a colour background you can do so by creating a new layer with the colour and placing it behind the artwork.
When you are happy with the results you can flatten your artwork and save, artwork can be saved as either a JPEG or TIFF.
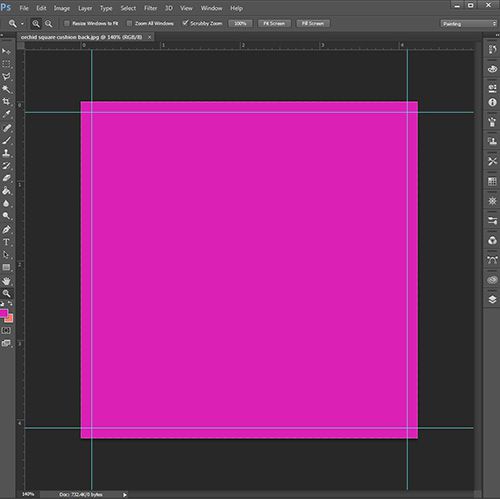
Repeat these steps for the back of the cushion cover, if you want a certain colour for the back, drop in the colour you want into the layer.
Once all is in order and your order is ready to proceed leave it to us and we can do the rest, your cushion covers will be done in no time.
We hope this helps you on your way to creating some amazing custom cushion covers to spice up your home.
Happy Designing!
The Digital Fabrics Team


