DIY Halloween Cat Bandanas Tutorial
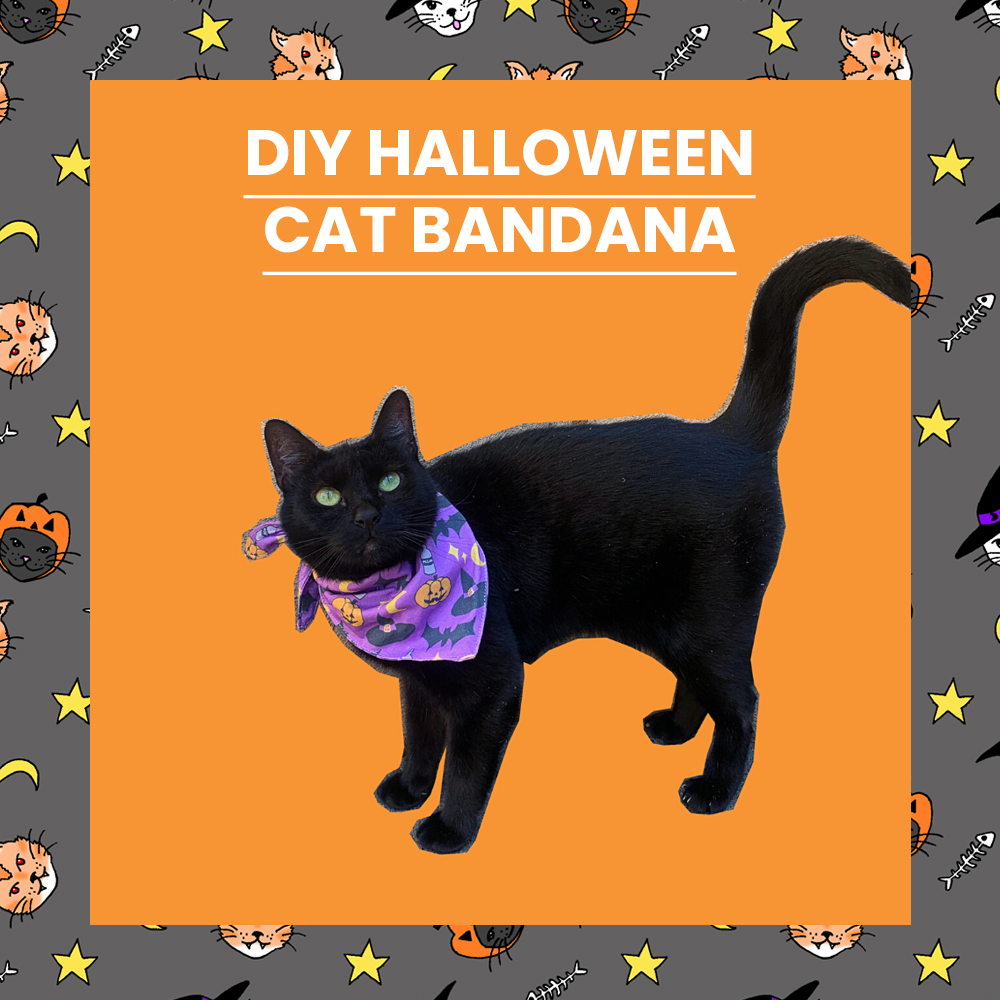 With Spooky Season well and truly on its way, we wanted to give you a fun little Halloween DIY project to make for your pets…well, cats specifically!
Everyone on our team is avid cat lovers and most of us have our own fur babies to dress up. We always see cute seasonal looks for dogs but where’s all the fun cat costumes, right? Well with this tutorial, you can create your own custom Halloween bandana for your cats this October!
Get creative, keep on reading to find out how you can make your own Spooky Cat Bandanas!
What you need:
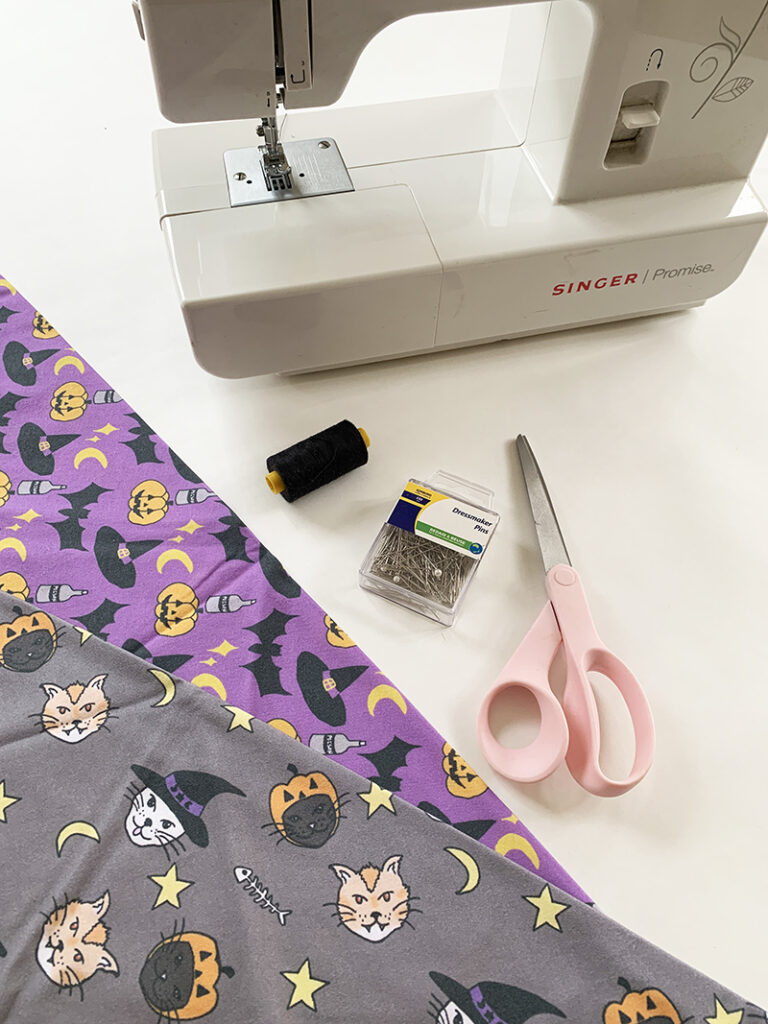
- Custom Printed Fabric (we recommend our Ashton, Ebe, Oliver, Aerocorp and Cotton Poplin fabrics).
- Scissors
- Dressmaker Pins
- Sewing Machine or Sewing Needle
- Sewing Thread – you can match the colour of your fabric.
- A cat of course!
Introducing our cats: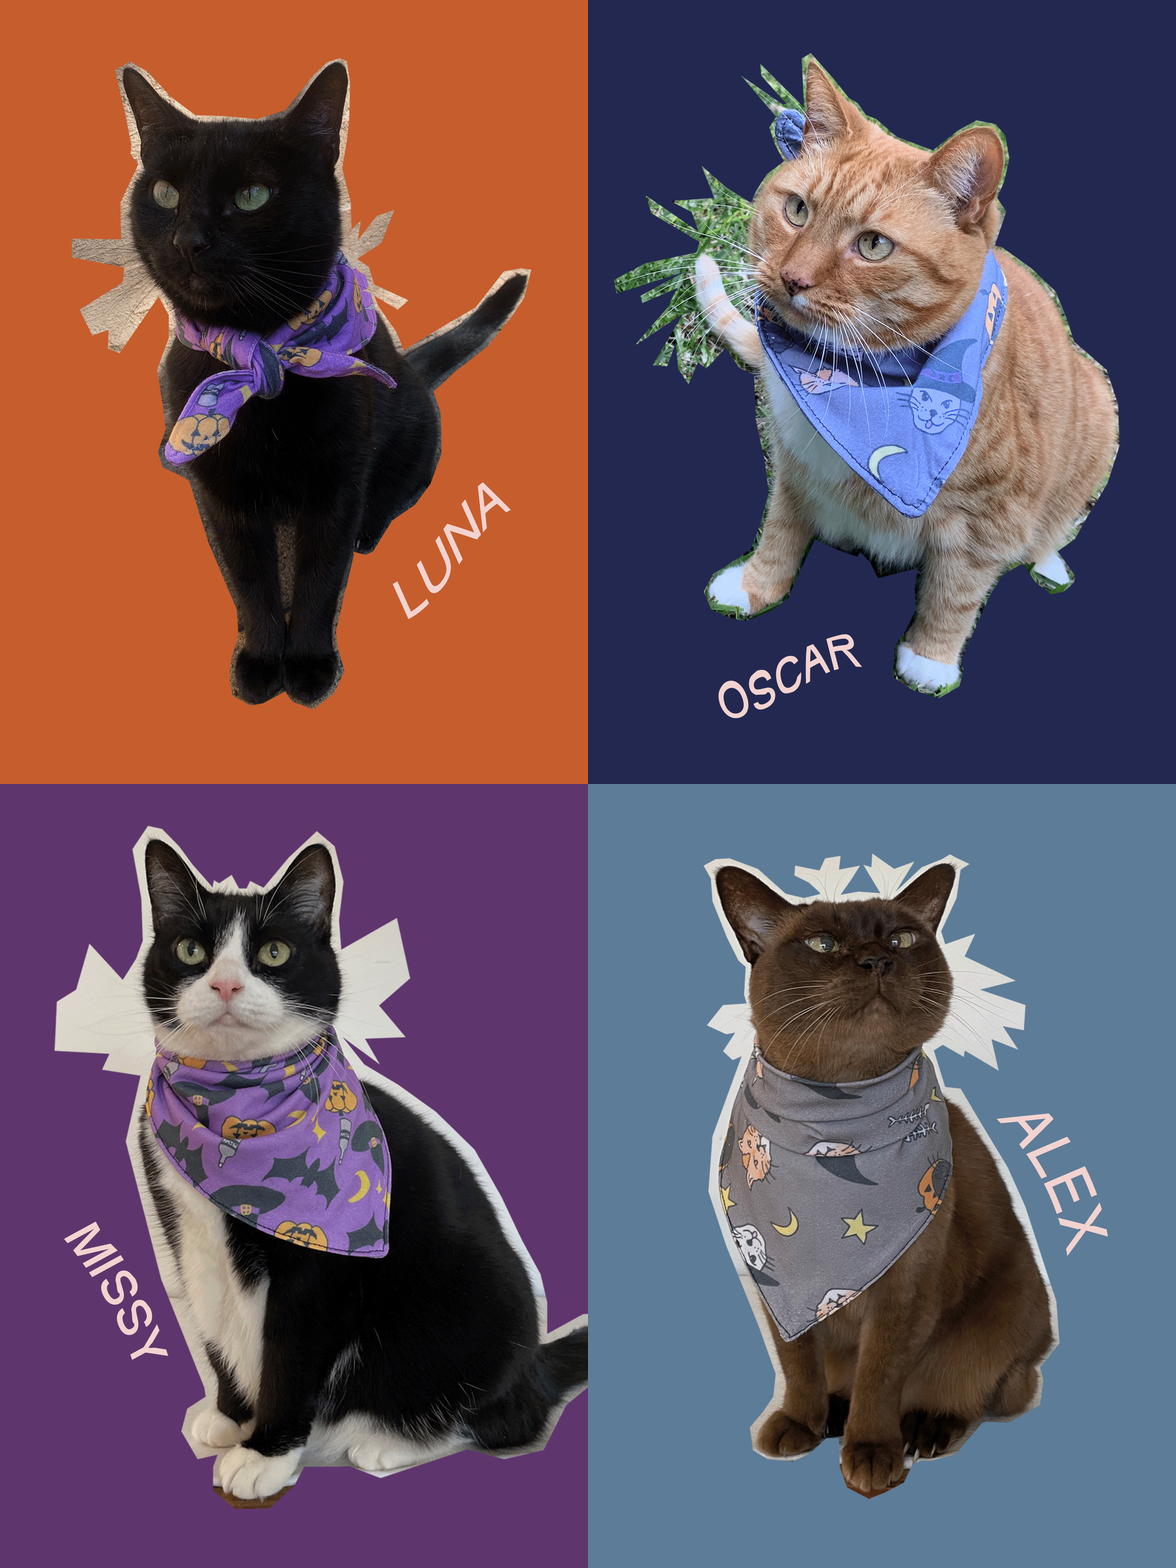
Method:
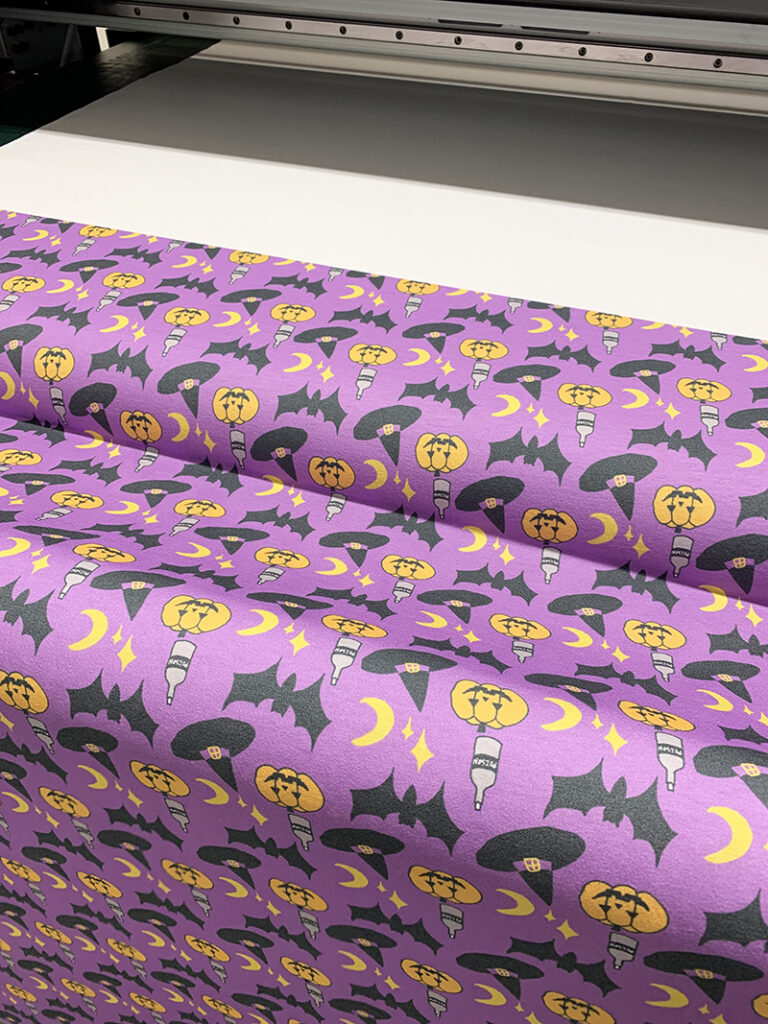
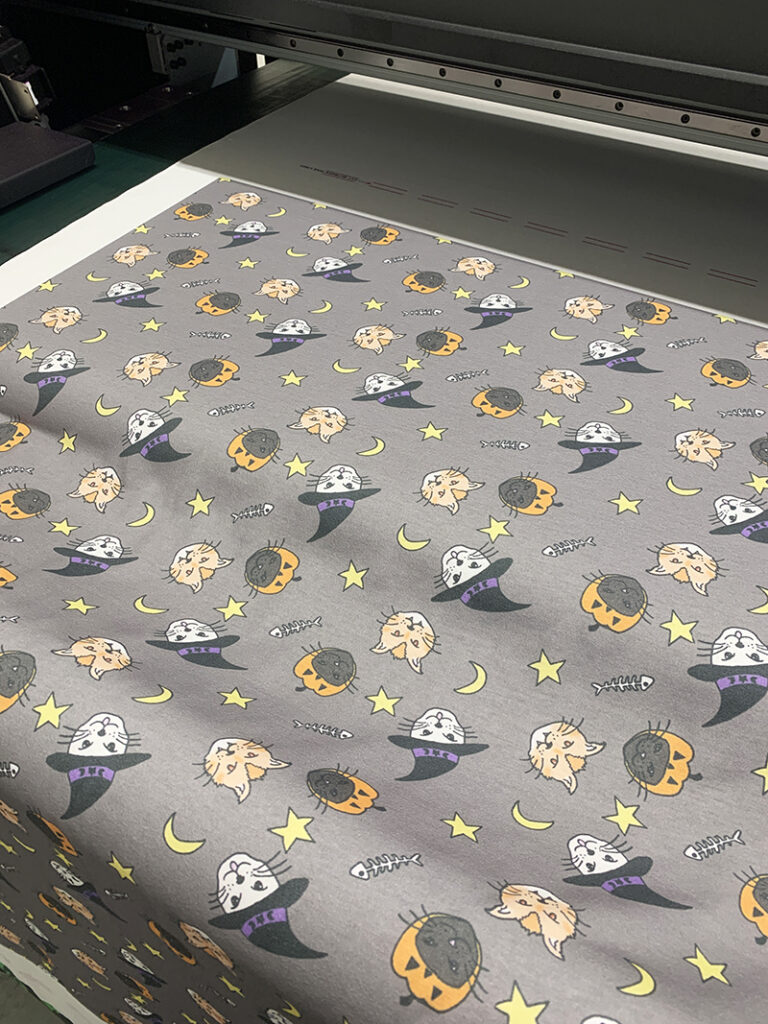
1. The most important step of all…order some wonderful custom printed fabric, you can design your own or order designer fabrics from our Fabric Shop. We recommend our Ashton, Ebe and Cotton Poplin for a natural fabric option or our Oliver and Aerocorp fabrics for a polyester (easy care) option! We’ve gone with our Ashton fabric which is a lovely lightweight Cotton Jersey.
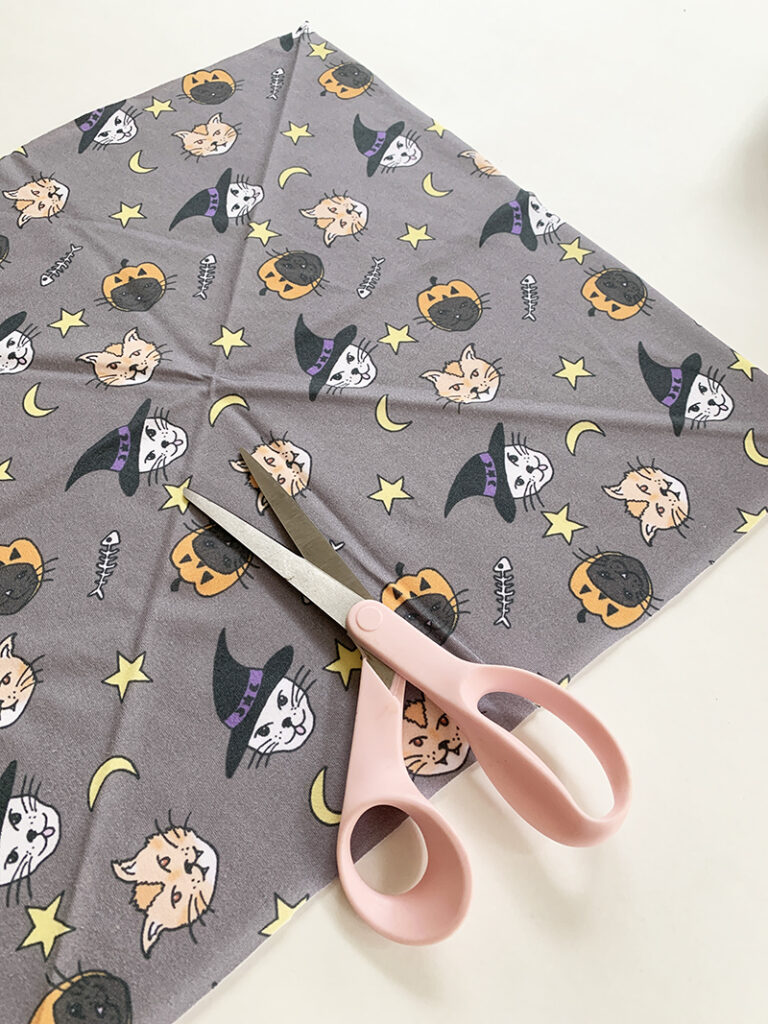
2. Using a pair of scissors cut out a square shape, we’ve gone with 40 x 40cm, but you can go smaller or larger depending on the size of your cat.
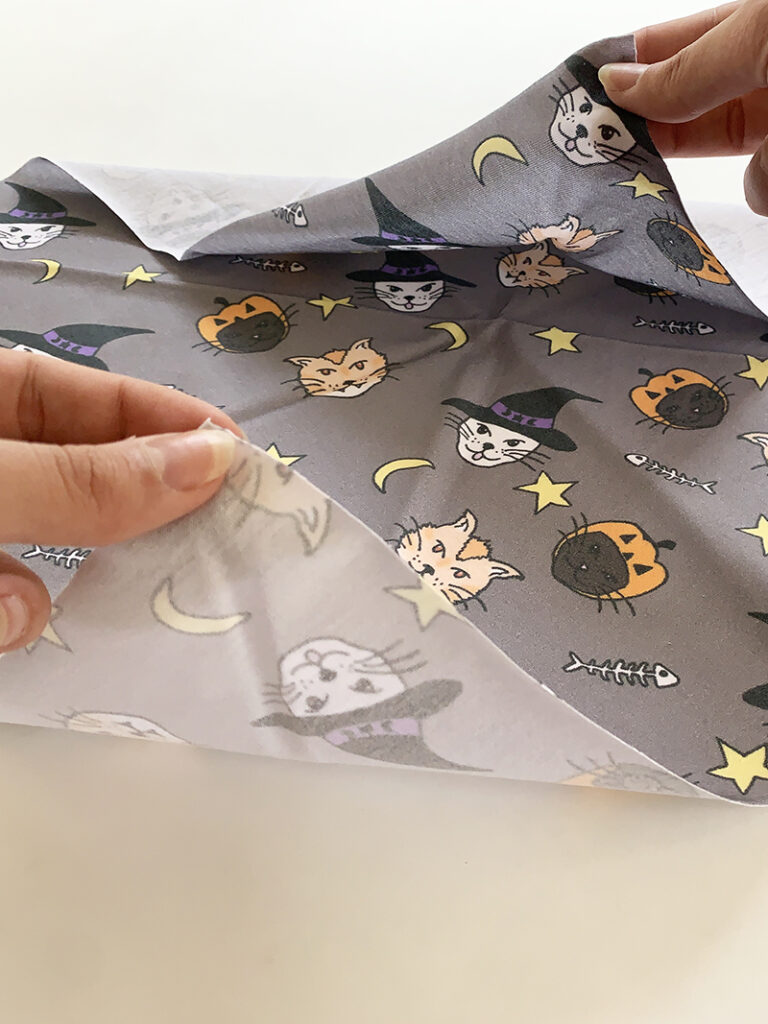
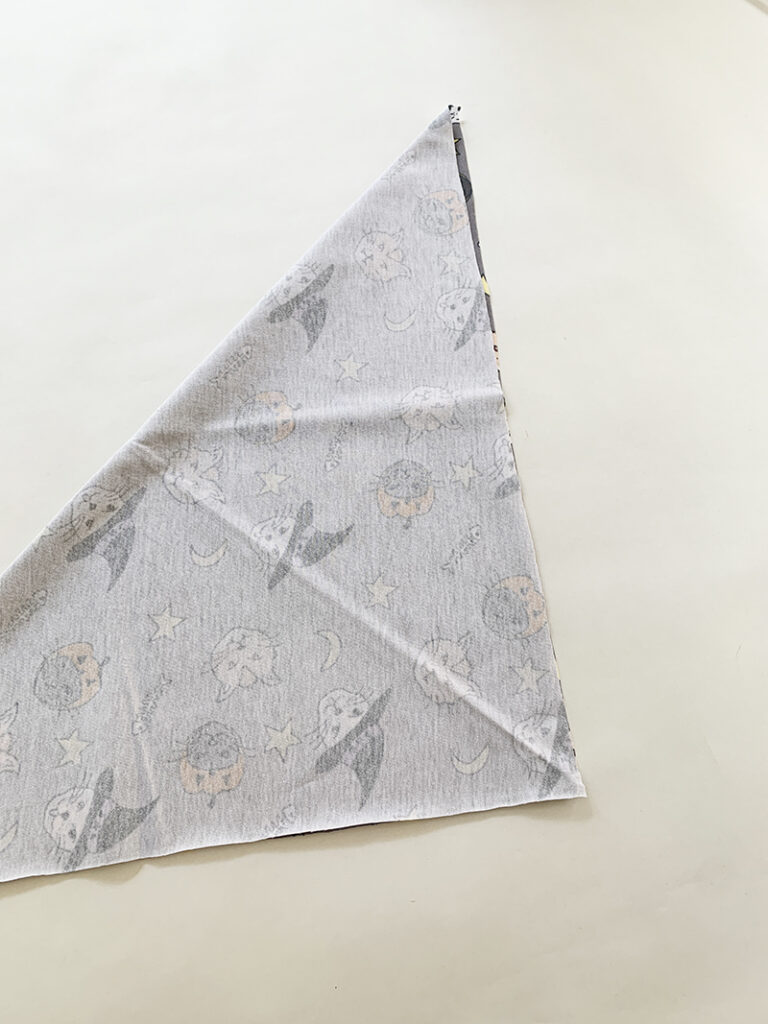
3. Once you’ve got an even square cut out, you’re going to fold over your fabric diagonally – printed side to printed side, corner to corner; to create a triangle shape.
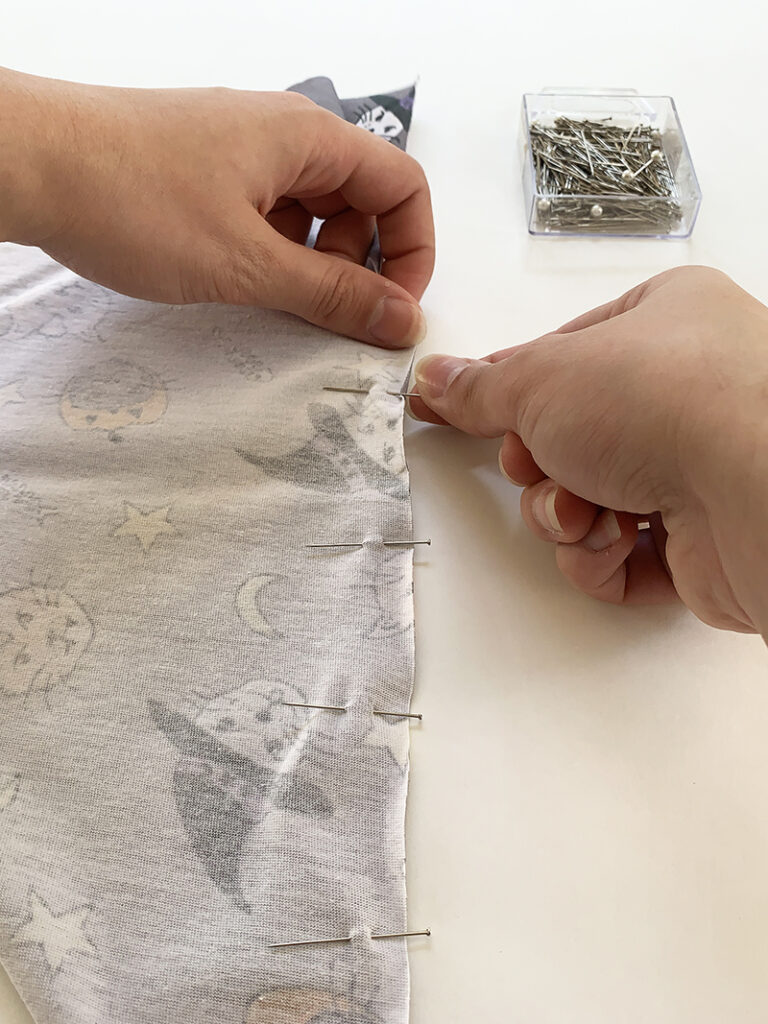
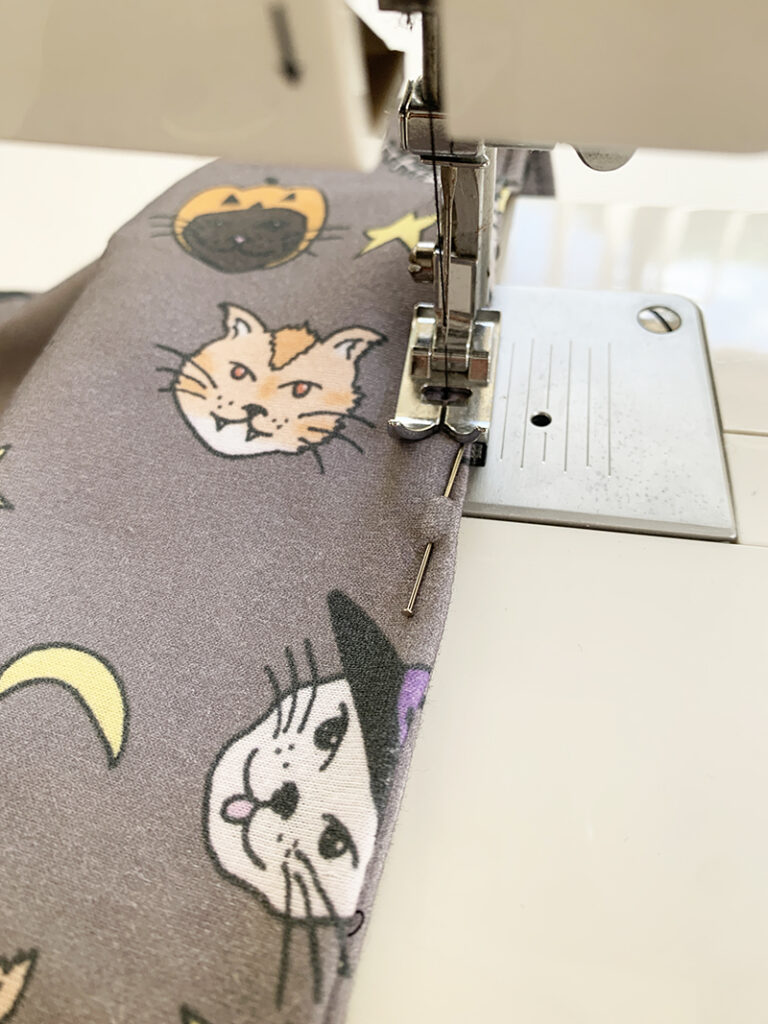
4. Once you have your triangle shape and all the edges match up, you’re going to pin together the edges so the fabric doesn’t move around when trying to sew.
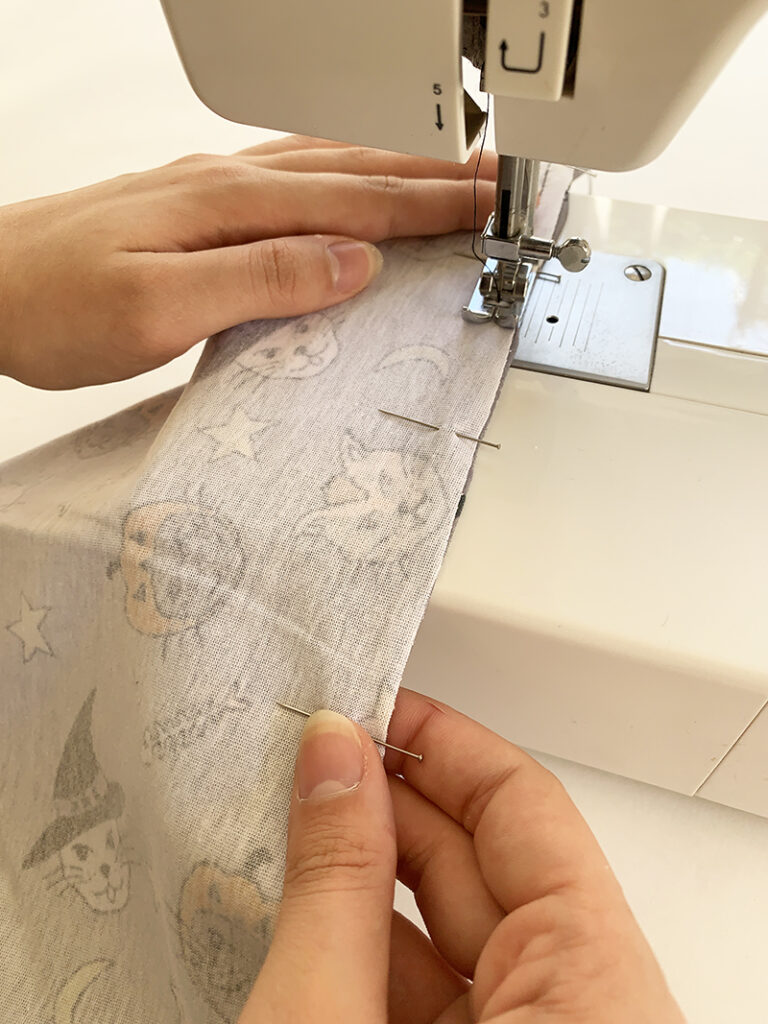
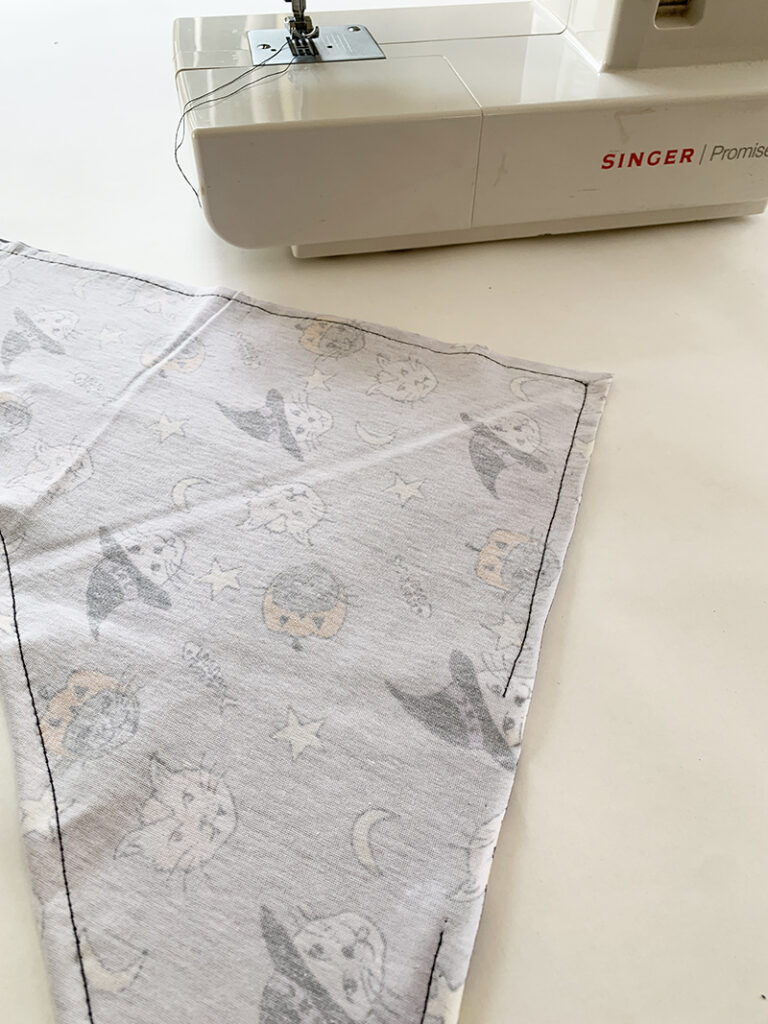
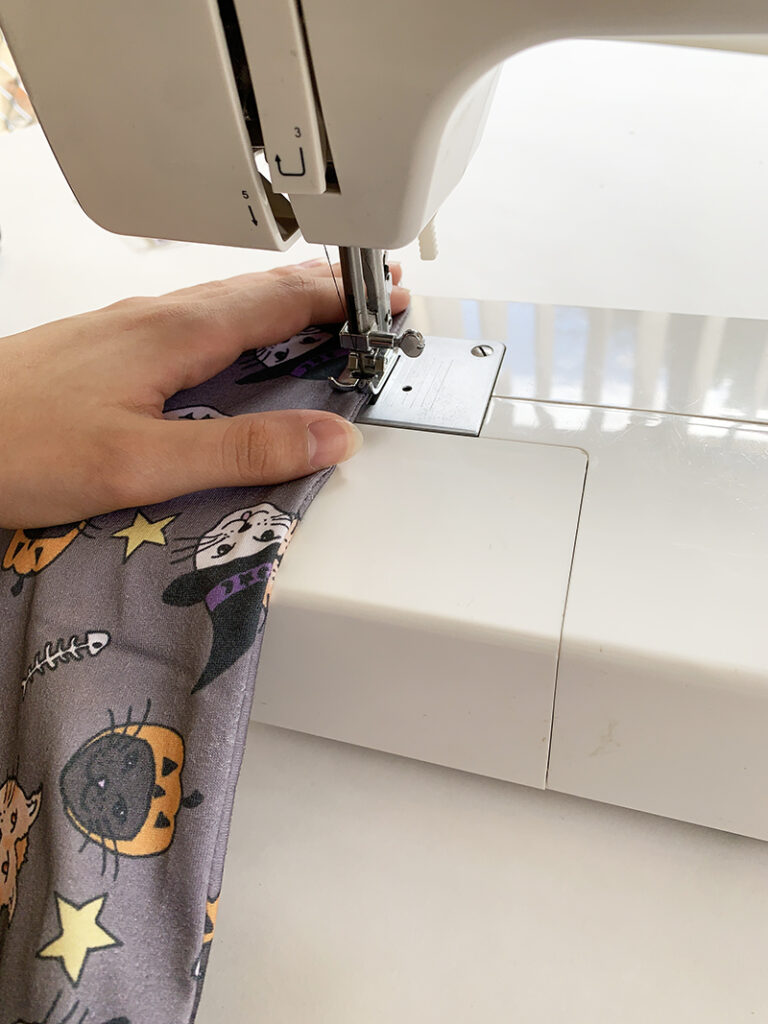
5. Now it’s time to sew! We’ve used a sewing machine for our bandanas but you can easily use a sewing needle as well. You’re going to stitch a straight stitch, 1cm in from the raw edge starting from one of the corners. Sew around the sides of your triangle angle shape, leaving a 6cm open gap so you can flip it right-way out when you’re done.
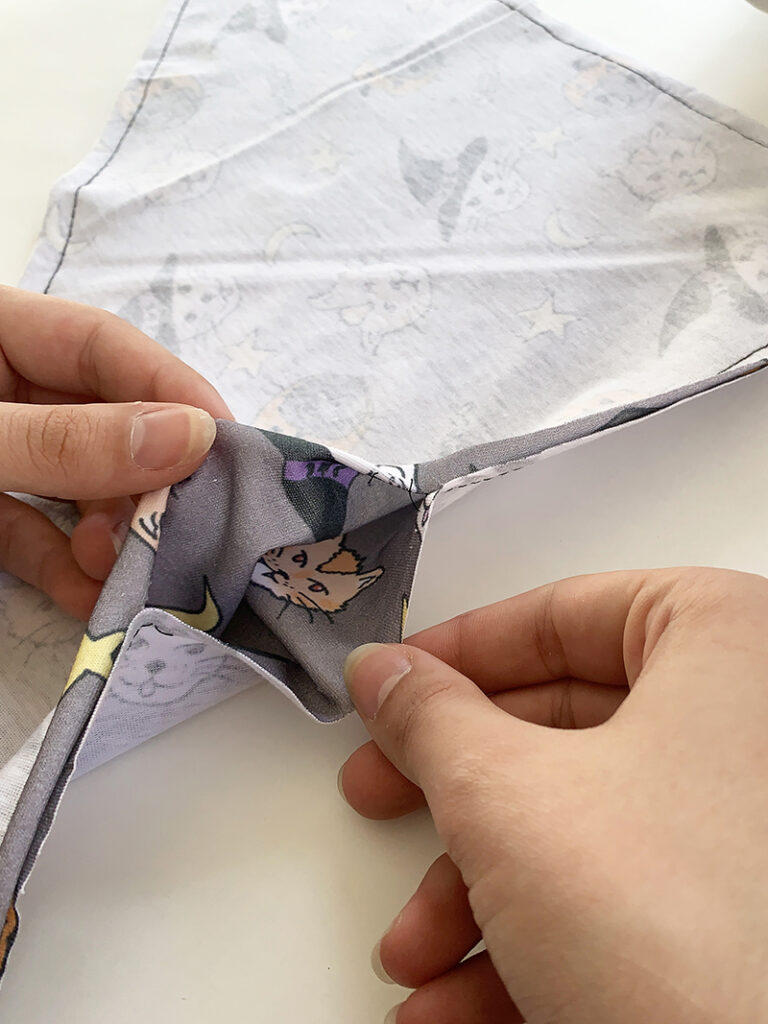
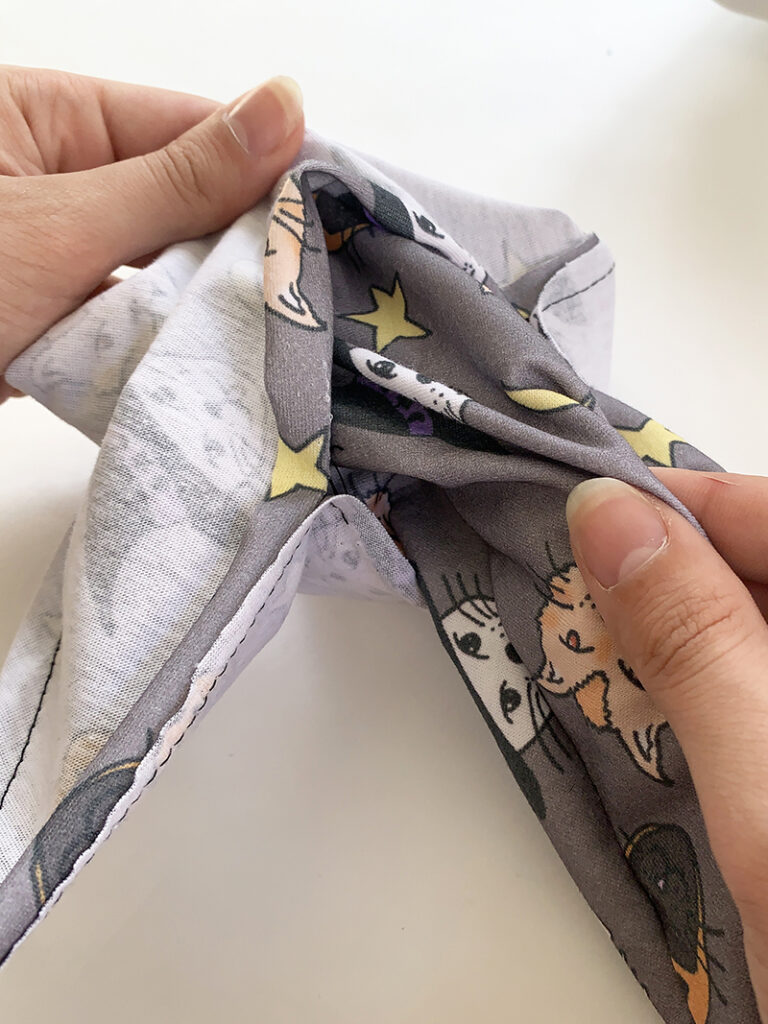
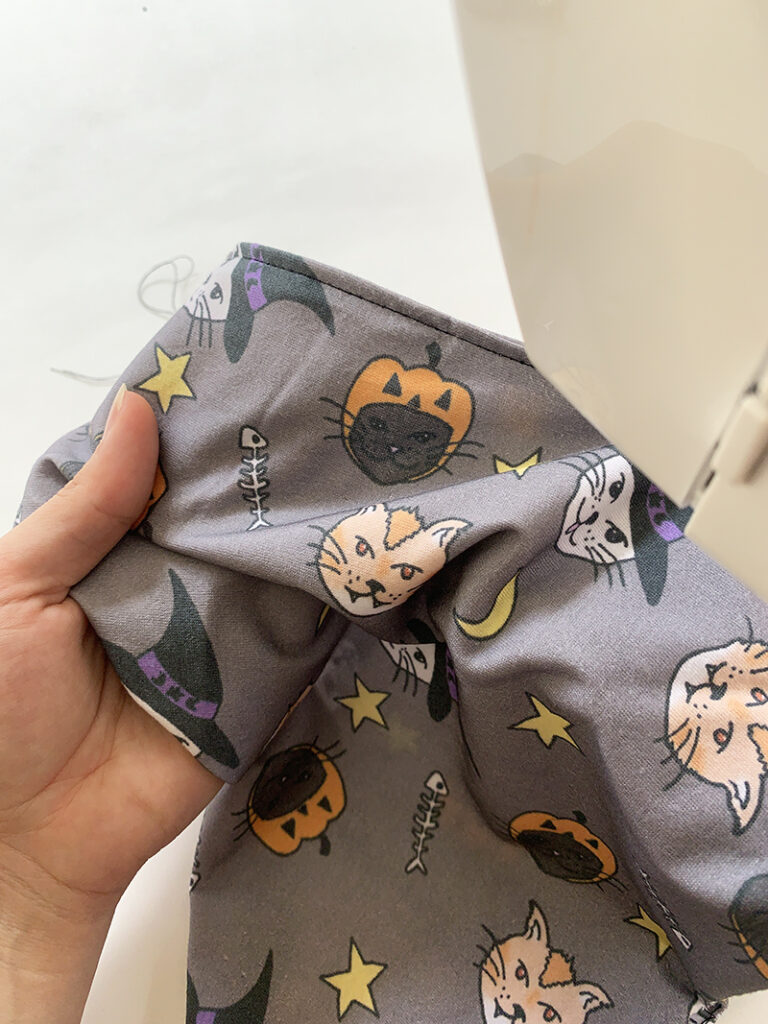
6. Once you’ve got your pieces stitched together, from the 6cm opening you’re going to pull the inside out. Make sure all the corners are completely pulled out and everything is lying flat, as we’ll be stitching around each edge again.
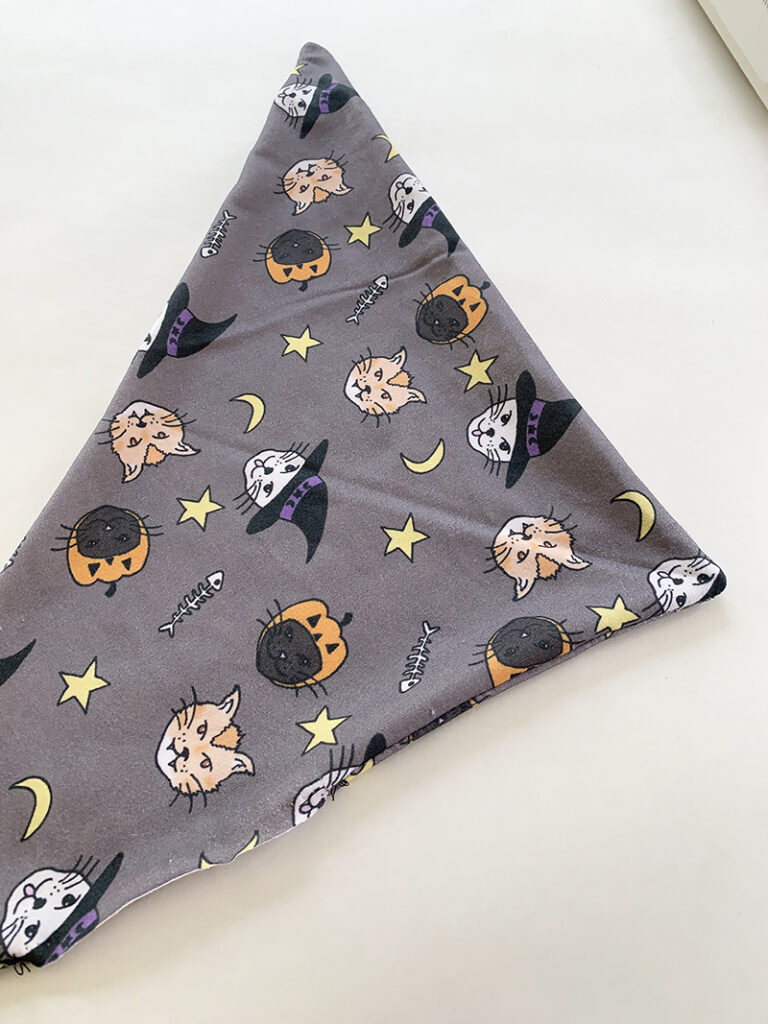
7. When you’ve got your Bandana completely pulled out, so that the print is now on the outside; you’re going to top stitch 0.5cm in from each side, the whole way around. Make sure to tuck in the raw edge of the 6cm gap, pin it and stitch over this part as well. This will create nice, flat edges around your Bandana and a stronger stitch for durability.
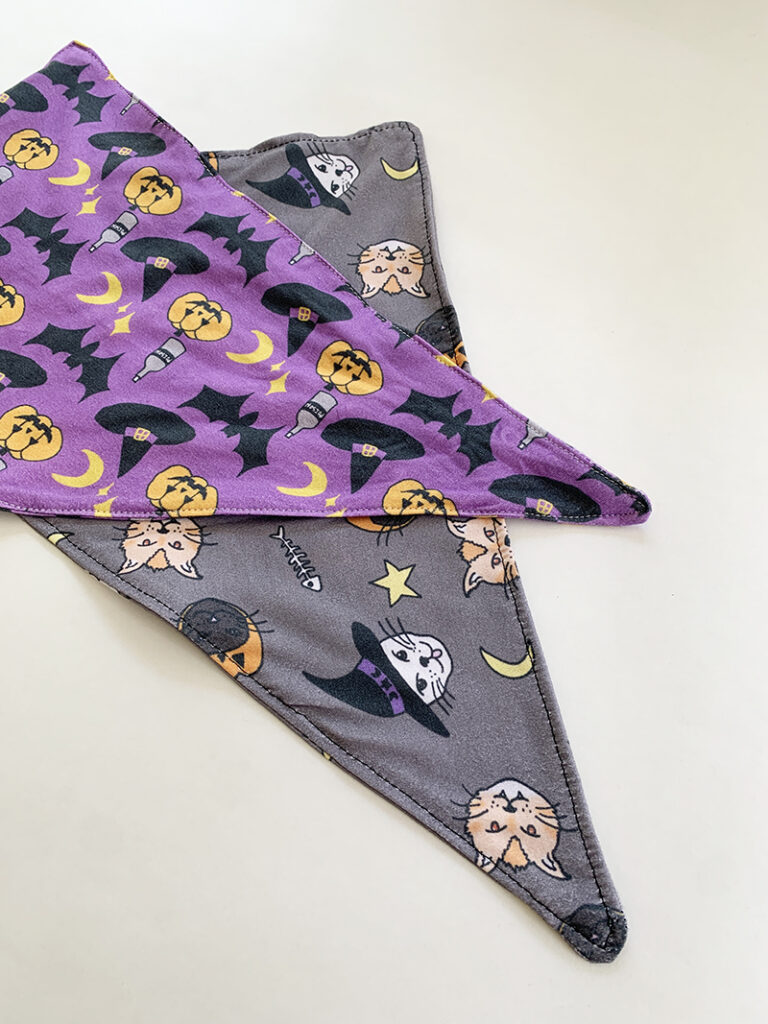
You now have an adorably spooky Cat Bandana to dress your cat in for the Halloween Season!
Keep on scrolling to check out some more fun Halloween Prints that are available now in our Fabric Shop. You can order any of these prints on our stock fabrics and create your own custom cat bandana or any Halloween themed DIY project!
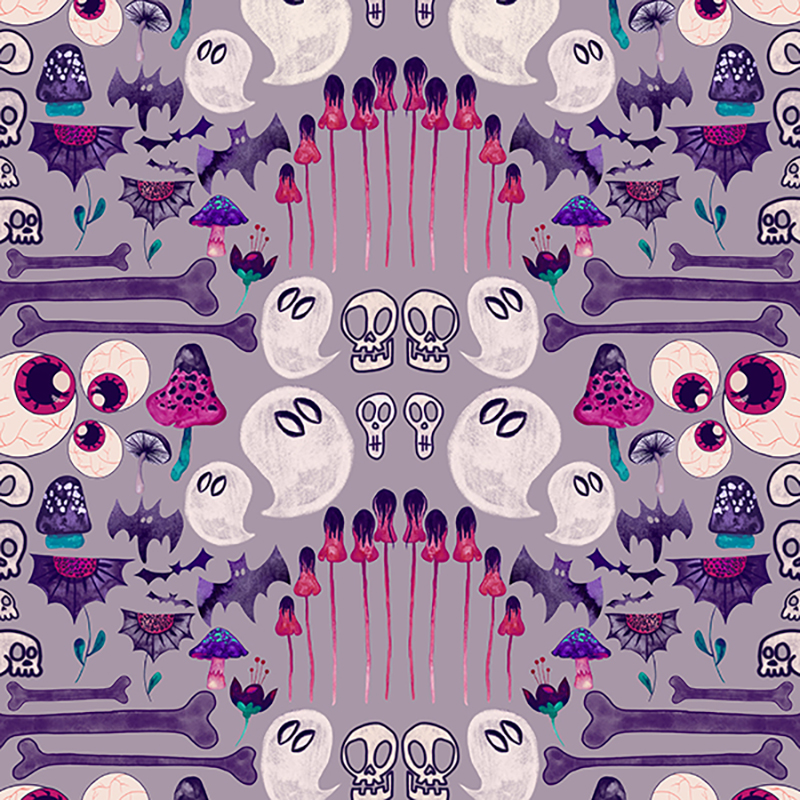 ‘Bone Collector’ by Sami Sparrow
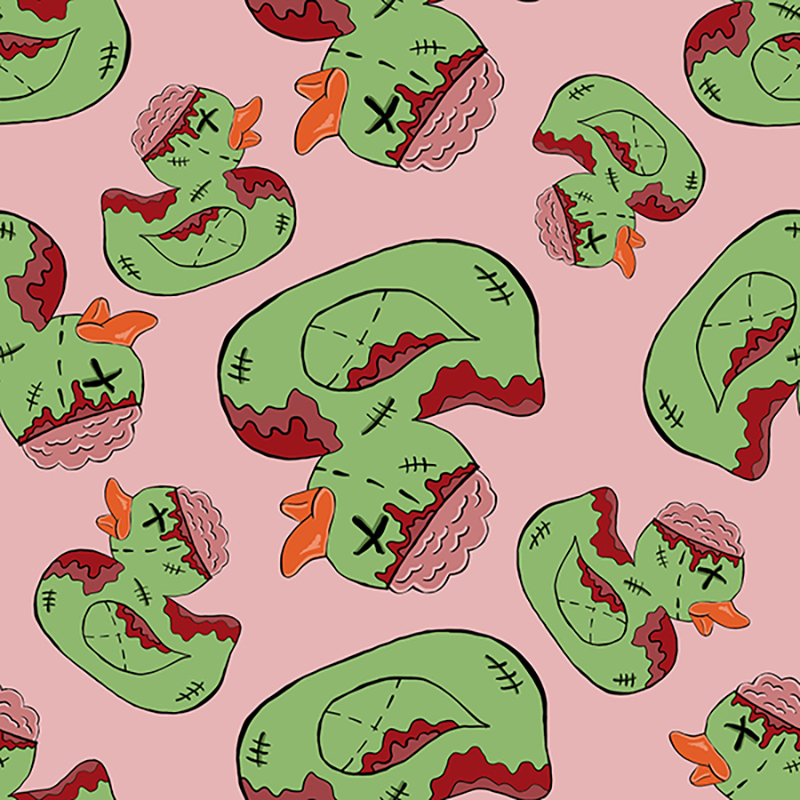 ‘Zombie Ducks’ by Krystal-Anne Knafl
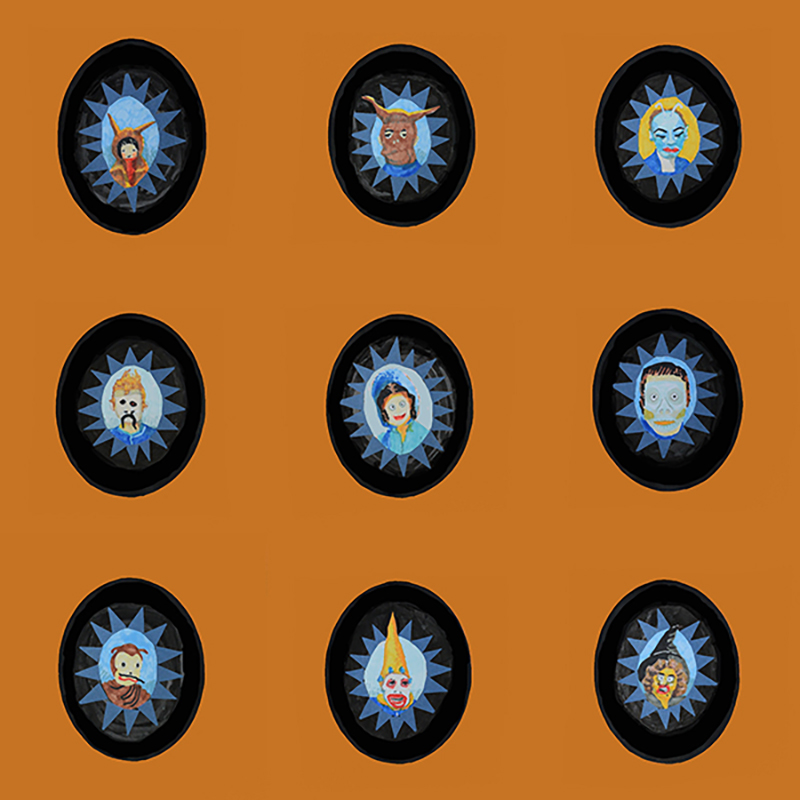 ‘Vintage Halloween Masks’ by Sue Michael
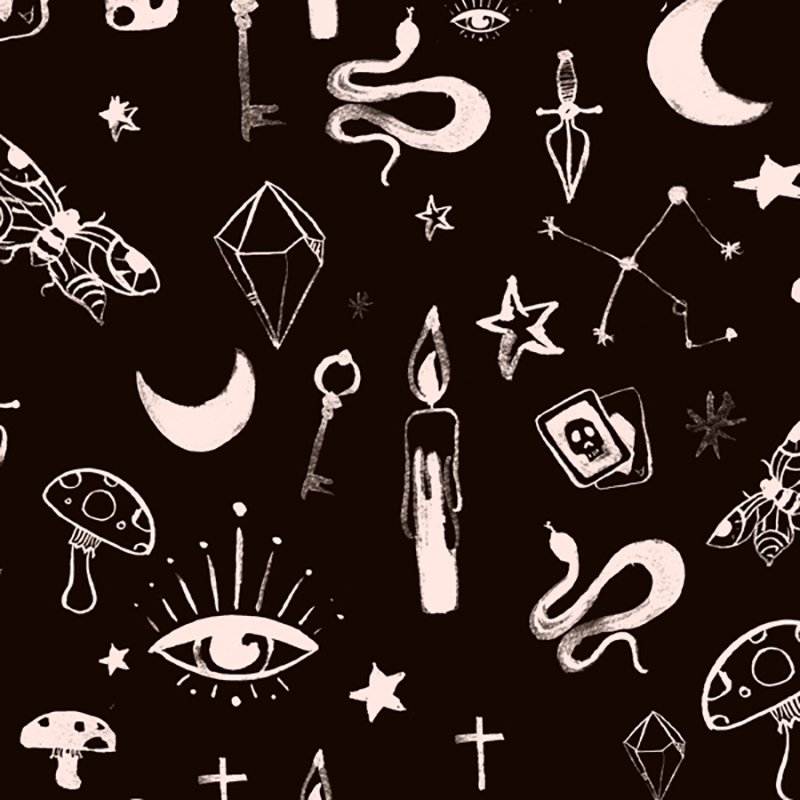 ‘Spooky Ink’ by Emilie Otto
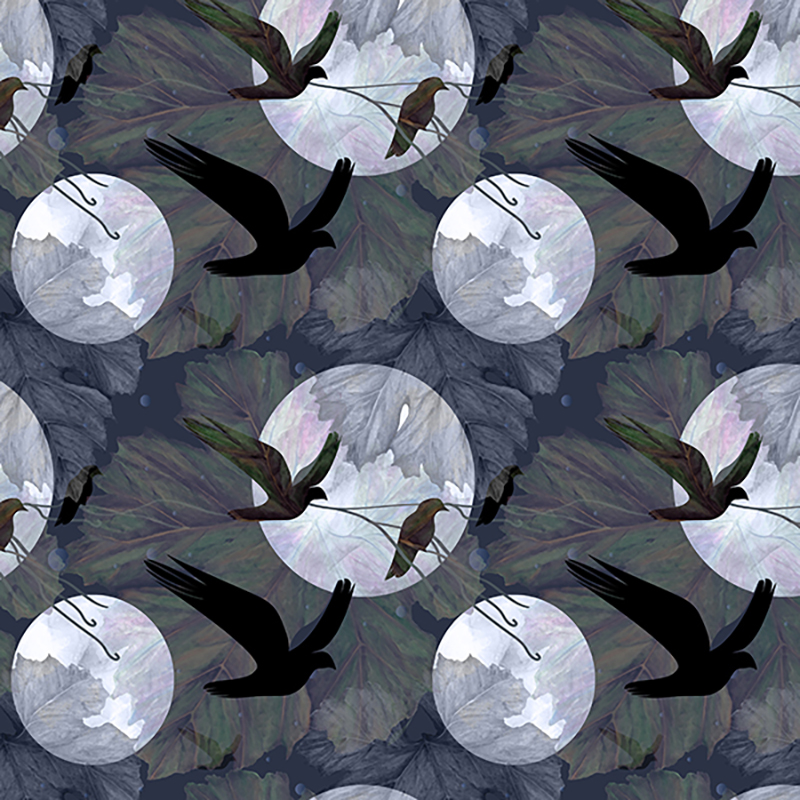 ‘Crows’ by Carly Westbye
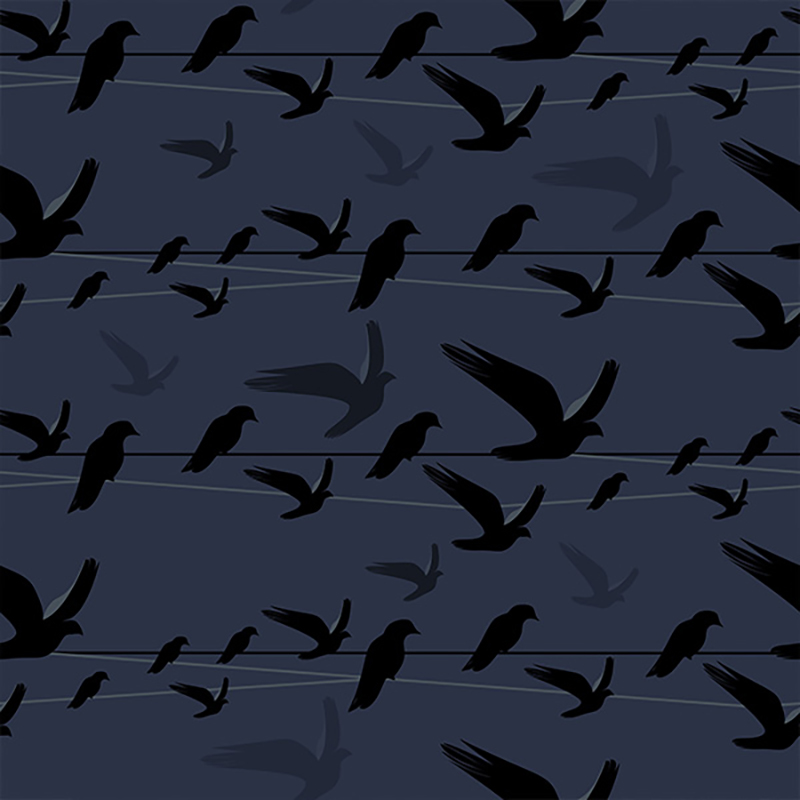 ‘Crows Gathering’ by Carly Westbye
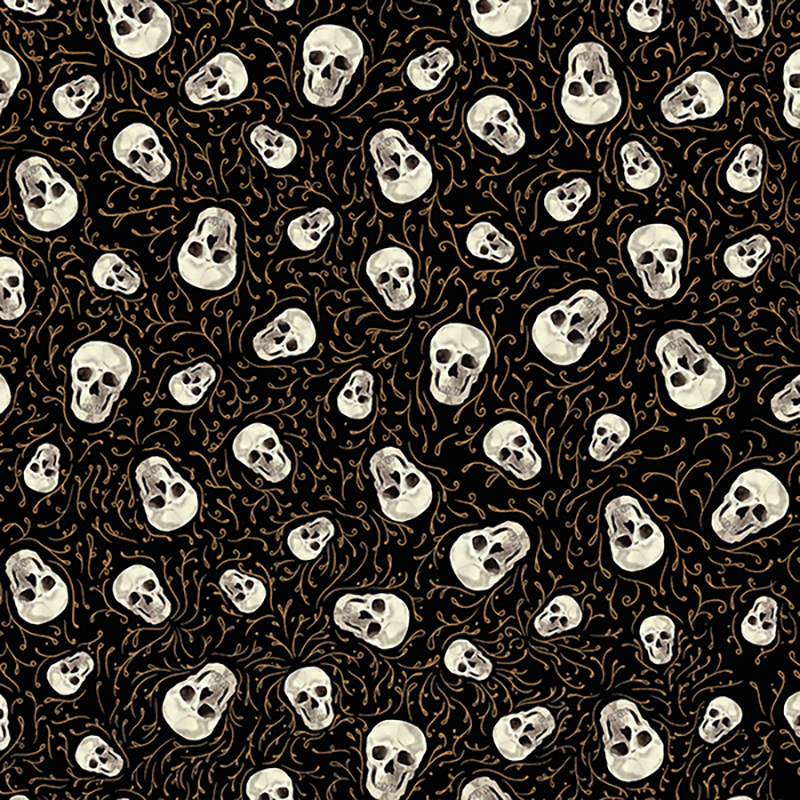 ‘Spooky Skulls’ by Ianny Bastos
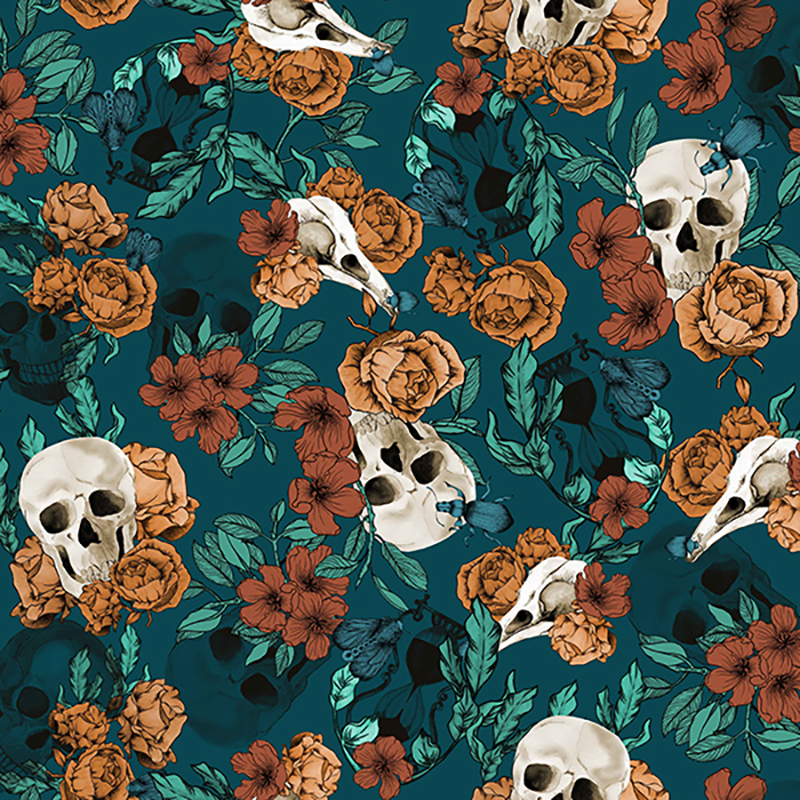 ‘Skulls and Roses’ by Ianny Bastos
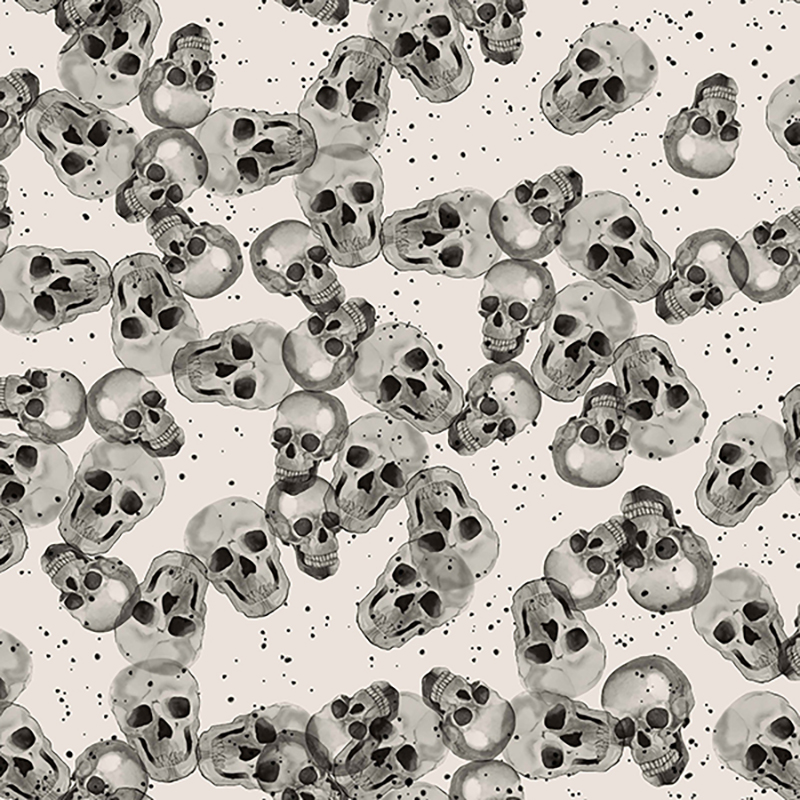 ‘Monochromatic Skulls’ by Ianny Bastos
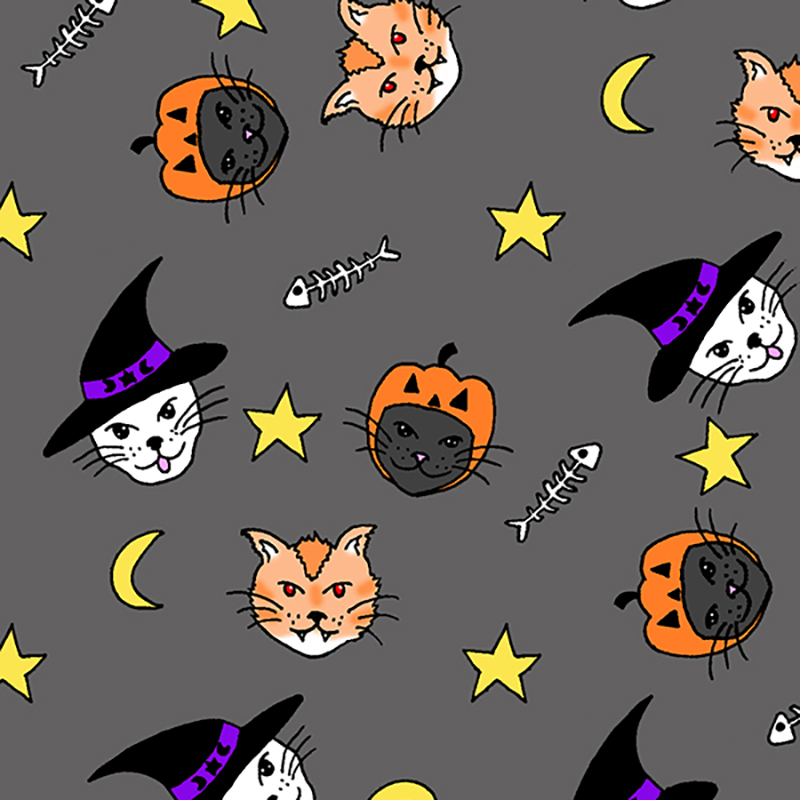 ‘Spooky Costume Cats’ by Ella Mackay
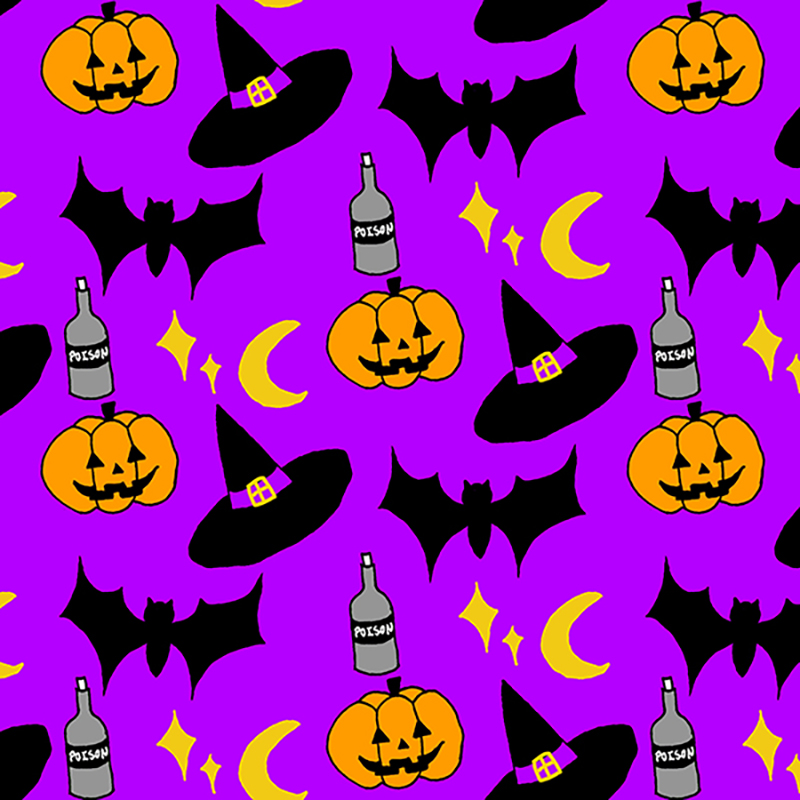 ‘Spooktacular Halloween’ by Ella Mackay
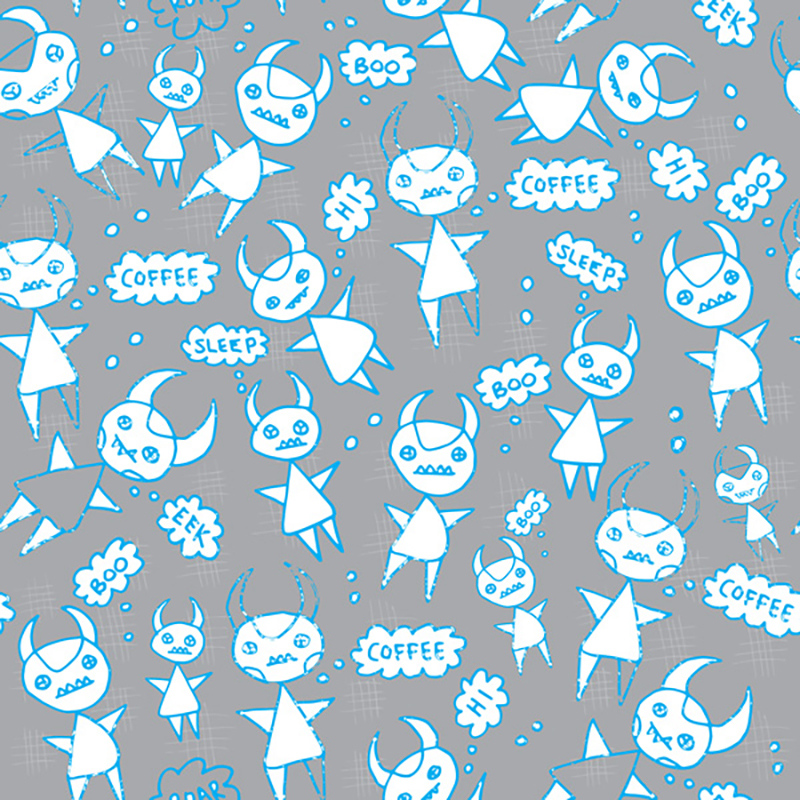 ‘Coffee Monsters’ by Louise Addison
