How to set up placement print
WHAT IS PLACEMENT OR ENGINEERED PRINT
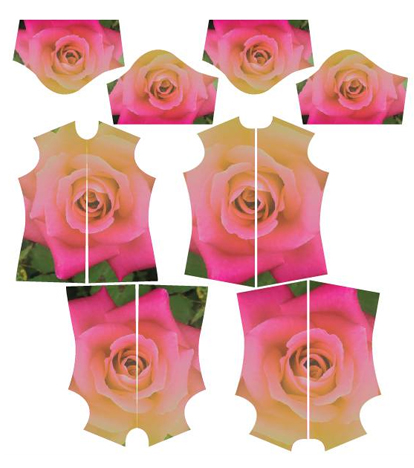
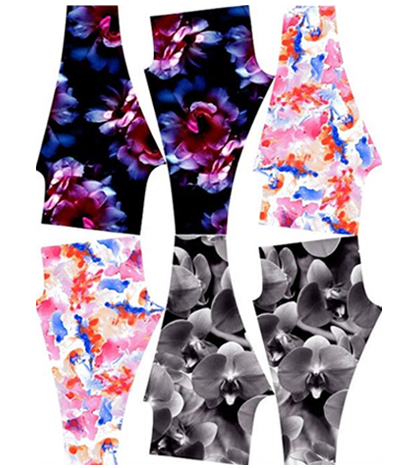
Placement prints or engineered panels are a great way of controlling the position of a design for a specific product. The design is created to the scale of the product and, in contrast to a continually repeating seamless tile, when printed digitally, can be printed as strategically placed pattern pieces across the printable area of the fabric. Placement printing offers control and consistency of the exact position of the design across the products. With a digitized pattern or known product dimensions e.g. a cushion cover size, a design can be digitally laid over the shape and printed as such. While engineered pattern panels are perhaps more commonly used for fashion garments, especially custom printed swimwear and active wear, the same idea or process can also work for home and interiors styling, like custom cushion covers, custom curtains and upholstery.
PLACEMENT AND ENGINEERED PRINTS EXAMPLES
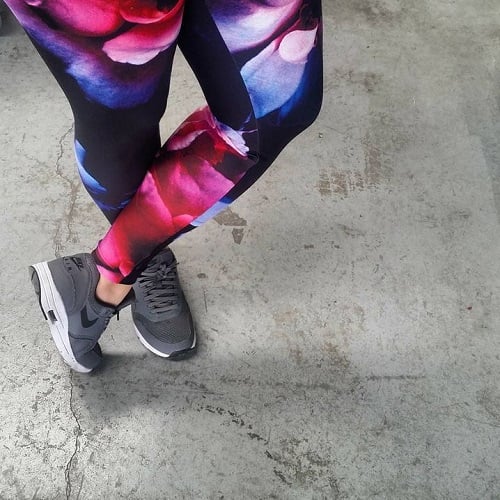
LEGGINGS
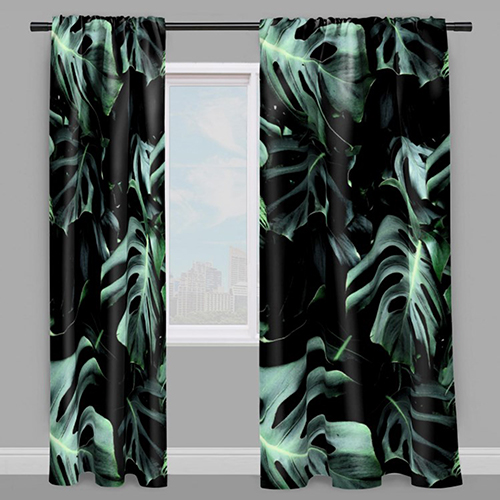
WINDOW CURTAINS
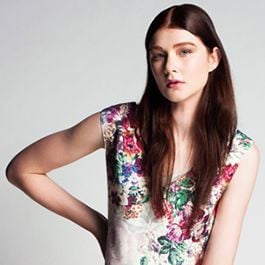
DRESS
BRANDED TABLE CLOTH
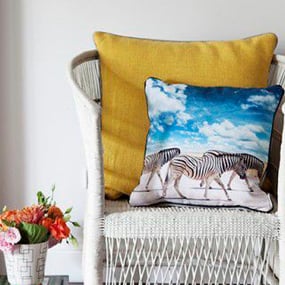
CUSHION
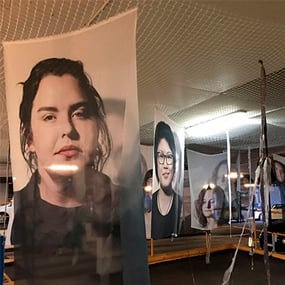
PHOTOGRAPHIC DISPLAYS
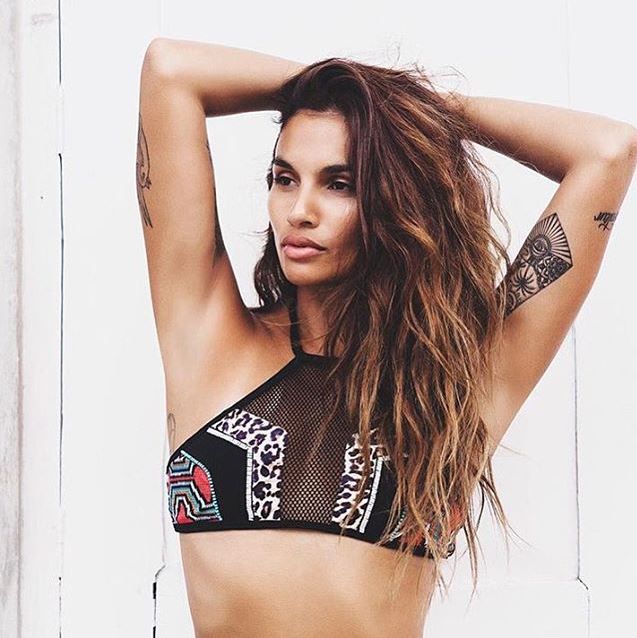
SWIMWEAR
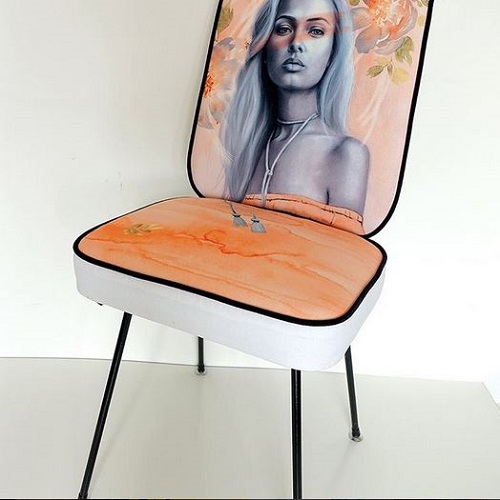
UPHOLSTERED CHAIR
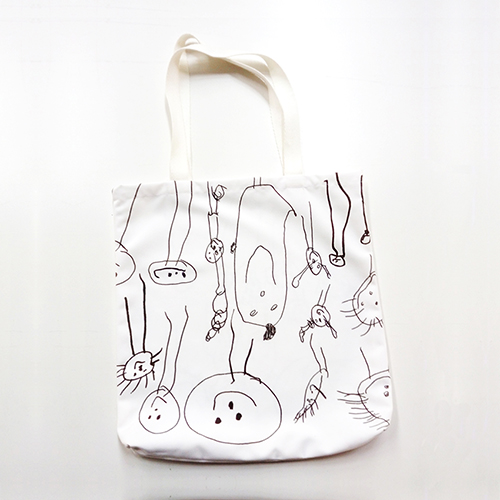
TOTE BAG
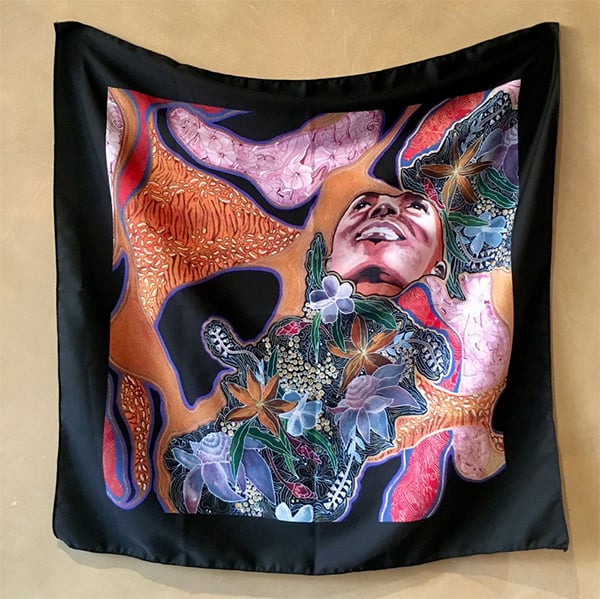
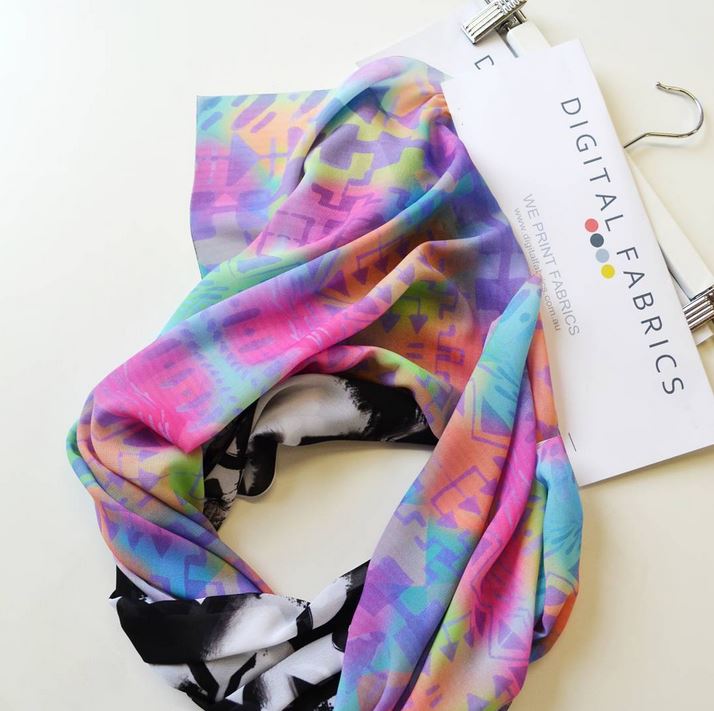
SCARF
CUSHION COVER ARTWORK SET UP
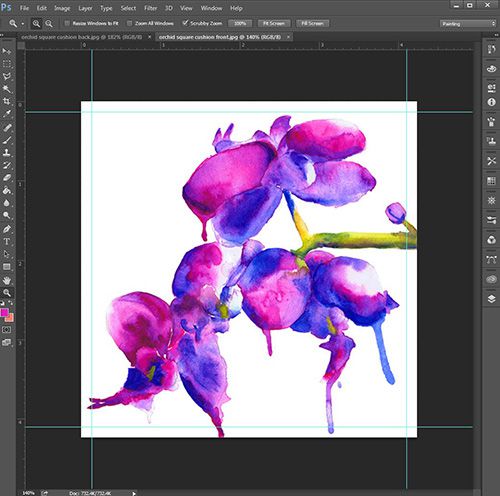
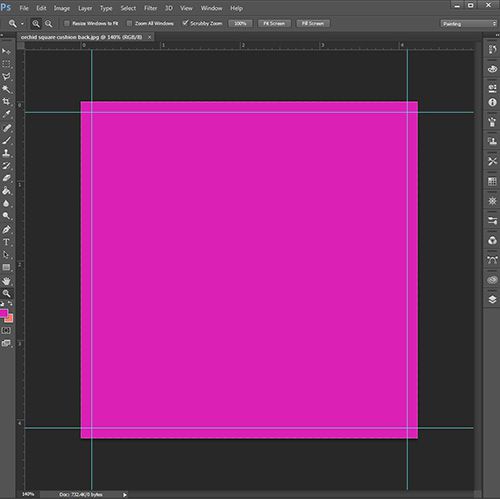
Create a new canvas in Adobe Photoshop or Illustrator in RGB colour mode, 48 x 48 cm for finished size cushion cover of 45cm x 45cm including 1.5cm seam allowance on all sides of the cushion covers.
When you are happy with the results you can flatten your artwork and save it as either a JPEG or TIFF. Repeat these steps for the back of the cushion cover, if you want a certain colour for the back of the cushion cover, drop in the colour you want into the layer.

To help remember that there is seam allowance on the artwork put guidelines on all sides 1.5cm in. Place an artwork on art board, play around with the placement until you get the look you are after and be mindful that anything outside of the guidelines will be sewn in.
HOW TO SETUP MULTIPLE IMAGES INTO ONE FILE
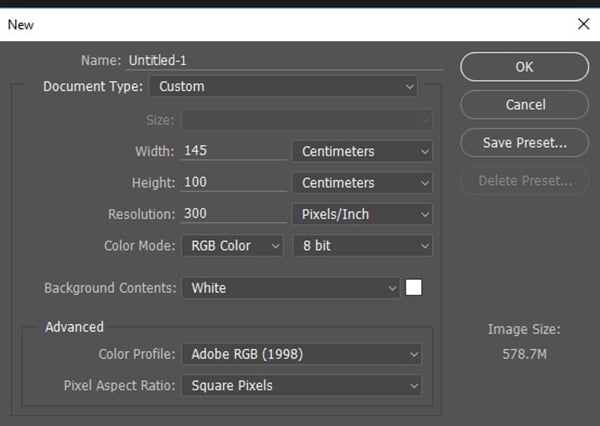
Create a new canvas in Photoshop, to the width of the fabric x the length required. The width of the canvas will be determined by the fabric width. Keep in mind the printable width of each of our stock fabrics can be different and varies between 135 -147 cm. New document resolution is determined by the image quality of the images that are being collated into the one file. TIP: If you think you’re using low quality images keep resolution low as well 72-150 DPI. Colour mode is RGB.
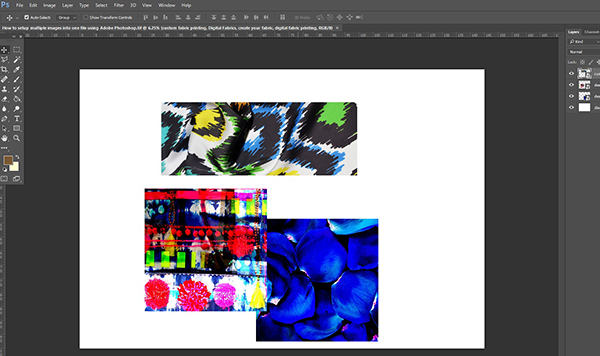
Arrange files within canvas space as needed. Use Free Transform option, located EDIT > FREE TRANSFORM, to change the size of each image or simply type the size required in the dimension options.
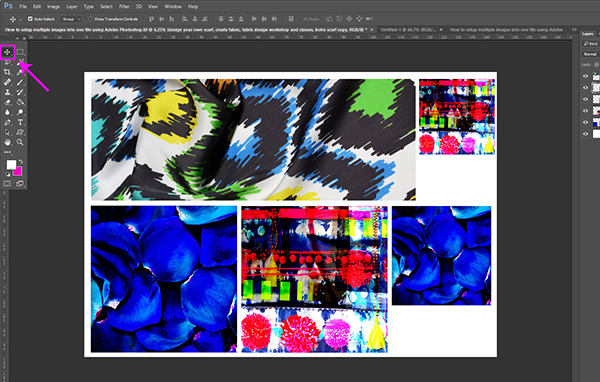
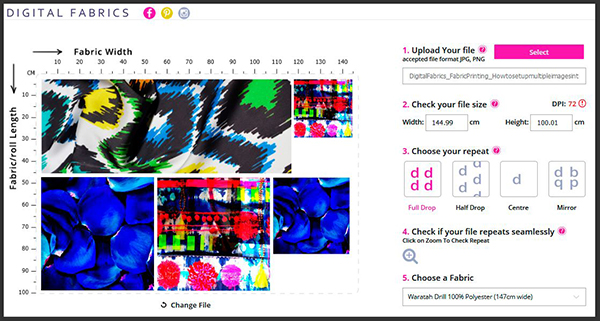
Save file as JPEG at high quality. When ready to place your order you can upload your file into our Online Fabric Uploader or contact us if you require further assistance.
Drag and drop required files onto newly created canvas.
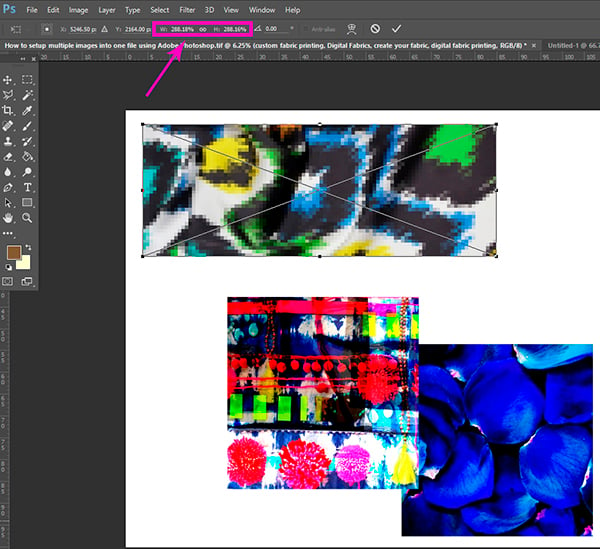
Once sizes have been determined, use the Move Tool to arrange the images to your liking within the canvas space.
PLACEMENT PRINTS TUTORIALS, PATTERNS & TEMPLATES
PLACEMENT PRINT SET UP TUTORIALS
TEMPLATES & PATTERNS
TEXTILE DESIGN SERVICES
Does everything above sound a bit too complicated? If you need help with placement print development and set up, we will be happy to assist you with an artwork preparation and placement print layout development.
Please ask us for more information on the digital textile design services you can employ to get your prints looking great!
