Tag Archives: custom fabric

Snippets: Chats With Creatives – Series 1, Snippet 1

Snippets’. Chats with Creatives. Here at Digital Fabrics we love everything print, pattern and colour and we love to know what makes designers tick. This series is all about asking some fun and different questions and learning about the inspirations and ideas behind the artist and their work. We hope to inspire others by sharing snippets of these creative stories. We gave the artists and designers featured a varied list of questions to choose from so we will learn something new from everyone involved, should be fun!

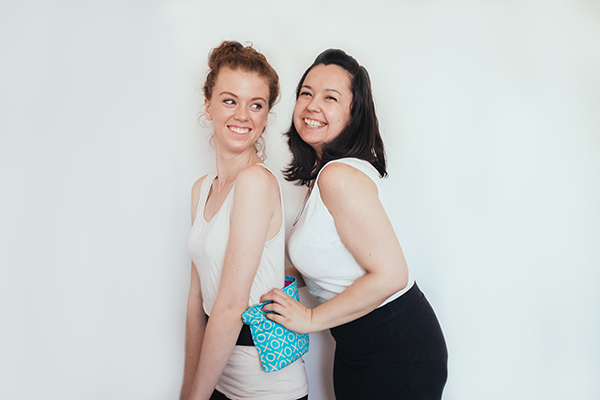
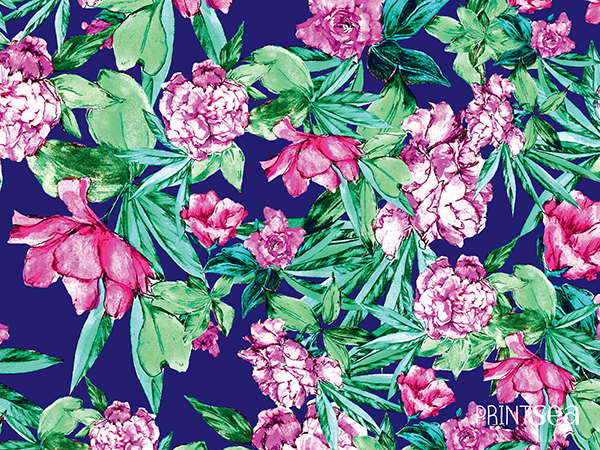
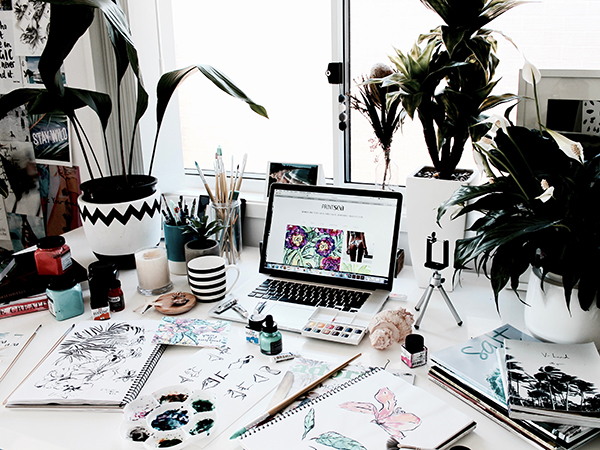
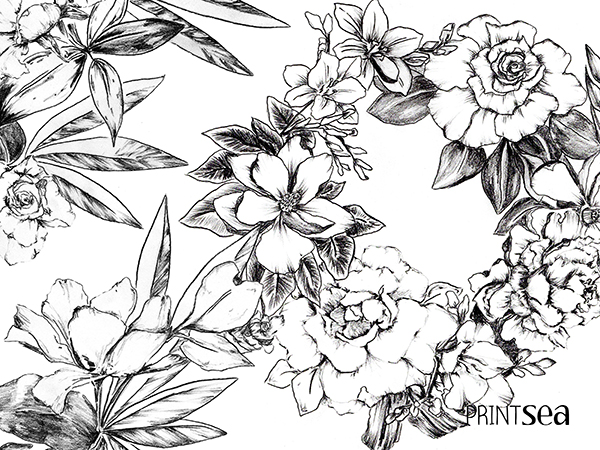
Today on Snippet’s we are talking to Shyanne Clark, the swimwear and textile designer behind ‘Printsea’ a print design brand who love to spread sparkle and magic and inspire others to do the same.

textile designer Shyanne Clark

The Snippety Snips:

Tell us a bit about yourself and what your creative practice is, how and when you began:

I’ve been a textile fabric designer for the past 5 years. My style is very mermaidy and I love tropical florals, so my business PRINTSEA has naturally progressed to helping bikini designers find their signature style and launch beautiful labels.

I am such a cheerleader for people doing what they truly love, the things that make them all sparkly inside. I was always that kid that didn’t know what I wanted to be when I grew up, I didn’t fit in one of the boxes. I think it’s because I didn’t know this job existed or how all my talents could come together to be something. I adore what I do so much and its always growing and changing me. I feel so grateful that I listened to my heart and followed its windy path, you learn so much along the way and I would love that for everyone. I get giddy just thinking about it.

At the moment I’m creating a signature range of beautiful hand designed, high vibrational pieces. There is such magic in colour and creativity. My hope is that each piece will add a little extra sparkle to your day and that owning a piece will feel like a precious treasure that brings you many heart swelling, quiet smiles and inspires your soul.

Shyanne Clark PRINTSEA_digital fabrics_custom fabric_fabric printing 7

Shyanne Clark PRINTSEA_digital fabrics_custom fabric_fabric printing 8

What would your dream creative project look like?

I’ve actually got a bit of a fascination with creating a print that would cover a whole aeroplane. Could you imagine a giant bunch of gorgeous flowers flying through the sky. Instant happiness I reckon. I wonder if Richard Branson would let me print wrap a Virgin plane for fun?

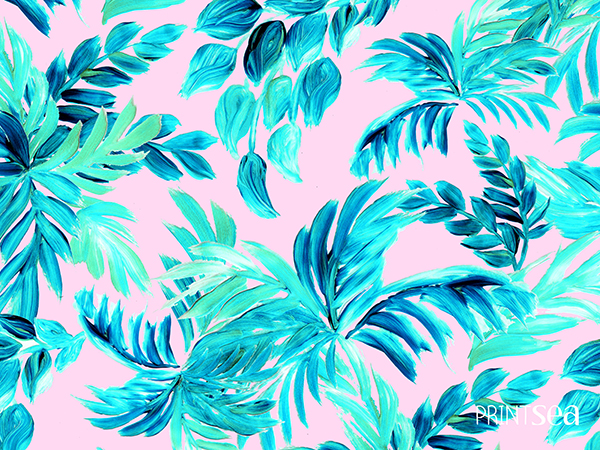
fabric design Shyanne Clarke PRINTSEA

In another life what natural talent would you wish for?

I’m pretty much tone deaf, sometimes I’ll sing + scare myself with how out of tune I am. I have always admired people that can make your heart swell with emotion from their singing voice. I’ve secretly wished that I could do this, but in saying that, I wouldn’t want to trade my talent of drawing flowers. Can I have two natural talents?

Shyanne Clarke PRINTSEA_digital fabrics_custom fabric_fabric printing 5

Which part of the creative process is your favourite and why?

I absolutely love the moment when the inspiration strikes + your imagination goes all bright + sparkly. You can’t wait to birth this creation that’s swirling around inside. It’s just such a rush of ecstatic excitement. I love that part. The finished piece is pretty amazing too, but the journey is the best.

Shyanne Clarke PRINTSEA_digital fabrics_custom fabric_fabric printing 3

Which other Australian designers, artists or creative people are you enjoying at the moment?

I adore Annie Everingham. Her paintings evoke so much feeling. They are so happy and beautiful. I could stare at their gorgeousness for hours.

Love your Locals:                                      

 City/Town/Village where you currently reside:

I live on the beautiful Sunshine Coast, some people say, it’s like what Byron Bay was 20 years ago.

Favourite spot for a bite:

There is a gorgeous cafe at Rosemount called ‘GURU Life.’ The brother sister team roast their own beans + it truly is enlightenment in every cup, they have delicious raw treats and the staff are super friendly.

Secret Inspirational spot:

Well if I told you, it wouldn’t be a secret! … I actually adore the Noosa National Park, it’s a stunning feast for your eyes and soul (and a good workout if you walk all 8kms.) On a great day you’ll see turtles, whales + koalas.

Shyanne Clarke PRINTSEA_digital fabrics_custom fabric_fabric printing 2

Feeling inspired by Printsea to start a swimwear brand? You can buy her E book here.  AND she is currently running a promo where you can purchase 1 print and get one for free with the code: PRINTME until August 17th, then you can print it onto lycra here at Digital Fabrics and start YOUR creative journey.

X

You can follow what Printsea is upto:  Website, Instagram, Facebook.

Save

Save

Save

Save

Save

Colourful Bunch by Sharon Wilson

floral design Sharon WilsonNot going to lie it’s very nice getting sweet notes of appreciation from our customers, but more than anything we love receiving photos of makes and completed projects. We just love seeing what fabrics that we have printed has become. Sharon Wilson surprised us recently with images of her amazing colourful creations, box pleated skirt & boxer shorts, she used her photo to create this beautiful floral fabric. Her honest feedback and tips and tricks on working with Aerocorp fabric are truly appreciated and we are sure will be really helpful and inspiring to other sewers. Here is what Sharon wrote:

About 7 years ago I took a digital photo of this colourful bunch of flowers in Switzerland.  After seeing what Digital Fabrics could offer with their range of fabric types, I couldn’t wait to order the Aerocorp fabric and make a knee length box pleated skirt with waist yoke.  It turned out beautifully and there was even enough remnant to make a pair of boxer shorts .

print your own fabric, make your own skirt, fabric printingmaking shorts, sewing project, make your own clothes

  • I found the Aerocorp not difficult to work with.  As the website said, it did have a soft handle and cotton look and feel, however it was resilient, as 100% polyester is, but with a good press, it is easy to tame into place or make a crisp line where necessary.
  • Aerocorp fabric has a tendency to unravel immediately after being cut.  So don’t over handle it, and make sure that raw edges are tamed as soon as possible. 
  • The skirt has a lovely drape and swing to it.
  • I probably would not make a top out of it unless it was for a cooler climate and a dressier look.  
  • If the print is very busy (as this one was) you could even possibly get away with not ironing it – great for traveling. 

The fabric order delivery was on time and well packed.  Inside was also a sample pack which I really appreciated because sewers really need to feel a fabric to gain good judgement on what to use.  I would definitely recommend this service and am tempted to order again some time in future.

If you are like Sharon have a creative project in mind and would like to print your own fabric, you can upload your design and start creating right away here.

Save

Create a strong identity for your brand through Fabric Print and Design

We live in a hyper-visual world, where imagery dictates your rating. The increasing need to have a positive impact on sales especially high in a vast and competitive design world.

That is why print design is becoming an increasingly utilised tool in any designer’s tool kit, be it swimwear, stationery, fashion, brand or home wears designer. Print designs, surface design, patterns they called different but carry same purpose, is to capture people’s interests in instant, unifies the design collection and creates point of difference from other brands.

For example Tigerlily always been known for they boho and travel inspired prints and easily recognised in Australian fashion market.

tigerlily swimwear boho summer tunic

Say, We Are Handsome and beautiful swimwear with stunning photographic print design are evoked.

we are handsome swimwear

But what if to take print and fabric a bit further? Doesn’t this collaboration open more door? There are so many ideas and product that can be created with using fabric as a base medium.  Don’t think of a fabric as a cloth on a roll.

Would be a wedding invention a luxurious idea to make your invitees fill extra special and setting the tone of your weeding?

handmade-farm-wedding-fabric-invintations

Fabric packing is very unique concept too, wrap your product, or even how about envelops or business cards?

restorationhardwarepack3

To archive all the above ideas is a breeze now days. We live in the new era of digital printing technologies. Fast, cost efficient, ecofriendly they opens doors to the craziest creative projects!
That is why we are in love with digital fabric printing!
Save

Design Your Own Leggings – How to prepare legging pattern for fabric printing in Illustrator

Garment making and production can be daunting and a complicated process especially placement or engineered printing. A lot of time and effort goes into research and understanding where to start. We have put together tutorials on how to design, work with and prepare legging pattern for digital placement fabric printing. For this tutorial  you need to be proficient in Illustrator or at least have basic knowlage. Our tutorial is based on industry standards. This technic can be applied to printing other products such as bikinis, t-shirts, singlets , dresses etc.

How to prepare legging pattern for digital fabric printing in Illustrator

Open the PDF file in Illustrator. You can purchase our digital leggings pattern on our website or use your own.

The top left square will help you determine if the scaling of your patterns are correct, this square should always be 10x10cm.

Select the size you’d like to have printed (we have selected size 10) and while holding shift also select the scale square. Copy selection

leggings_design_pattern_tutorial_printing_digitalfabrics_1

You’ll now have to create a new document. Make sure to set up to the width of the fabric (we’ve chosen to proceed with matte Lycra which as a printable width of 147cm)  x the length of the print, this size legging will not exceed the 1 metre.

Design_tutorial_digitalfabrics_printing_2

Paste the pattern piece and square scale into new artboard. The left and right hand side is where the selvage of your fabric will be, make sure you always keep the grain line (line within Patten) parallel to the selvage.

Tutorial_fashion_legging_fabric_printing_3

You can now double check the square scale which should remain 10x10cm and delete or move off the artboard and position the legging where you’d like.

fabric_printing_pattern_legging_fashion_4

Rotate your leggings so that they are the right way up, make sure that the centre line (grain line) is always parallel to the selvage (left and right sides of your artboard). Select the pattern including all notches details and grain line and rotate while holding down the shift key to ensure it rotated exactly how you need it.

right_legging_pattern_design_tutorial_diy

To make a pair,  copy this leg pattern by selecting the shape of the pattern and once selected go to Object>transform>reflect and select vertical Axis and click copy.

layout_tutorial_design_fabric_printing_5

You now have a pair.

Leggings_ pattern_design_fabric_printing

You can now delete the grain line and text, but keep all notches, you will need them for making. For this tutorial we’ve left the text from one of the legs to print, if you are thinking about printing several sizes it will very helpful to have this information next to each size to avoid confusion. Notches are the little nicks which are around the patterns which will help when constructing the leggings.

Copy all notches and paste into new layer for later use.  Make sure you select all notches and if for any reason you are moving the legging pattern make sure you select the notches layer so that they move together.

Notches_design_tutorial_leggings_patterns

layers_legging_pattern_digitalfabrics

Open up the design you would like to use, make sure the design has been setup slightly larger than the legging pattern size roughly 110cm long x 65cm wide and copy and paste into the artboard.

Select design >object>arrange>send to back.

arrange_layout_setup_legging_print_fabric

With both the artwork/design and legging pattern selected Object>clipping mask>make. Now you can only see your design in a shape of a leg pattern.

clipping mask_ilustrator_tutorial_diy

Repeat for other leg.

Select all notches in other layer and change the colour so they become visible.

notches_fabricprinting_design_print_leggings

Group all layers including leggings and notches and centre, your file is now ready to submit to have printed.

group_fabric_printing_legging_tutorial


Save

Save

Save

Save

Save

Designing Fabric: How To Make A Repeat Pattern – Full Drop Repeat in Illustrator

Get your math skills ready for this fabric repeat pattern tutorial in Illustrator. We would recommend to start with repeating simple objects first to understand the concept of repeating pattern in Illustrator, once it is understood nothing will stop you to create!

Full Drop Repeat in Illustrator

Either open up an existing illustrator file or begin by developing your vector image that you desire to repeat. We have started with a basic spot, varying the size and colour to add variety and this will form the base of the repeat.

full drop 1

Set up your art board to your desired repeat size. This depends on your end product, but to start off with, work with squares to help with calculations. We have set up my repeat to be 32 x 32 cm. For interested sake, this is a standard rotary repeat set up. Place your initial artwork to the top left corner of the art board, letting it hang over the edge.

full drop 2

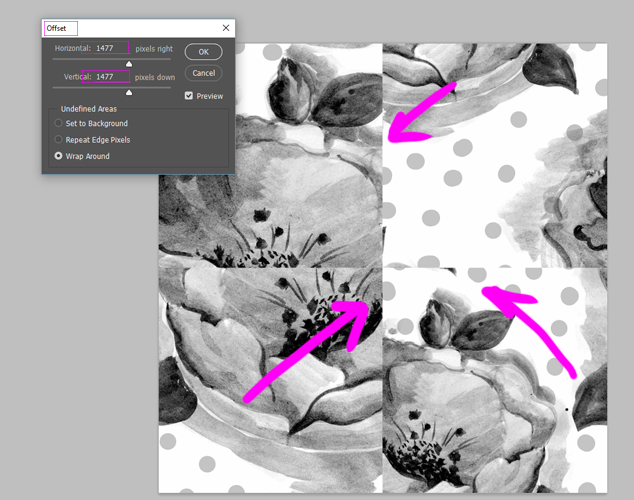
Select all objects (sometimes helpful to group them so you don’t miss any when duplicating). Double click on the black selection tool in the tools panel and a dialogue box will appear.

full drop 3

This is how you can move objects an exact amount i.e. the repeat size and know that all objects within that repeat will align perfectly.

First duplicate the selected objects the repeat size down or vertically. This repeat is 32 cm, so they are moved 32 cm vertically.

Make sure the horizontal value is 0. Click COPY.

full drop 4

full drop 5

Now repeat horizontally by selecting both groups of objects along the left side. When in the move dialogue box make sure the horizontal value is the repeat size and the vertical value is 0. Click COPY.

full drop 6

full drop 7

Now is the time to fill in the blank space in the middle with additional objects.

Tip: Lock the three extra sides of the repeat or put them on a separate locked layer so they can be easily deleted in a following step. This may require some more advance knowledge of illustrator, but don’t let this deter you if you are new, it could be helpful in mastering the program! The level of difficulty here will greatly depend on the style and type of original artwork you are using and will call into play several design elements and principles such as space, balance and unity. Watch out for anything that forms a definite line or track mark through your design. You may need to shift or adjust parts of your original artwork to make the repeat work, in which case is can be a good idea to work in layers (with a copy of the original locked) in case you want to jump back to the beginning.

Work towards filling in the edges, duplicating them down/across to the repeat edges, till all you have is the middle to fill.

full drop 8

Continue until you are happy with the flow and feel of the design.

full drop 9

Now delete the three extra sides that were locked or moved to another layer. Then repeat the duplicating sequence with all the added areas/dots of the design. This will help you check anything that may have doubled up or just doesn’t look right in the repeat.

full drop 10

full drop 11

full drop 12

full drop 13

full drop 14

When you are satisfied with your repeat tile, you can set it up for digital fabric printing. Position two repeat tiles (vertically) so they hang over the left side of the art board. Increase the artwork WIDTH to the width of the fabric (in this case 147cm), keep the height of the art board as the repeat size.

full drop 15

Duplicate the selected objects across the width of the art board so it is covered completely. Tip: Once you have used the move tool to move the exact repeat size and clicked copy, ctrl D to duplicate the exact last action.

full drop 16

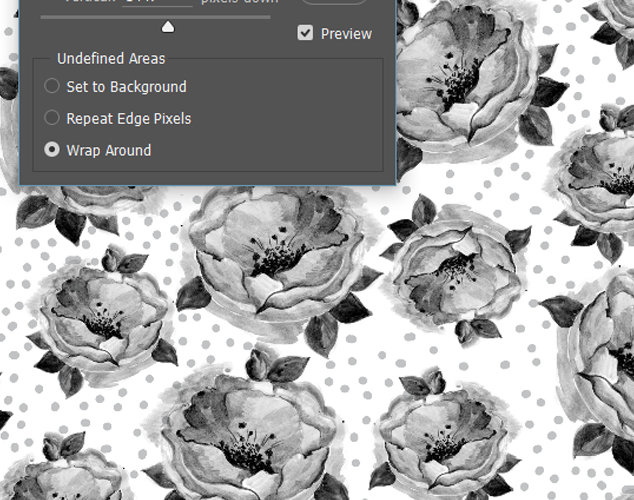
Save As a PDF. Even though there are objects hanging off the edge of the art board, because they have been moved the exact repeat size, they will all meet up when printed seamlessly. This is now your Full Width Repeat Tile which repeats top and bottom you can use it for digital custom fabric printing.

full drop 17

Save

Save

Save

Save

Save

Super Easy Baby Blanket DIY

Katy Dee from Letter 11 recently printed custom fleece fabric with us to make comfy baby blanket for her little nephew and shared her creative process with us.  Get creative, make your own fleece blanket, its super easy!

You will need:

  • Custom printed fleece fabric, the beauty of this fabric is that you can make a blanket without using filling or backing fabric. One layer of fabric is enough to get comfy and snuggly. You can order your custom fabric here!
  • A sewing machine.
  • Bias Binding, you will need enough to go around the entire blanket. For this a 1.5m x 1m fleece blanket used just over 5m.
  • Dressmaking pins and scissors.

sewing space, creative space, baby blanket DIY, custom baby blanket, design your own baby blanket, custom fleece fabric, print your own fabric

  1. Cut your custom fleece fabric to the size and shape you want, in tutorial the blanket is 1.5m by 1m which is big and snuggly! A square would also be cute.
  2. Find a spot around half way down the longest length of blanket to start pinning the bias. To pin you fold it naturally in half with the flaps on the inside and wrap it around the blanket pinning all 3 layers together like a sandwich. Carry on pinning the binding all the way to the corner. baby blanket DIY, custom baby blanket, design your own baby blanket, custom fleece fabric, blanket fabric
  3. Now it’s time to begin sewing…. Using running stitch and the colour thread of your choice, pop the blanket in under the machine foot and do a few back stitches first to secure the bias.  Then continue sewing on the inside edge of the binding and down towards the corner following and removing the pins as you sew….baby blanket DIY, custom baby blanket, custom fleece fabric, blanket fabric
  4. To wrap the bias binding around that corner nice and neatly, fold the corners down to create a diagonal fold and pin this into place. At this point, also pin the binding along the length towards the next corner. Sew slightly into the diagonal fold, stop to rotate the blanket so you can sew another side of the blanket bias and continue to sew all around the fleece blanket. baby blanket DIY, custom baby blanket, custom fleece fabric, blanket fabric, print your own fabric
  5. When you are nearly at the point where you began sewing, do a few backstitches and remove the blanket. Cut the binding neatly so there is just a 4-5 cm length left. Fold this in on itself and pin down into place creating a neat hidden pocket. Now you can pop the blanket back in and sew that last little bit up! Don’t forget to finish with a few backstitches for safety!baby blanket DIY, custom baby blanket, custom fleece fabric, blanket fabric, custom blanketKatyDee_baby_blanket_playful_print_fabric_design_colourful_hearts_rainbow_fleece

And there you go, a super cute baby fleece blanket!

baby blanket DIY, custom baby blanket, design your own baby blanket, custom fleece fabric

Save

Save

Save

Save