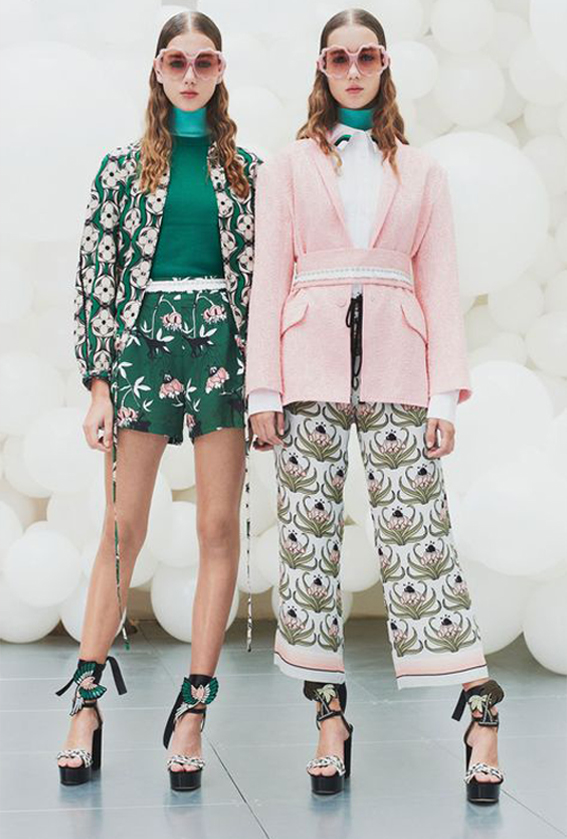
Designing abstract textural prints may seem like a challenge, but by selecting the Mirror Repeat Feature when using our Online Uploader, your designs can be taken to the next level with minimal fuss when it comes to repeating your design. Here’s an easy to follow tutorial put together by one of our fabulous interns from 2018 – Emily!
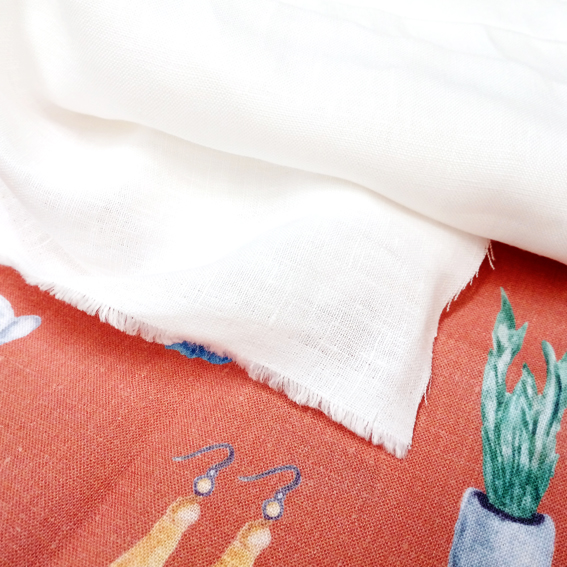
Firstly, start out by creating your own designs and then scan them into your computer. We recommend to scan your artwork at 300dpi and in RGB colour mode.
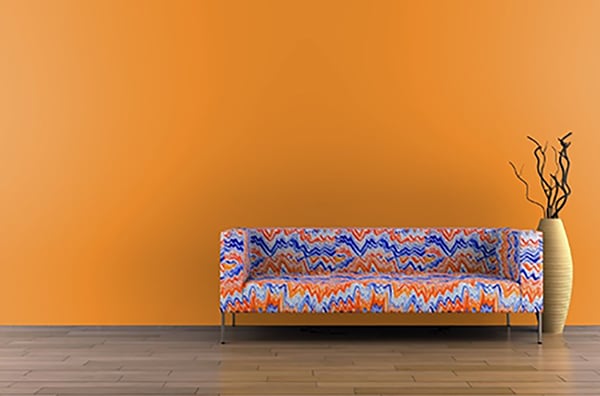
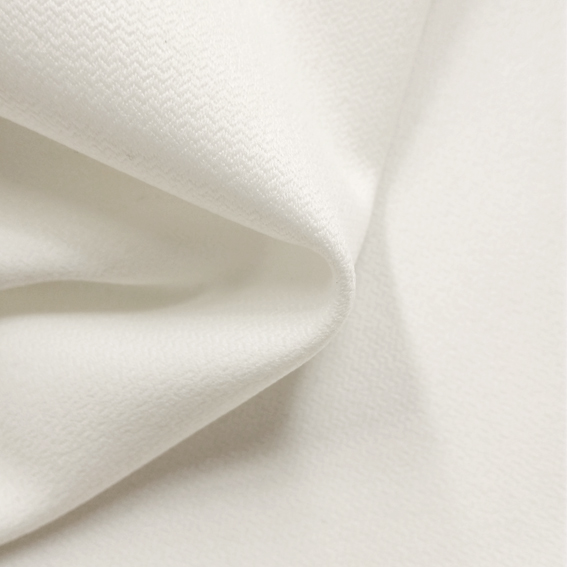
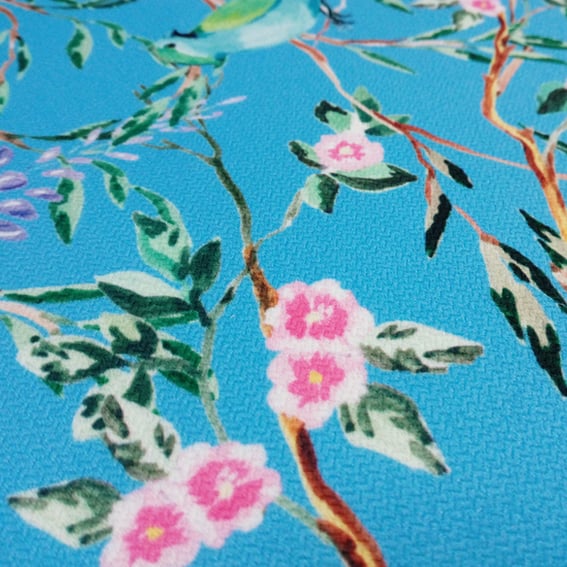
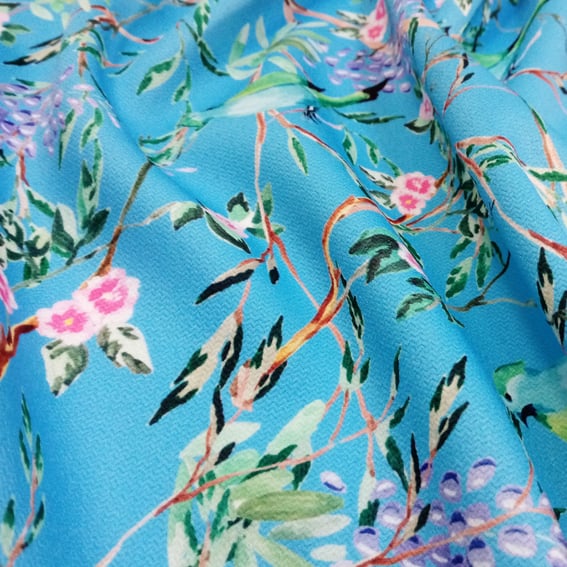
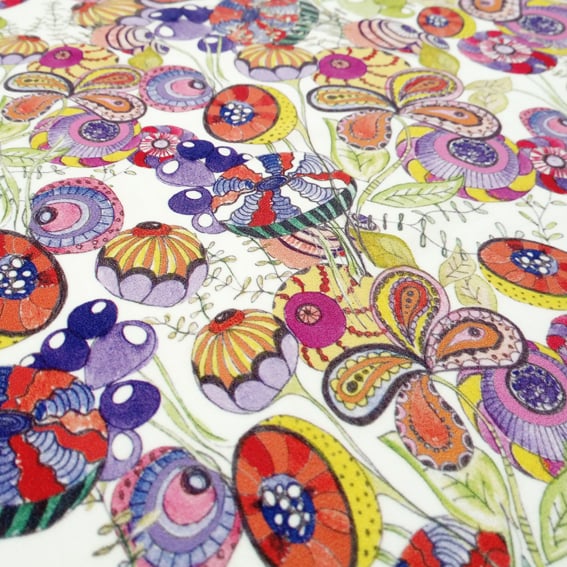
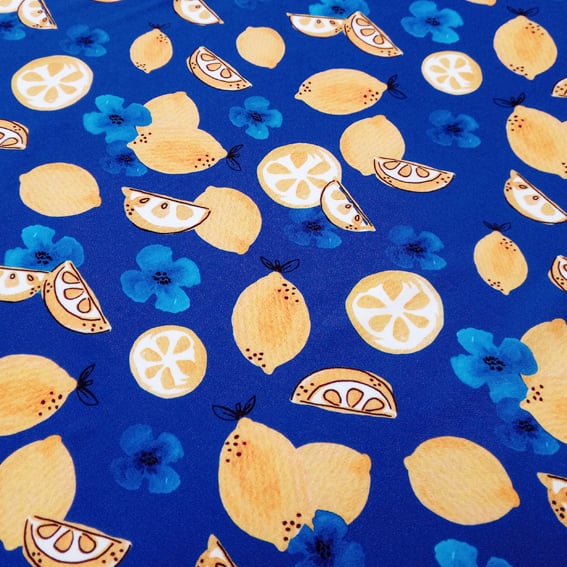
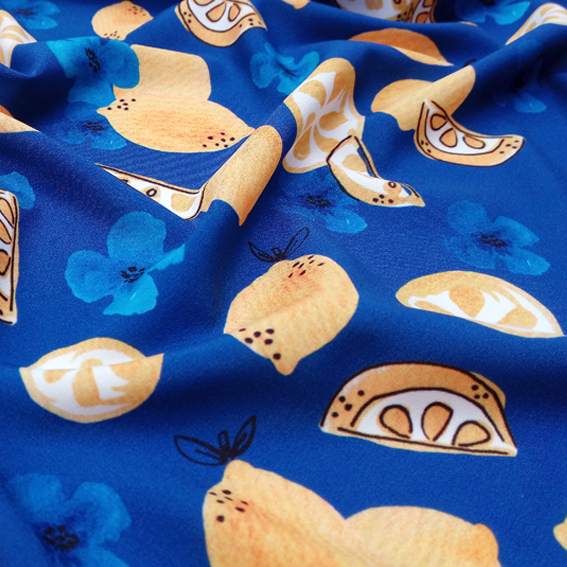
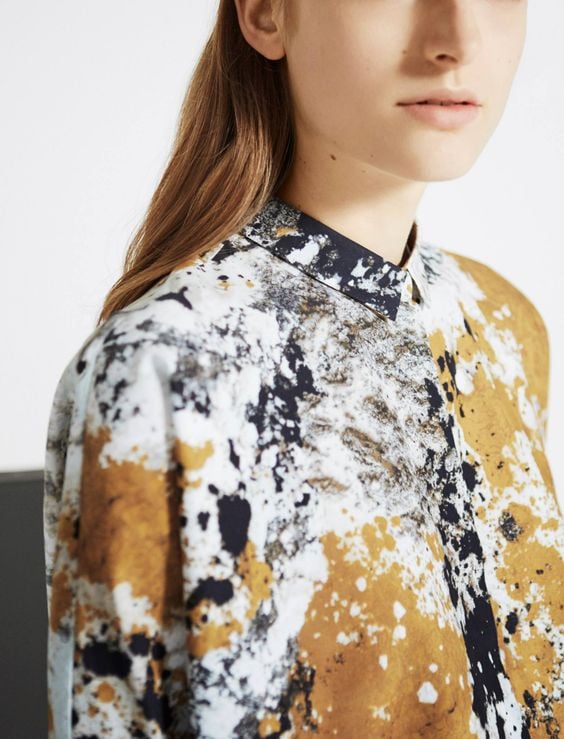
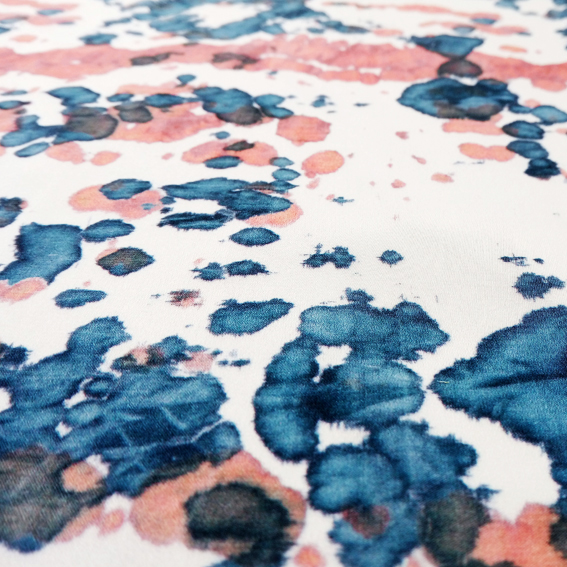
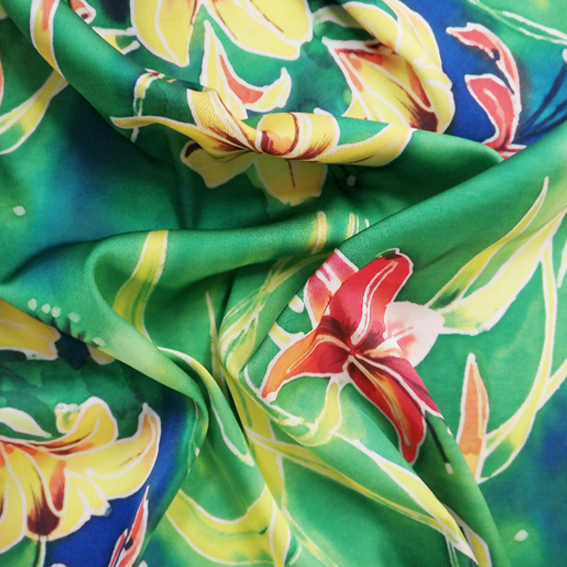
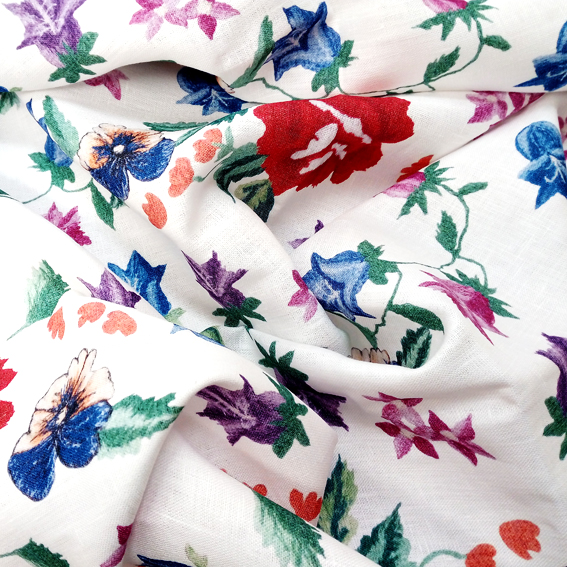
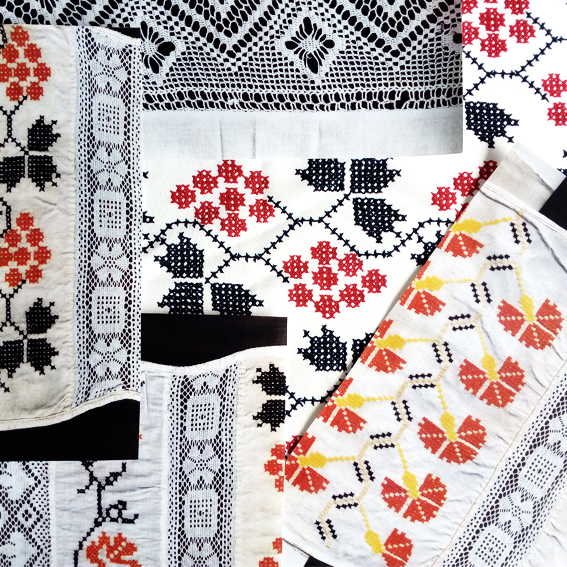
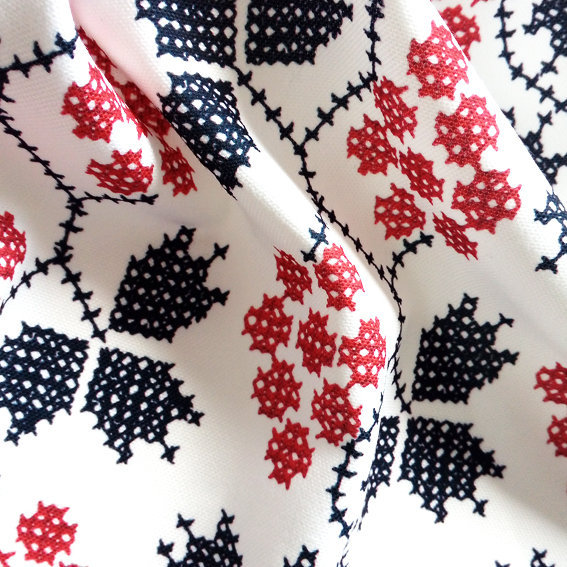
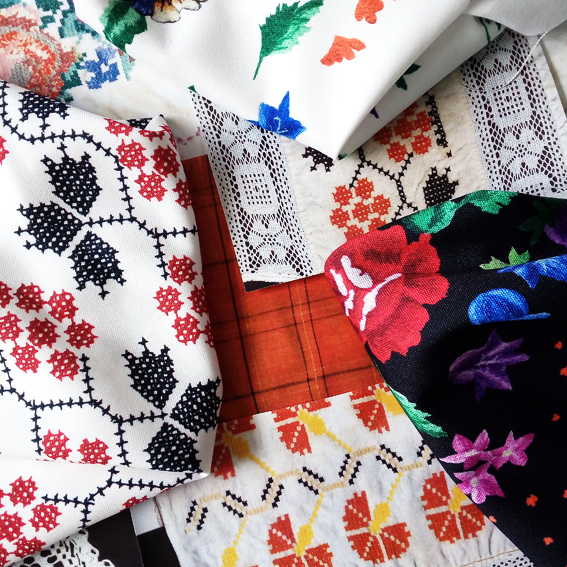
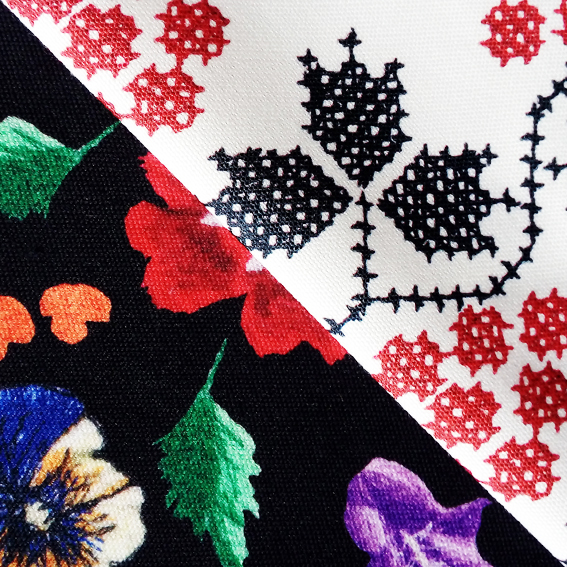
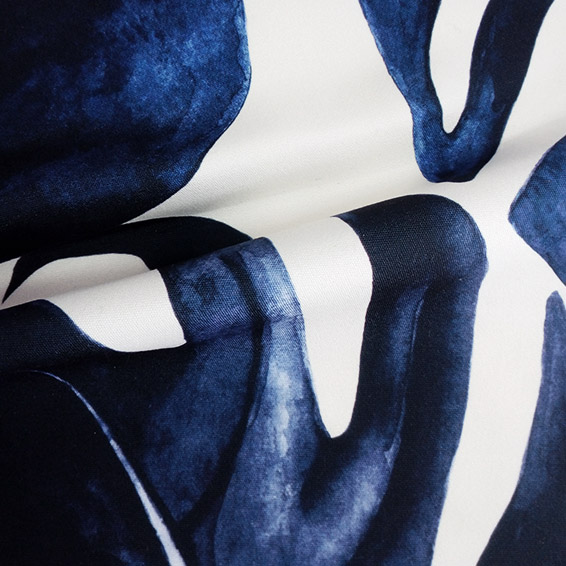
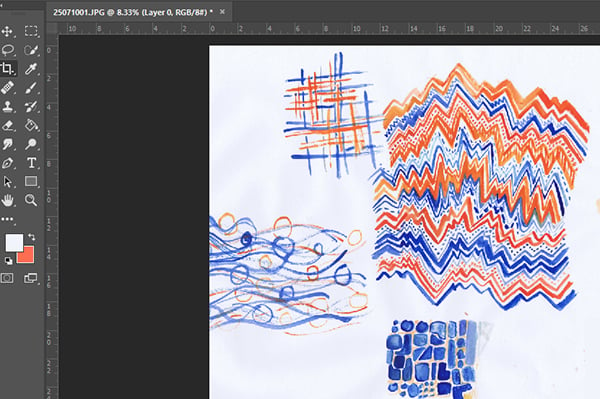
For our artwork we decided to play around with line-work and contrasting colours to create a high energy zig-zag effect.

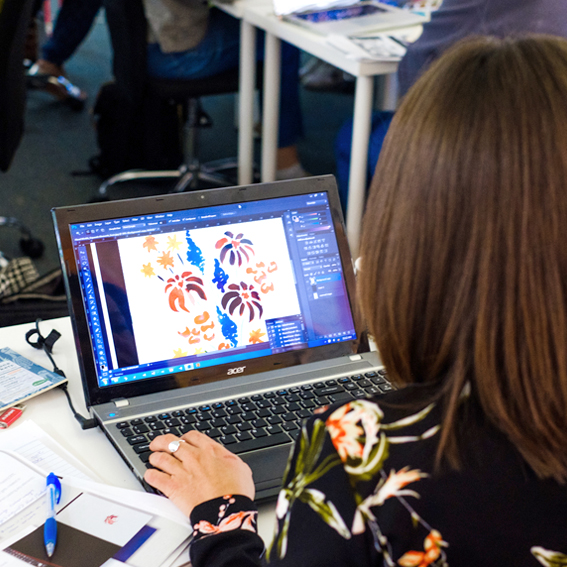
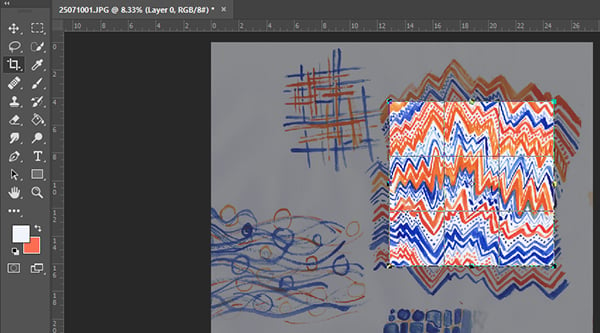
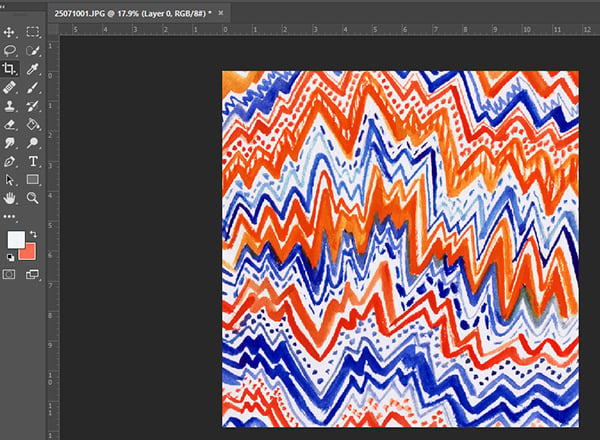
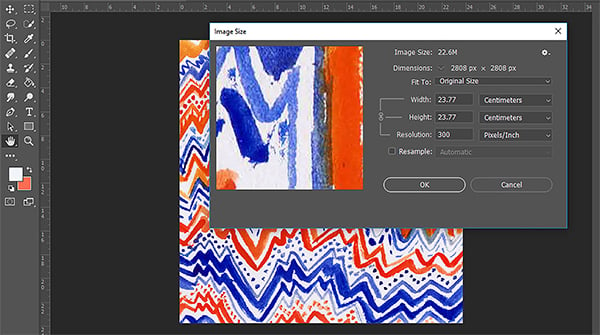
Open the design in Adobe Photoshop. It’s at this stage that you can edit your artwork if it requires any tweaks, such as changing the colours or removing / cleaning up elements. Once you are happy with your artwork use the crop tool to crop your design into a rectangular tile.
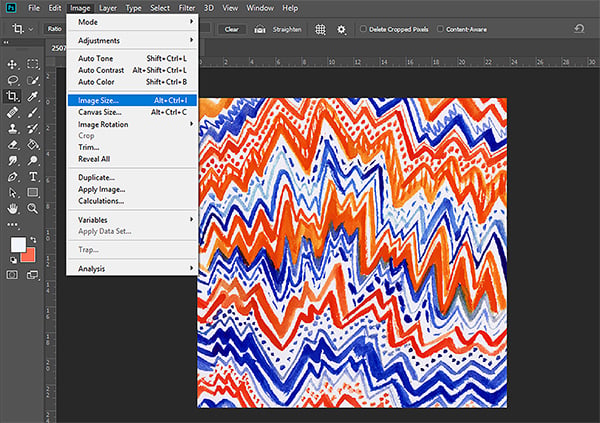
Check the size of your image by selecting ‘Image’ > ‘Image Size’ from the menu bar in the top-left of your screen. If the dpi of your image is larger than 300, please reduce it to 300dpi. If the dpi of your image is less than 300 you can keep it at this size. Please note we recommend artwork for digital printing to have a dpi of at least 150 for best results when printing onto fabric.
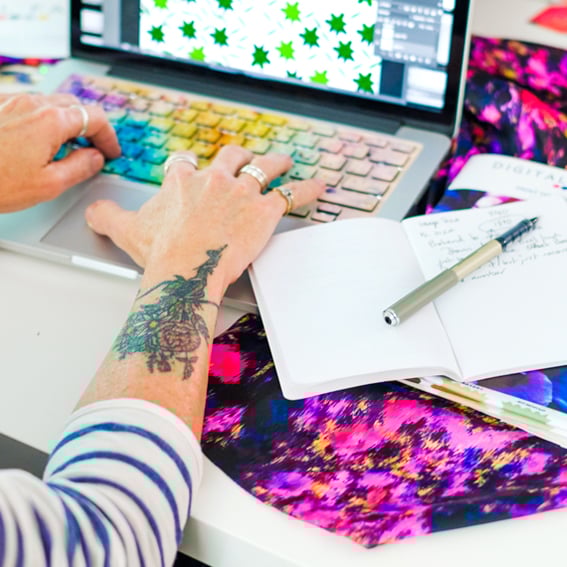
Save the tile as a JPEG so that it is compatible with the Online Uploader.
Next head to our website! The Online Uploader is available either clicking here or by copying & pasting this link: www.digitalfabrics.com.au/custom-fabric into your browser. Use the Online Uploader to upload your design. After the file has loaded you should see it in the fabric preview window.
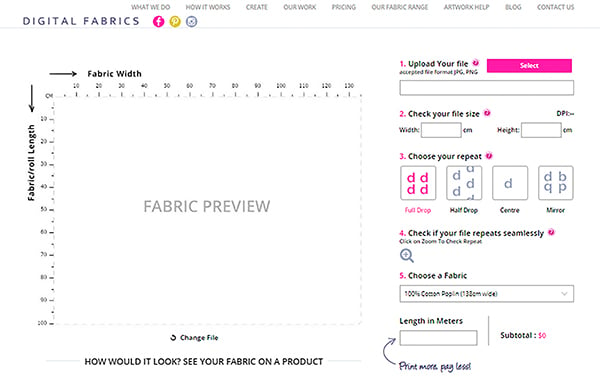
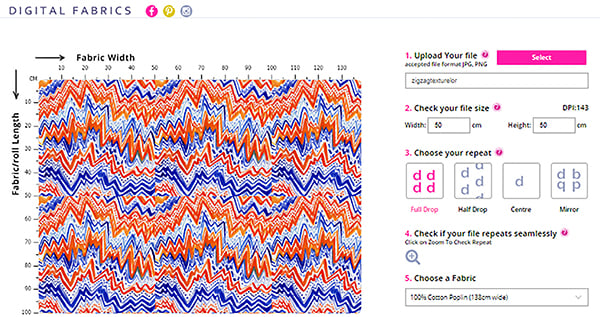
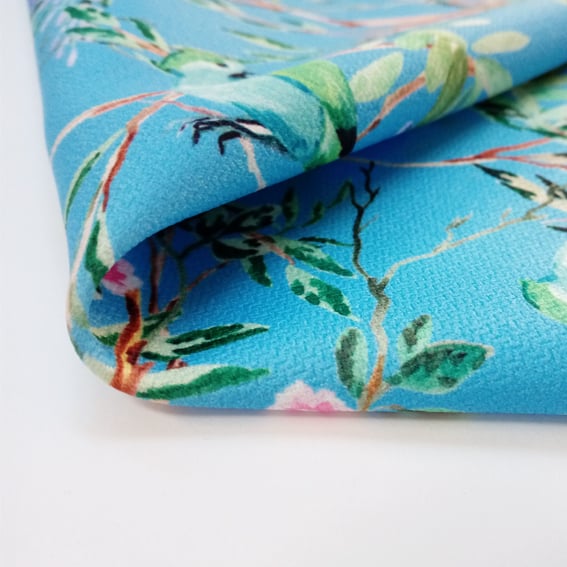
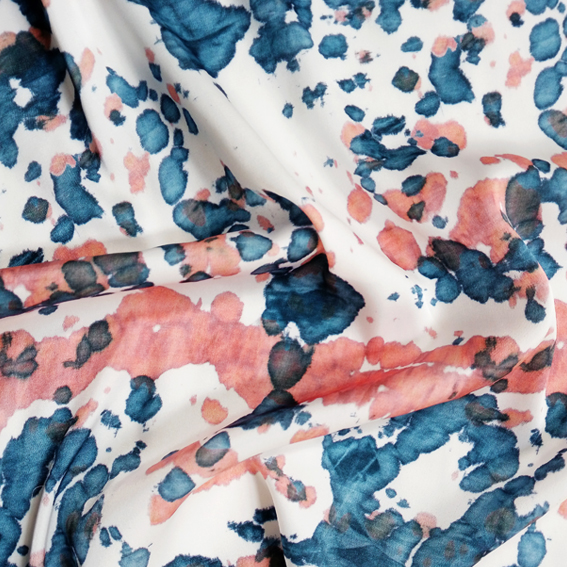
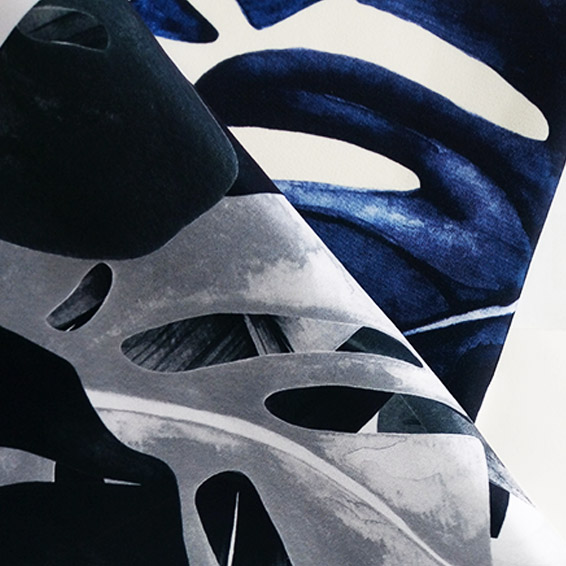
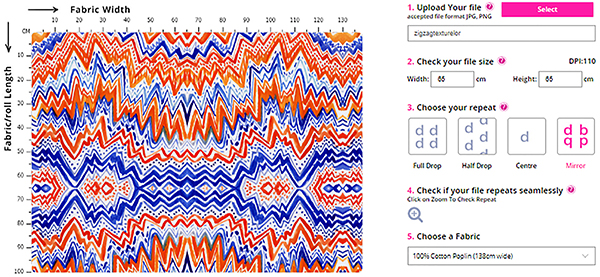
To the right of the fabric preview window you will see a list of options, including any changes that need to be made to your artwork size as well as the type of ‘repeat’ required for your design. When first uploaded your artwork will always be shown using a ‘full drop’ repeat. Select the ‘mirror repeat’ option. This will reflect your design tile’s edges when placed next to each other, resulting in a seamless repeat pattern of your textured artwork.
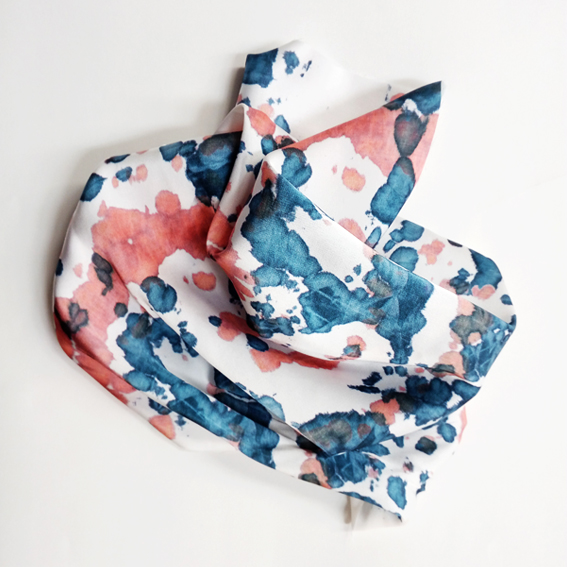
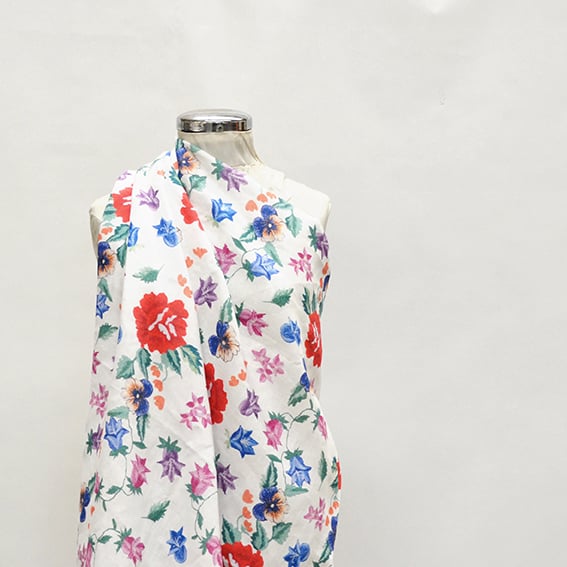
Congratulations! You now have a repeat design all set to be printed on the fabric of your choice and applied to any project you can imagine!