Snippets’. Chats with Creatives. Here at Digital Fabrics we love everything print, pattern and colour and we love to know what makes designers tick. This series is all about asking some fun and different questions and learning about the inspirations and ideas behind the artist and their work. We hope to inspire others by sharing snippets of these creative stories. We gave the artists and designers featured a varied list of questions to choose from so we will learn something new from everyone involved, should be fun!
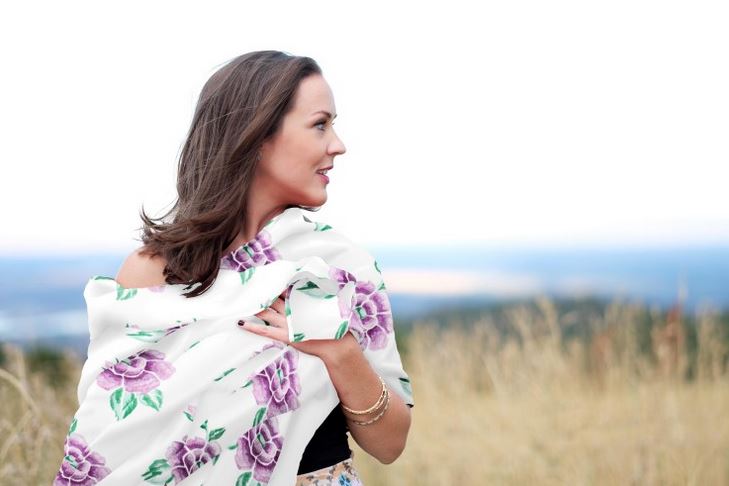
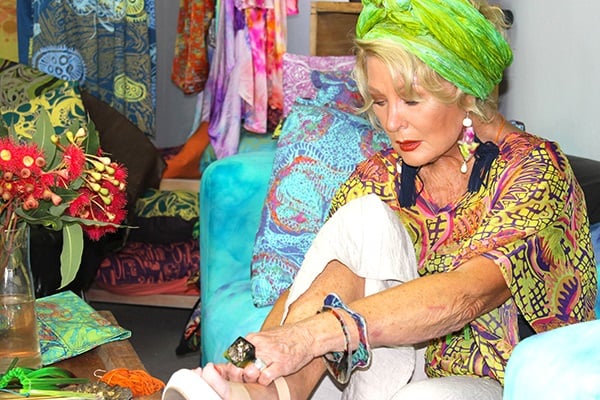
Today on Snippets we are talking to Lara Cross, the textile designer behind Glorybox Designs, a bright and eclectic range of fabrics, fashion and jewellery based on prints. She has a vibrant passion for colour and her quirky style is evident throughout her work.
 The Snippety Snips:
Tell us a bit about yourself and what your creative practice is, how and when you began:
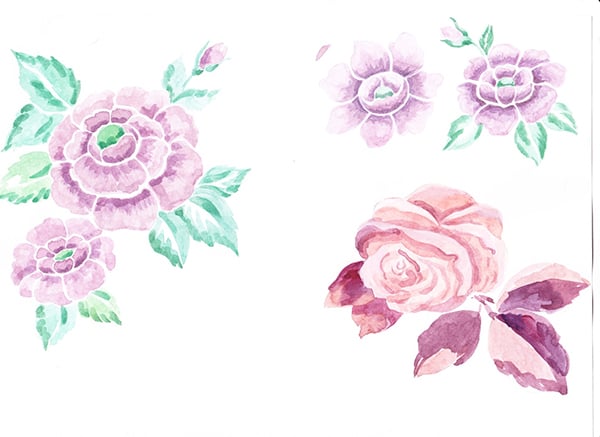
Looking back on my upbringing, it seems so obvious that I would end up being a textile designer- but really, I didn’t even know it was a thing until I was in my third year of studying fashion. Even fashion design was a late start for me, I had initially planned on being some sort of creative director and studied Drama and Film at uni, then lived in China for five years and came home to ‘start’ my life. It took a long time to find that field where my skills just clicked in to place, but I did have a great time getting there! Being surrounded by beautiful textiles, colours and prints was just normal to me, I didn’t know that I could be ‘good enough’ to do that too. I think I have always struggled to prove to everyone that so-called normal people can love colour, and that just because you’re creative it doesn’t mean you’re an idiot. It’s probably not your experience if you grow up in a city, but I grew up in a small town and there is certain pressure to conform- so a lot of my work and ranges tend to have a story behind them, a little provocation and thought to give it meaning as well as beauty.
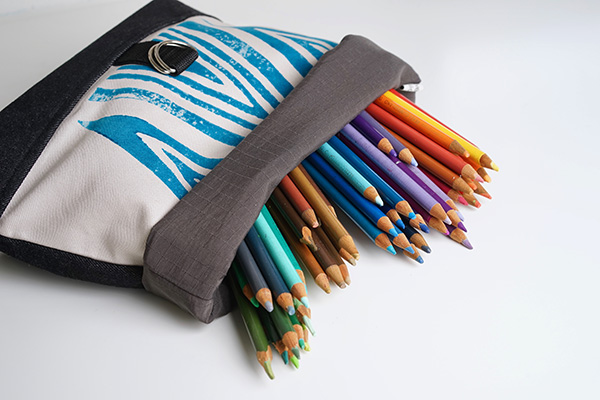
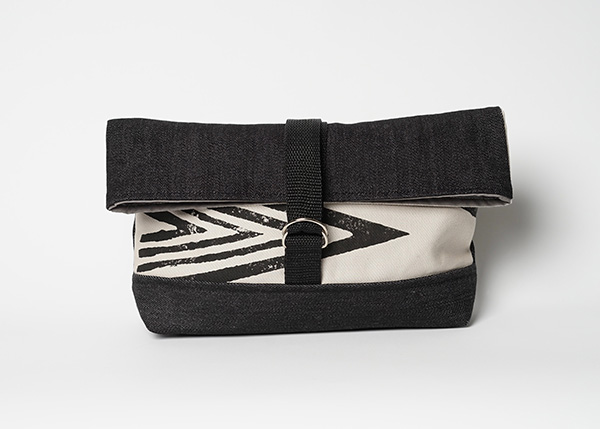
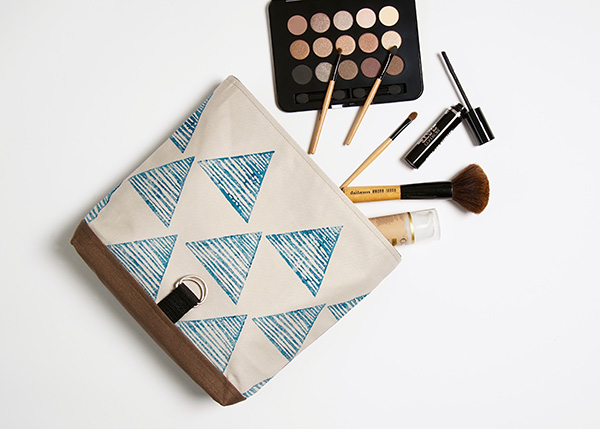
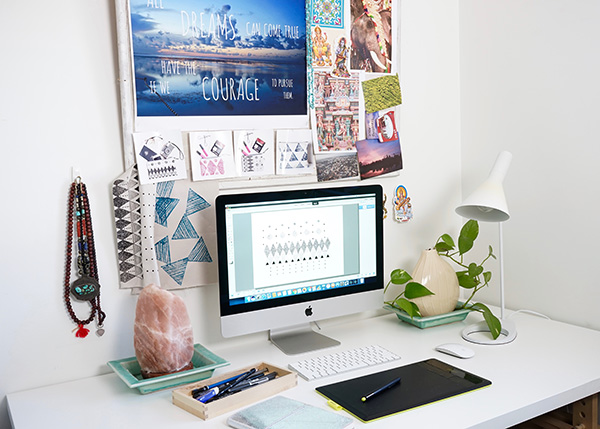
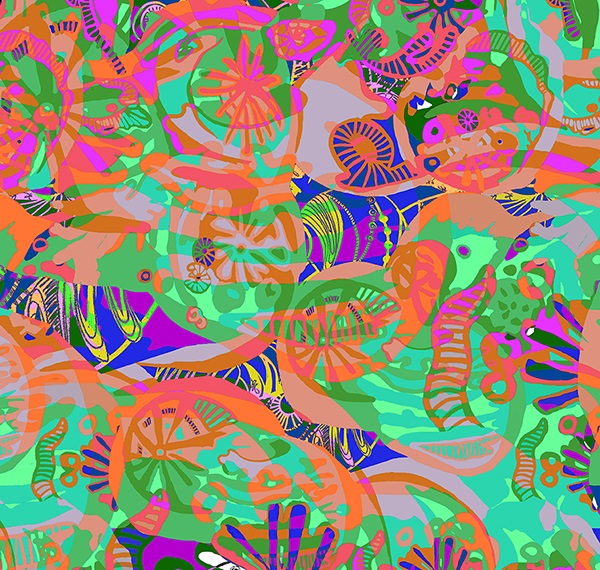
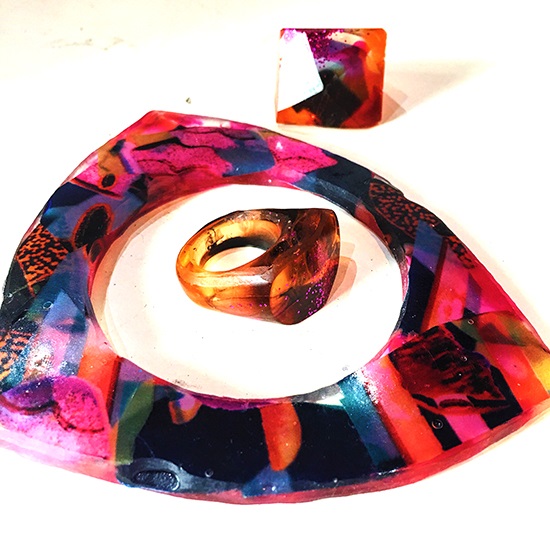
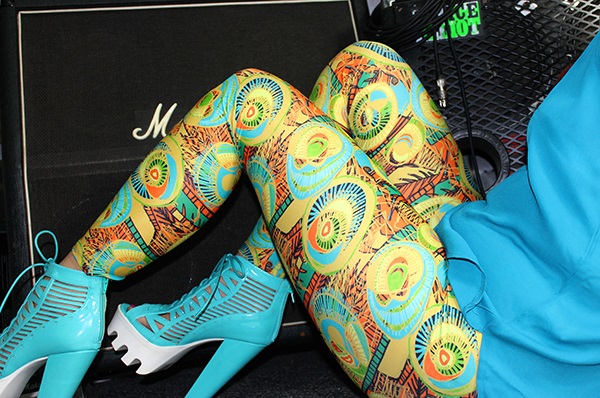
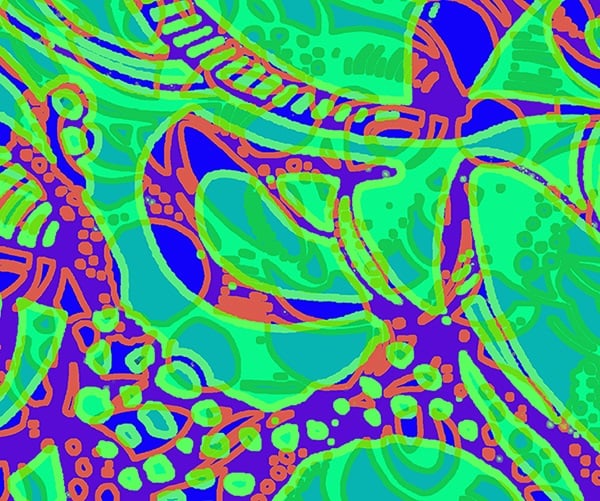
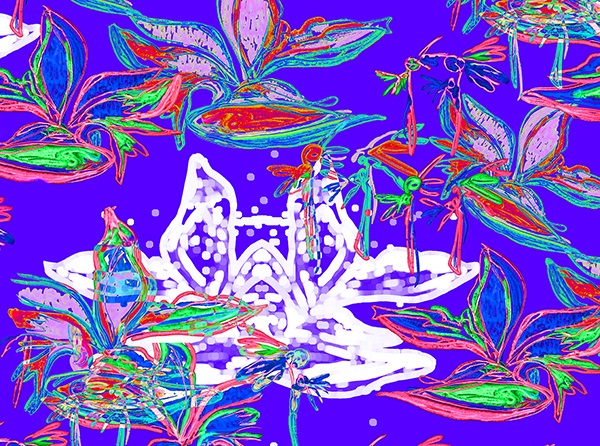
I enjoy word-play, puns and often have a bit of tongue-in-cheek when I come up with a new theme- my last range was called ‘Iconoscopy‘ which was a tribute to our aging rock icons, and the next range is battle Armor for modern feminists, so no doubt there will be subtle references to female anatomy as well as some more blatant imagery. I have been compiling war words that we use daily, and I’ll start sketching off those, from there I’ll probably end up in mixed media experimentation and move into digital. I work with both screen and digital prints, but the designs always go through the computer before they get there. Digital design is definitely one of the late great discoveries of my life. I use my prints in my clothing and in my resin jewellery, I am very hands-on.
 Which part of the creative process is your favourite and why?
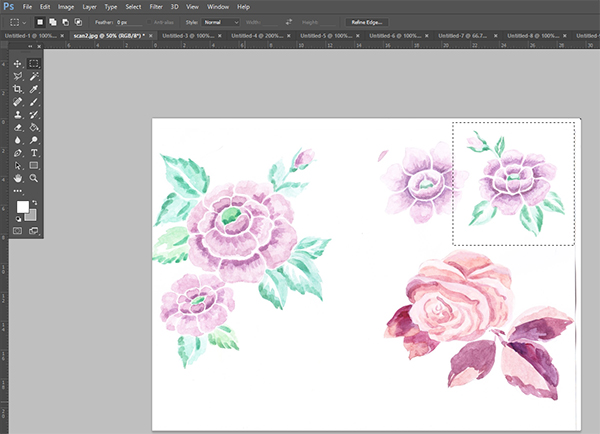
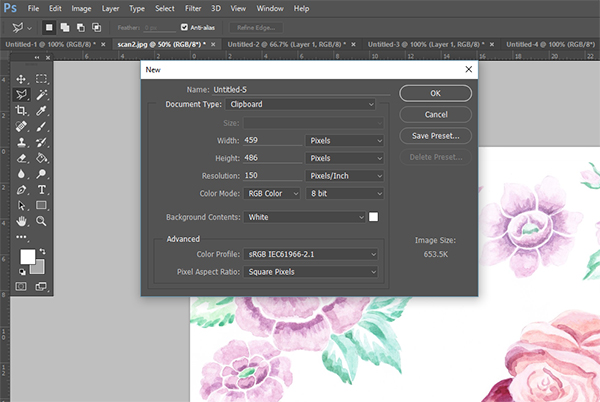
I love colour mixing when I screen print. I don’t really plan ahead I just go in with an open mind and play. I was also pretty surprised to discover how much I love the minutiae of digital design and getting right into the pixels to create repeats. It’s a secret language. There’s lots to enjoy.
What would your dream creative project look like?
The day I get the phone call from Romance Was Born to collaborate on a range….that will be a pretty great day. (Just to be clear, they can also email me)
Which other Australian designers, artists or creative people are you enjoying?
I am thoroughly enjoying the work of Haus of Dizzy and Doodad and Fandango– they are both forging great paths in sticking it to the patriarchy, all while looking awesome. The rise of dressing for yourself is something that really appeals to me and my customers.
 In another life what natural talent would you wish for?
I would love to write raunchy high-society books like Jackie Collins and Rebecca Chance. Maybe I still will….
Love your Locals:
City/Town/Village where you currently reside:
Dulwich Hill (Sydney’s hipster Inner West)
Favourite spot for a bite:
IKEA, not a popular choice I know but I get really freaked out by how obsessed people are with “good’ coffee or things served on wooden boards.
Secret Inspirational spot:
I love the run-down and industrial, behind my house there is a derelict lot that has lots of tire piles, runaway bamboo and fabulous rusty things. It’s being demolished bit by bit (there was an amazing old warehouse I could sketch in and spray paint on) but for now it still a bit of a secret garden of crap that I can enjoy.
 You can follow what Lara is upto: Website, Instagram, Facebook