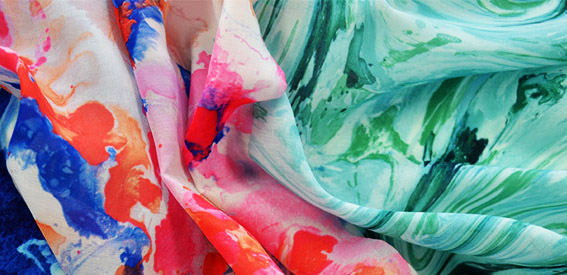
Lately we’ve been committed to finding gorgeous new fabrics that we can offer to all of our customers! After plenty of research, sourcing and testing we are very excited to announce that we have a NEW fabric! Introducing Digital Fabrics’ newest polyester fabric – the Oliver. For those looking for a new fashion fabric the Oliver is definitely something you’ll be interested in.
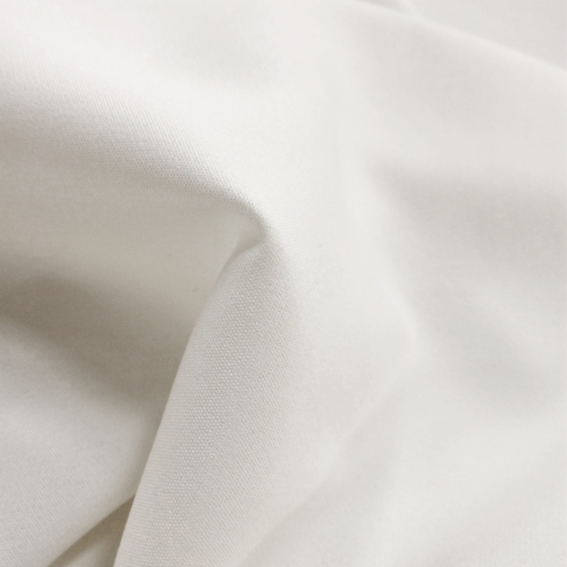
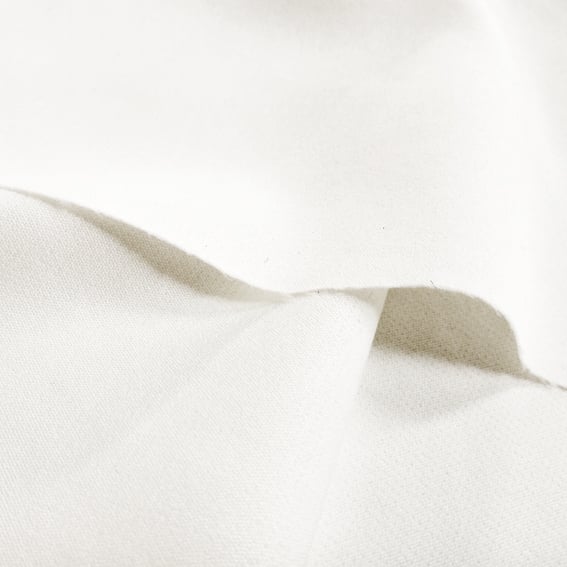
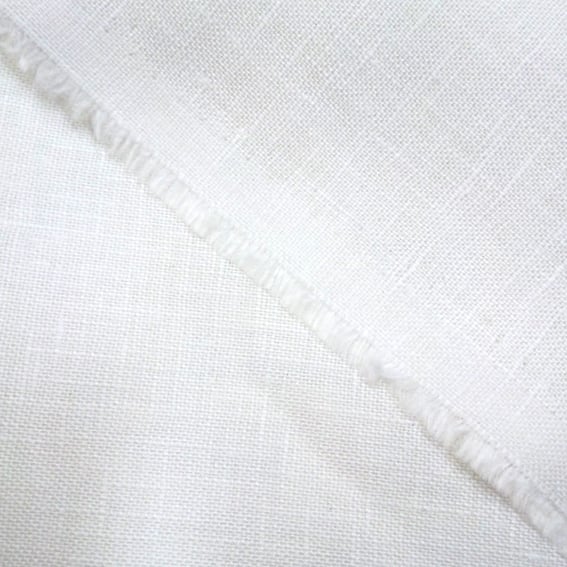
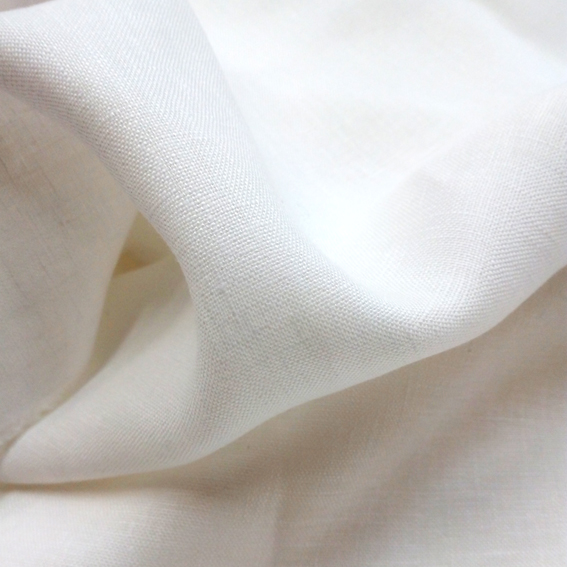
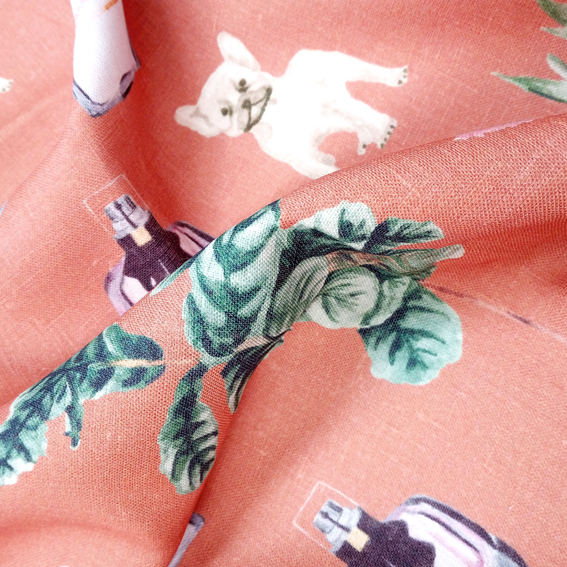
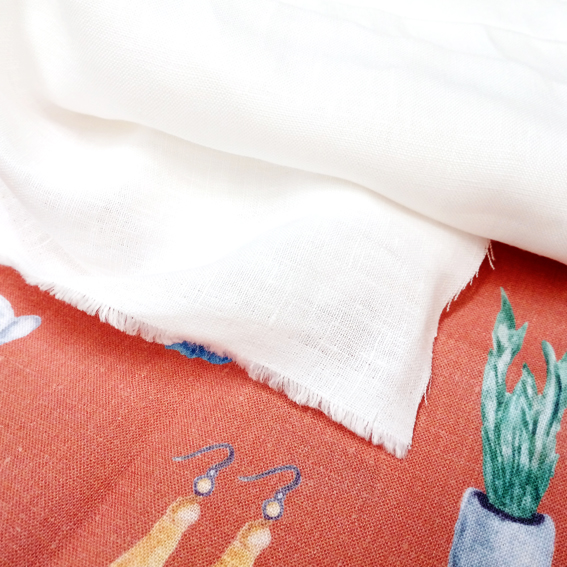
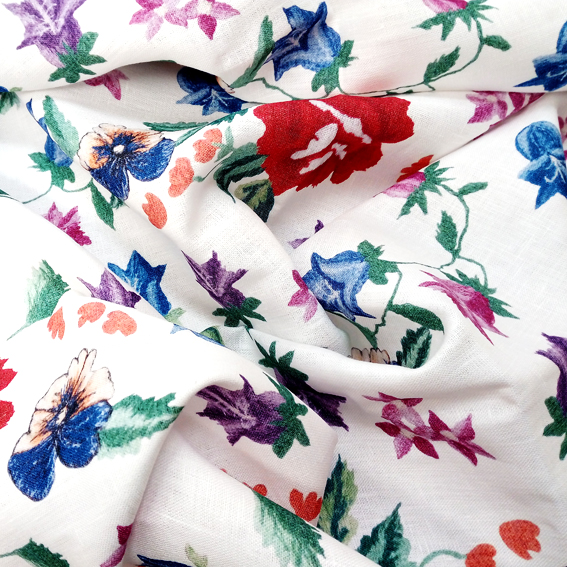
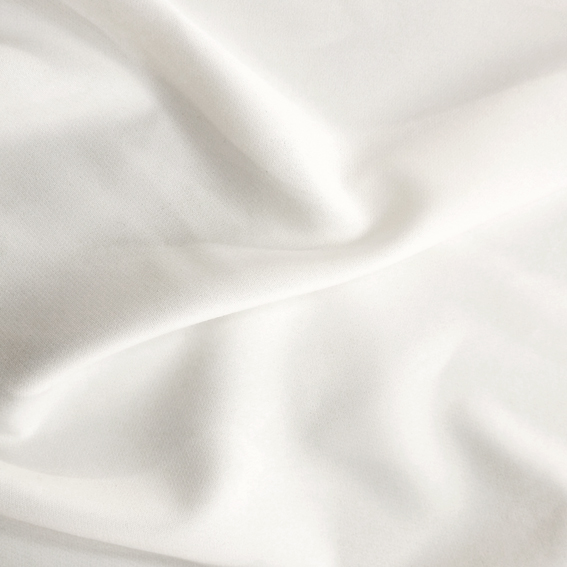
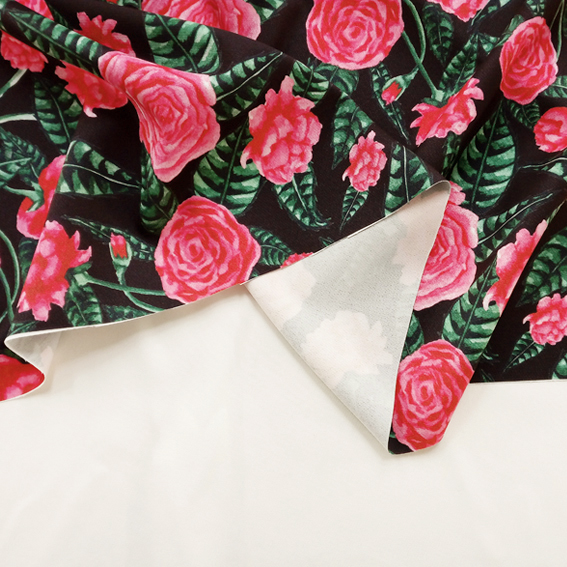
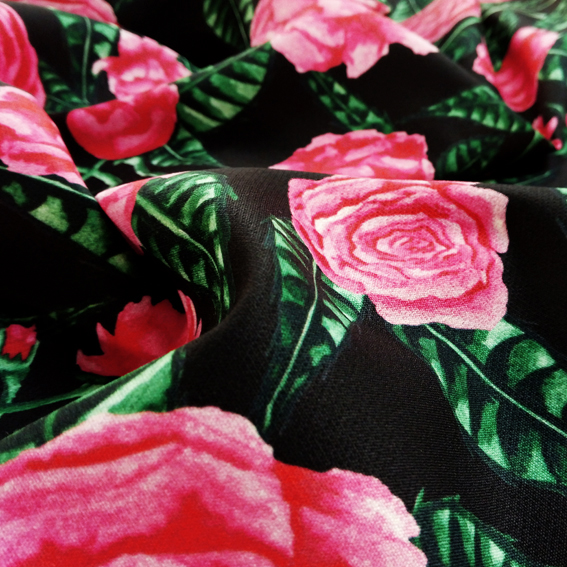
The Oliver is a lightweight, 127 GSM Polyester Spandex blend (95% Polyester / 5% Spandex), which provides the fabric with a little stretch, making it a really comfortable option for fashion garments. Oliver has a bright white base with a matte surface, which results in strong colour reproduction when printing! The fabric is breathable, super-soft to touch and has an excellent drape.
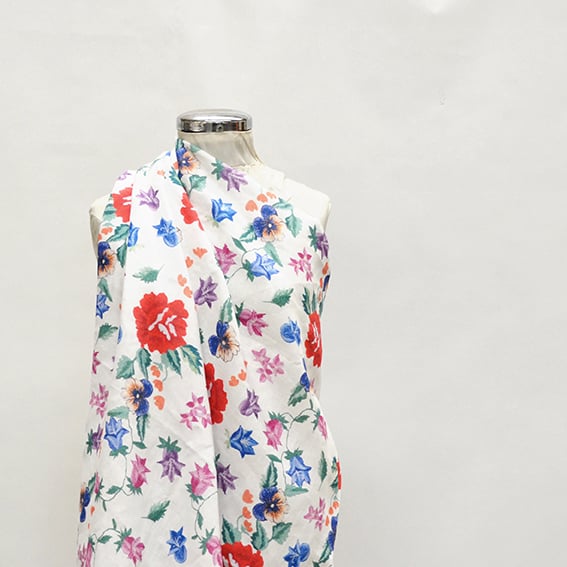
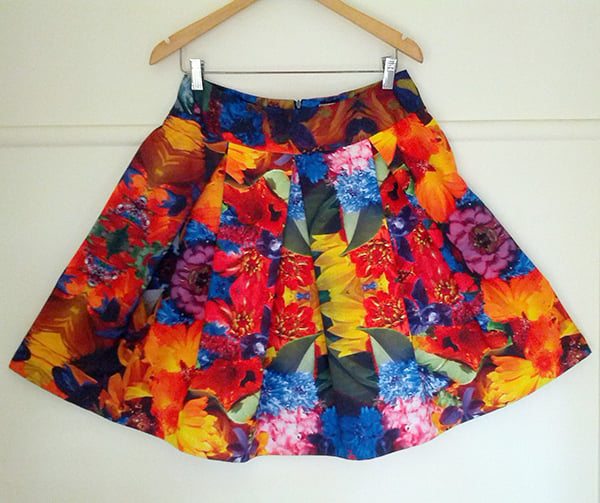
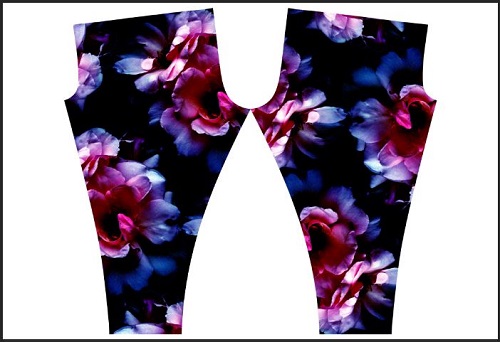
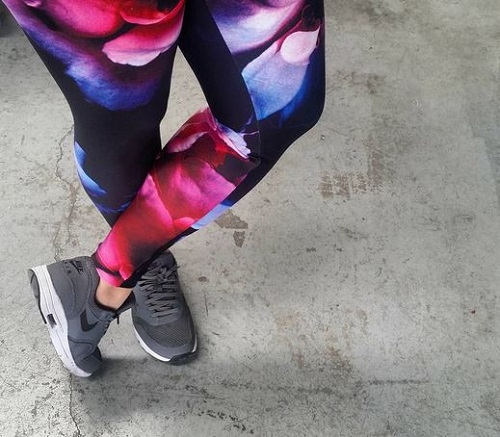
This fabric is ideal for fashion applications, especially for those designing easy to wear, relaxed garments. Oliver is perfect for dresses, skirts, tops, soft accessories and loose-fitting Activewear.

Sample swatches of the Oliver are available now through our Sample Pack Order Form. If you’ve got an idea you think the Oliver might be perfect for, we’d love to hear from you!