Tag Archives: sewing tutorial

Custom Handkerchiefs by Sue Michael

One of our wonderful Designer Project Designers, Sue Michael, had the amazing idea of putting together some Hankie designs as a fun DIY idea for our customers. She collaged a series of prints together where multiple squares would be prepared, with their seam allowances included, so that purchasers could have the designs printed onto a metre of some of our suitable stock fabrics (we recommend Cotton Poplin or Poppy) and be able to cut out, then sew, to make a set of home-made hankies!

This is such a fun and easy DIY project, making it perfect for even the most beginners at sewing! Sue has put together a blog post, talking about why she was inspired to create these hankie prints and what
hankies mean to her and her family. Keep reading to find out more.
e- SMIchael Shell Trail website20cm
‘Shell Trail Handkerchiefs’
e- SMichaelMammoth trail website
‘Mammoth Skiing Handkerchiefs’

During my childhood, hankies were used in daily life in my home. A skinned knee could use a triangular hankie on the way home, faces were scrubbed with Mum’s saliva-moistened hankie when dirt on the cheeks was an unsightly problem, the children could be cooled with wet compresses at their necks and wrists, coins could be bundled into knotted hankies when on bicycle excursions, orange peel could be collected, and Mum had drops of perfume on hers that she kept, always at the ready, in her handbag. My first housekeeping skills were honed with a stack of hankies to iron each week…triangles or squares…it was my choice. There was sharing of hankies when tears fell, of course. Dad’s blowing of the nose sounded out like a foghorn during hay fever season. I can still remember its musical note.

digital fabrics_designer fabric_sue michaels_hankies blog 5
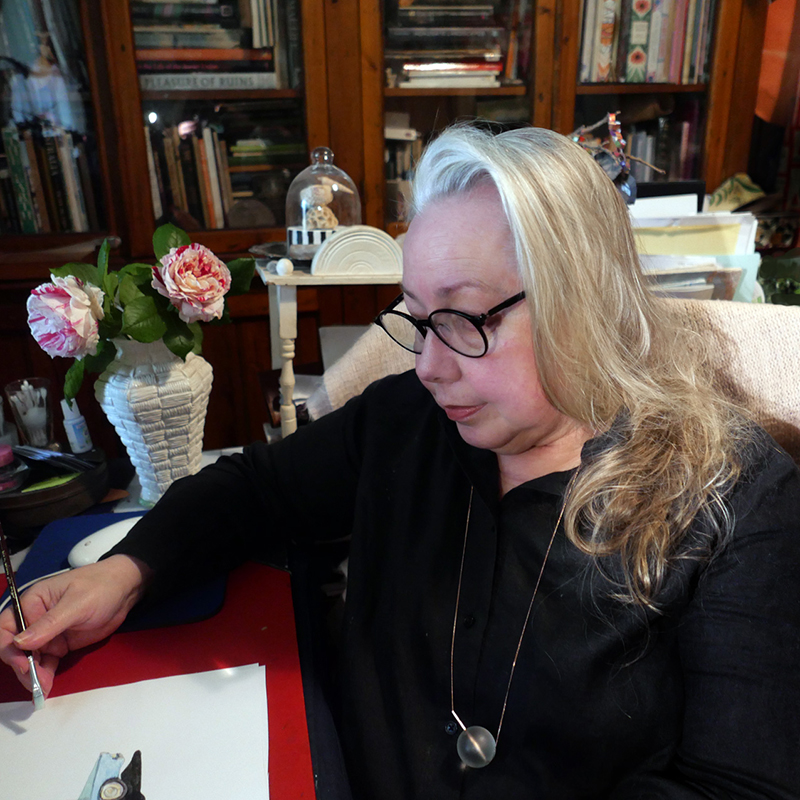
‘Sue in her studio working on a hankie design’

A modest piece of cloth can be carried close to you and provide reminders of qualities such as back-up, usefulness, freedom, recovery and even healing. Images can be updated from traditional designs, less pretty and less in balance, perhaps, whilst concurrently directing curiosity, organising visual information, and promoting humanist qualities. My ancestors have left many treasures including a box that houses vintage hankies. Some are finely textured plaids, some have been hand-appliqued and embroidered. There is a bride’s silk hankie, hand-made and kept as a precious ‘gift handkerchief’. Many of these vintage hankies have very delicate edgings.

digital fabrics_designer fabric_sue michaels_hankies blog 3
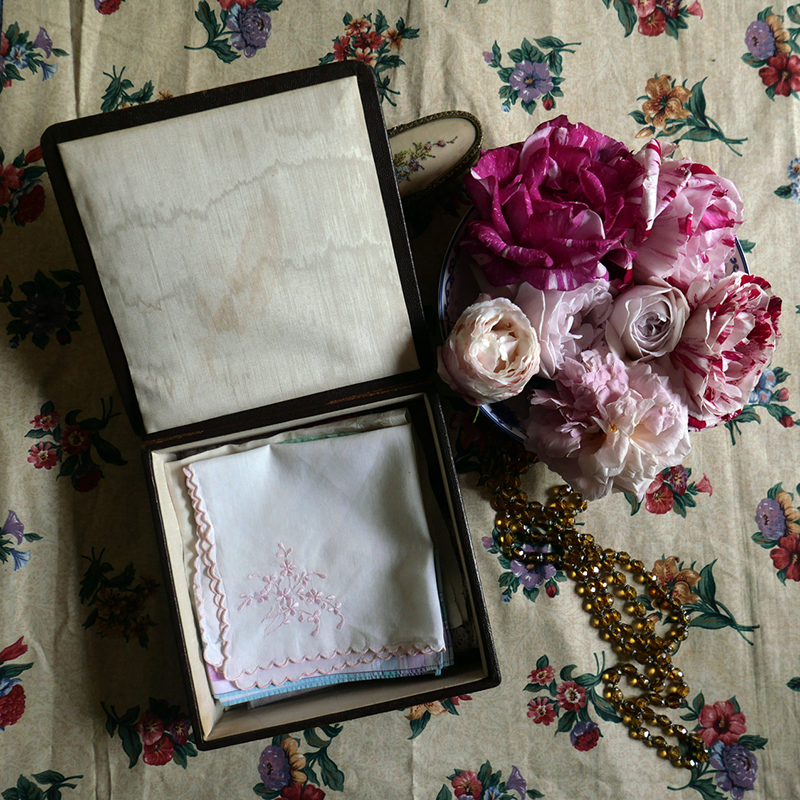
‘Vintage Hankies Box’
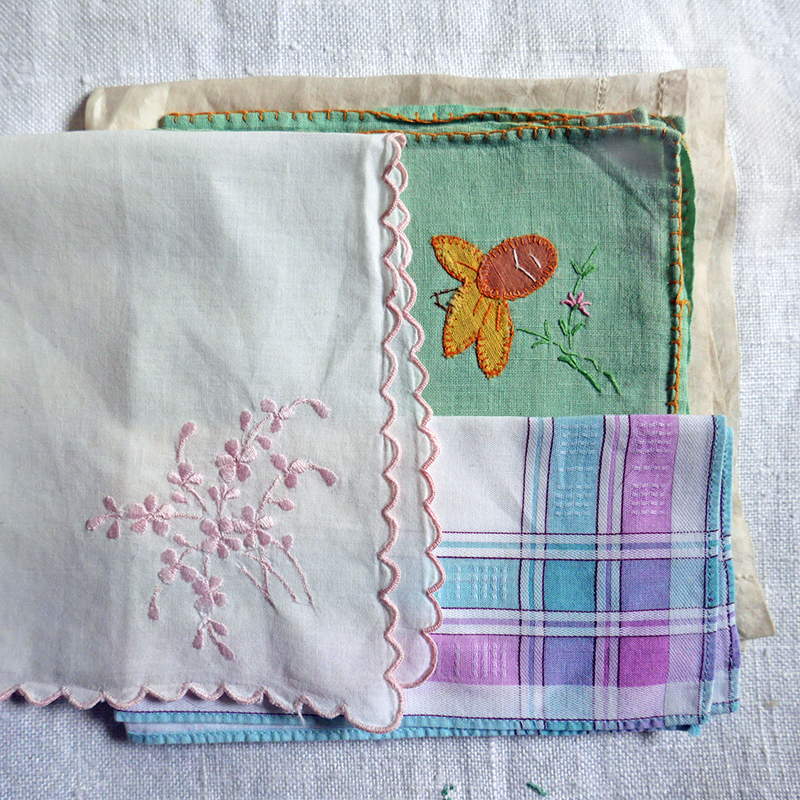
digital fabrics_designer fabric_sue michaels_hankies blog 6‘Vintage Hankies’

Alongside the box of hankies, sits two vintage baskets of sewing notions, including old laces and trim borders. Not only could these present-day squares be cut from the large joined cloth lengths, they could have further embellishments at their edges, either with added trim, edging stitches, or applique.

A link to handkerchief edging hems from the Smocking Arts Guild of America on YouTube, shares techniques:

Most of the images for my handkerchief’s have been hand painted, collaged from paper, or printed with simple printmaking techniques without a press. I like to assert the ongoing art-making traditions that provide contrast to the perfect lines and smooth colour rendering of computer software’s image making. I also chooses a variety of themes and art methods, reflecting the diversity and choices within daily life. Whimsy and an urge to create new traditions are stylistic features.

digital fabrics_designer fabric_sue michaels_hankies blog 4
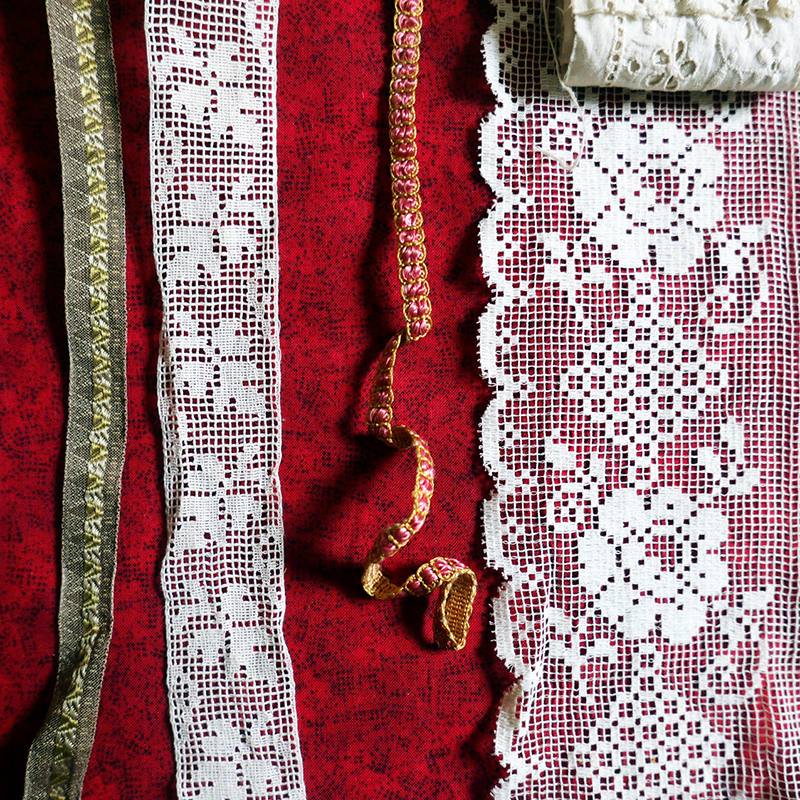
‘Lace and Trimmings for Hankies’
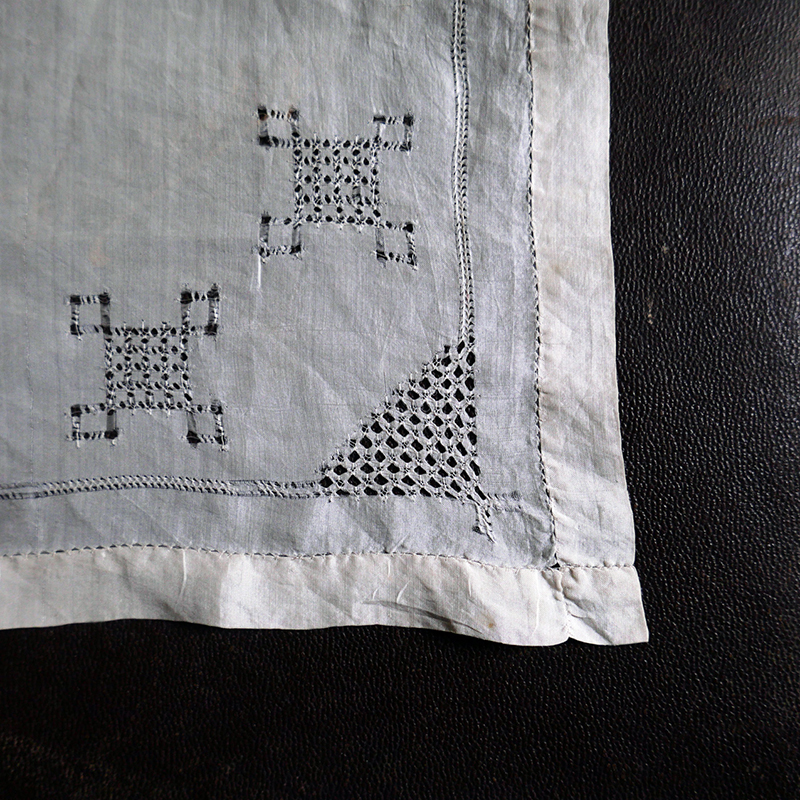
digital fabrics_designer fabric_sue michaels_hankies blog 2‘Vintage Hankie’

With a hankie, I could rinse freshly picked plums at the backyard tap during my childhood. My Nana had placed an old hankie over the tap of her rainwater to collect the wrigglers. I attended children’s parties where precious, hand-made favours were wrapped in fresh hankies within new cups for each of the guests. This is much like the Japanese gift-wrapping tradition of furoshiki.

digital fabrics_designer fabric_sue michaels_hankies blog 1
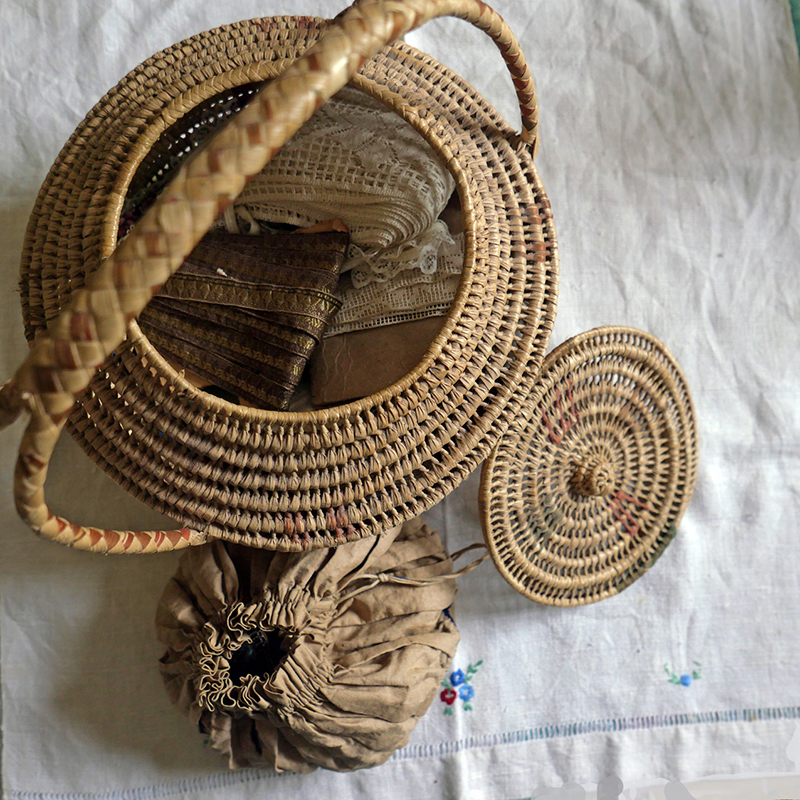
‘Lace and Trimmings collection basket’

Whatever the task of a hankie, it could be washed, ironed and stored for future use, in a universal cycle that has always been.

Check out our Fabric Shop now, to order some of Sue’s wonderful hankies!

diy-cat-bandana-halloween-fabrics

DIY Halloween Cat Bandanas Tutorial

diy-cat-bandana-halloween-fabrics 
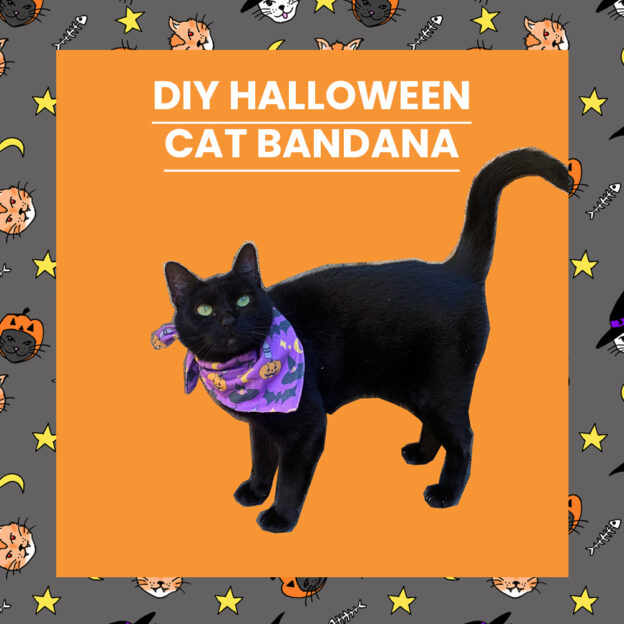
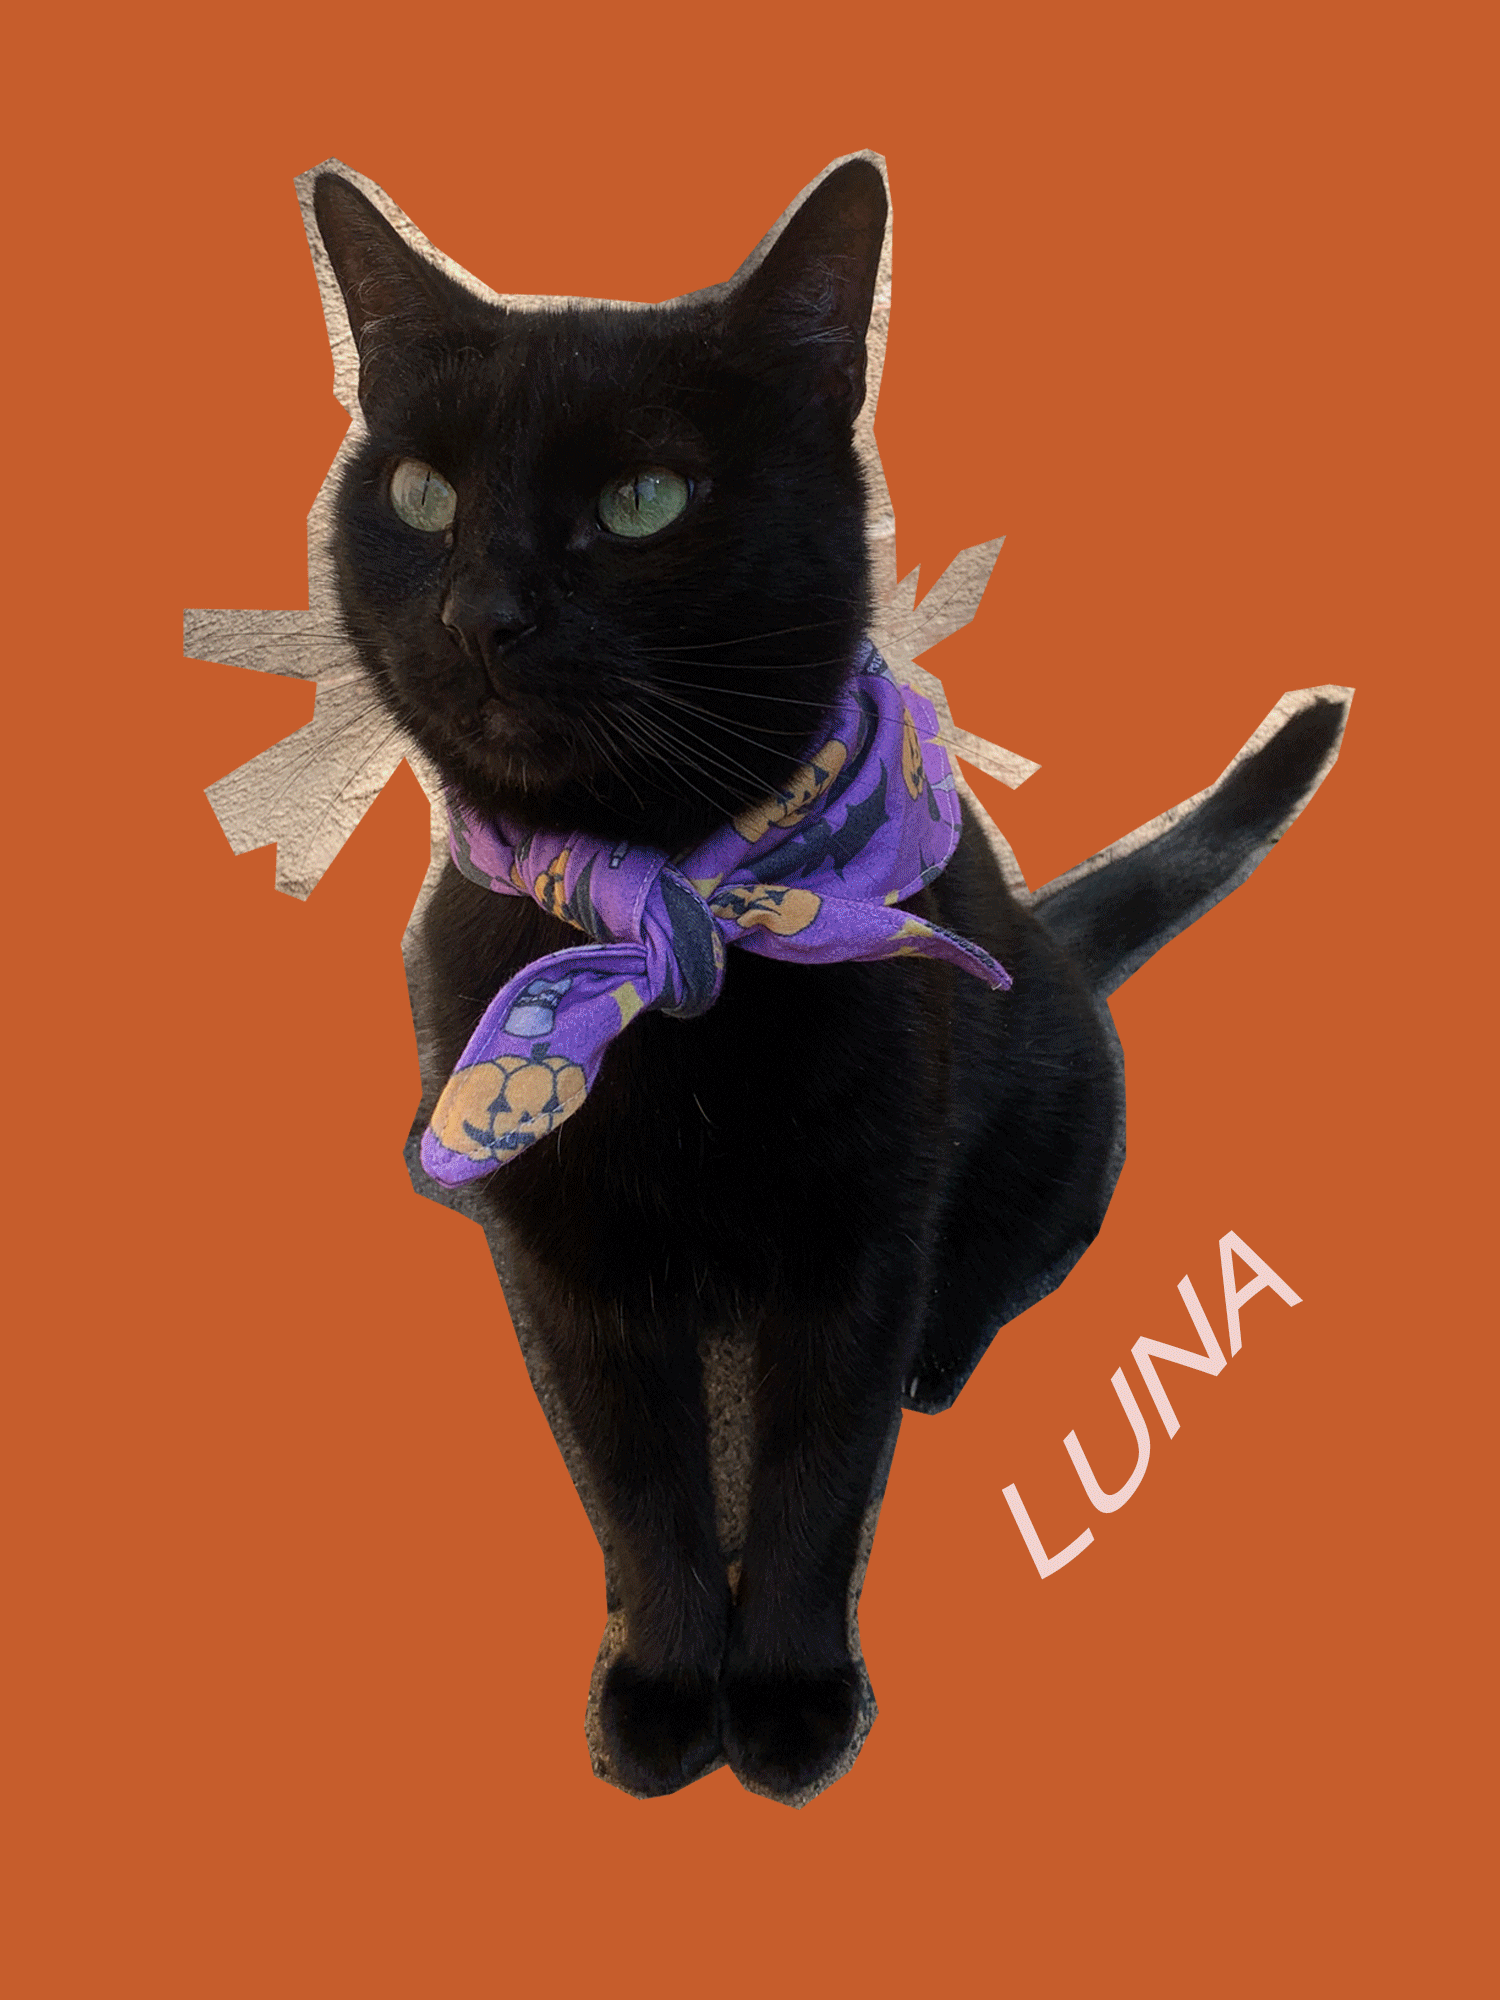
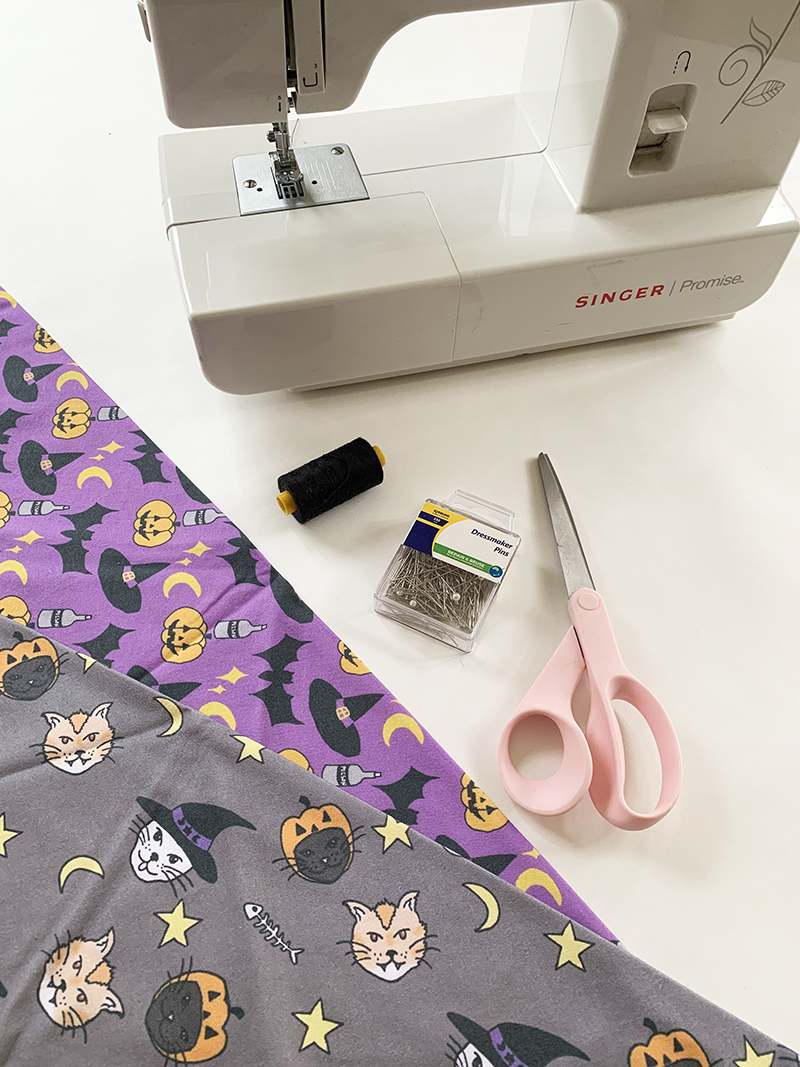
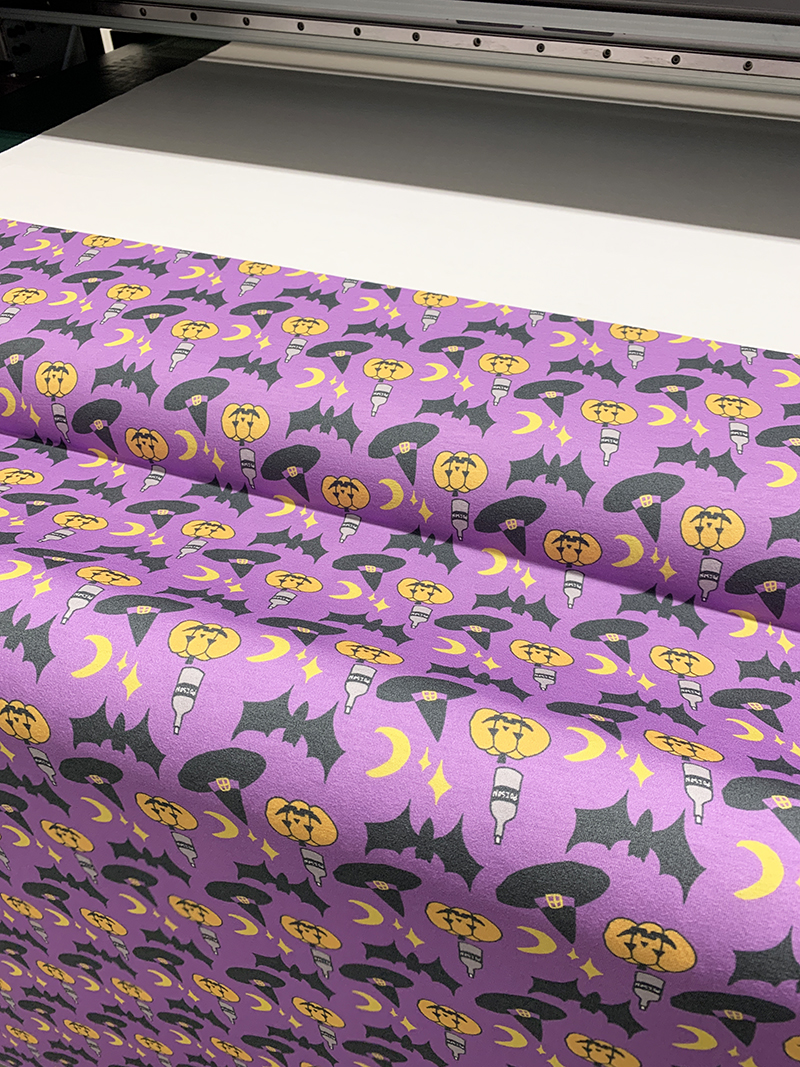
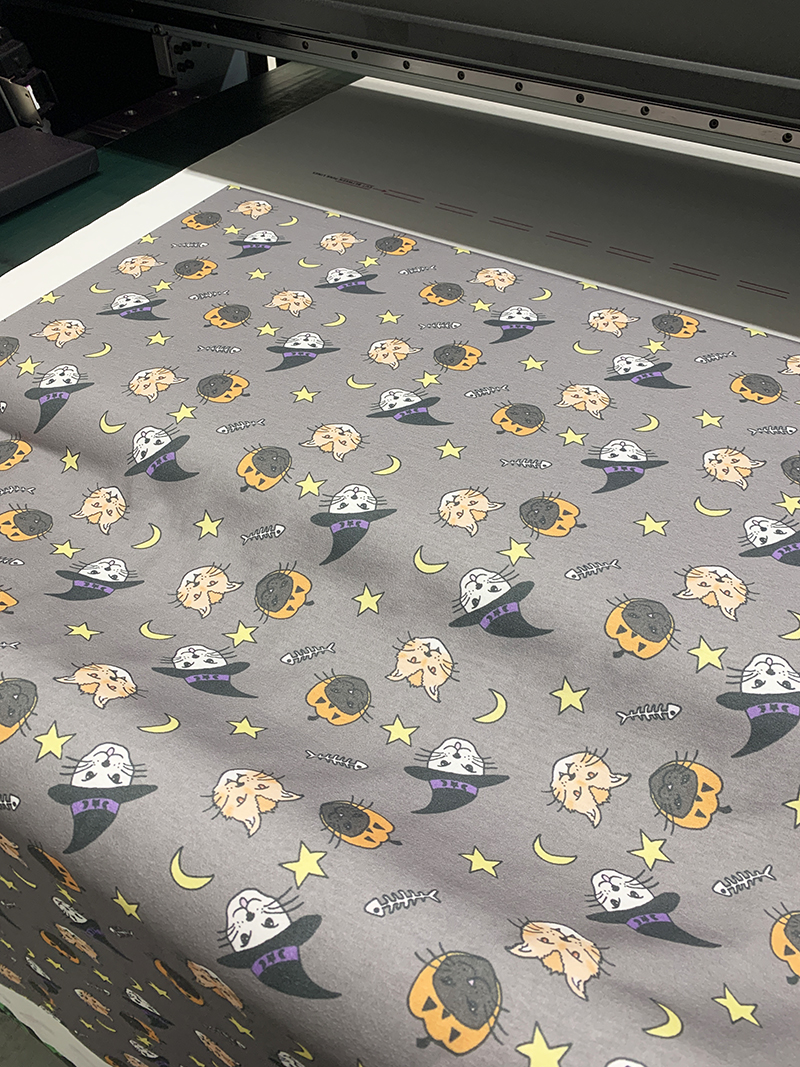
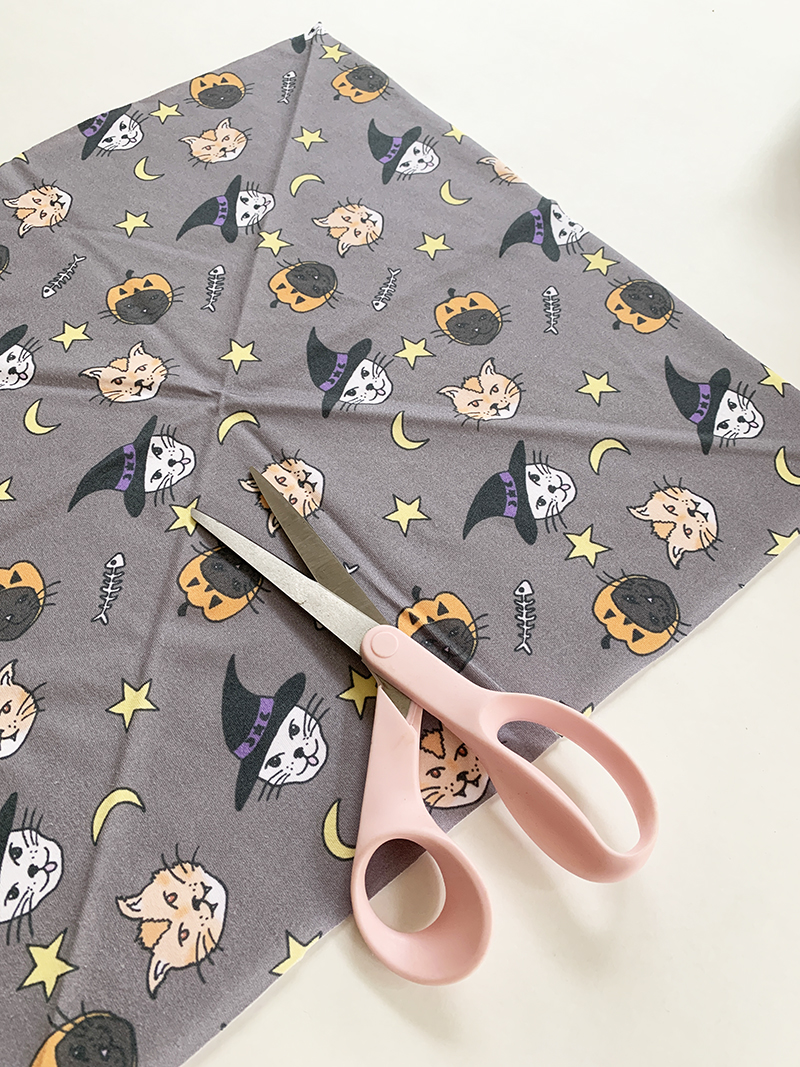
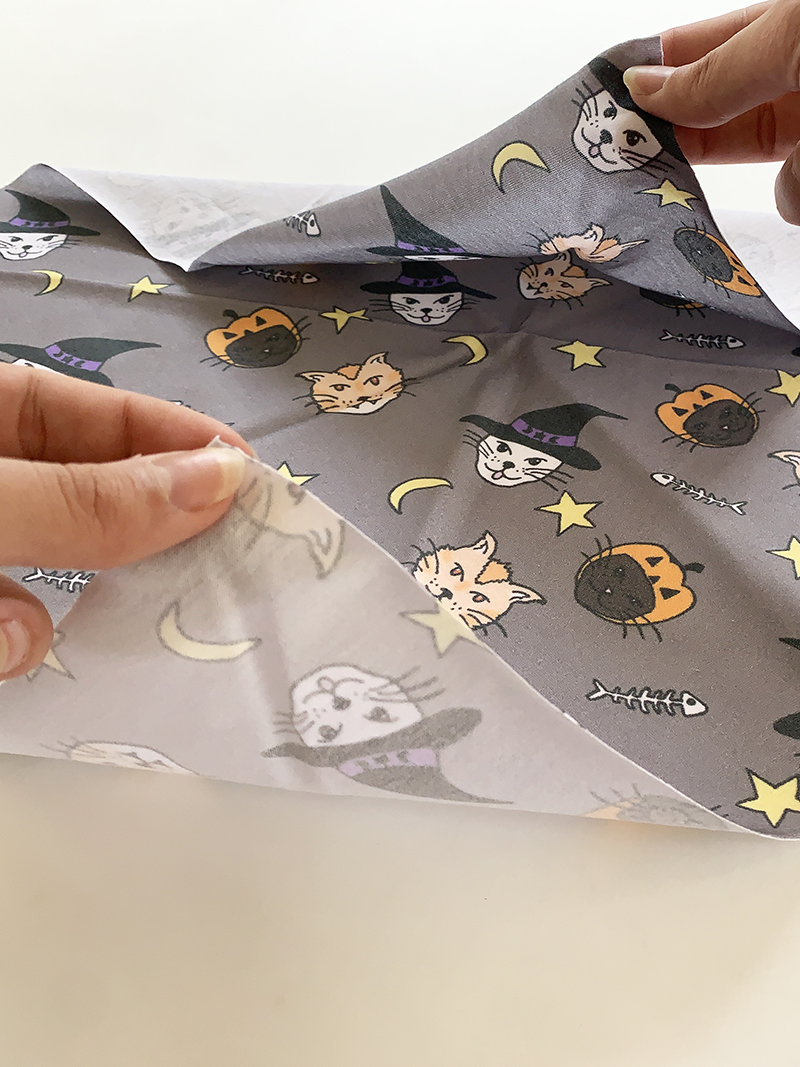
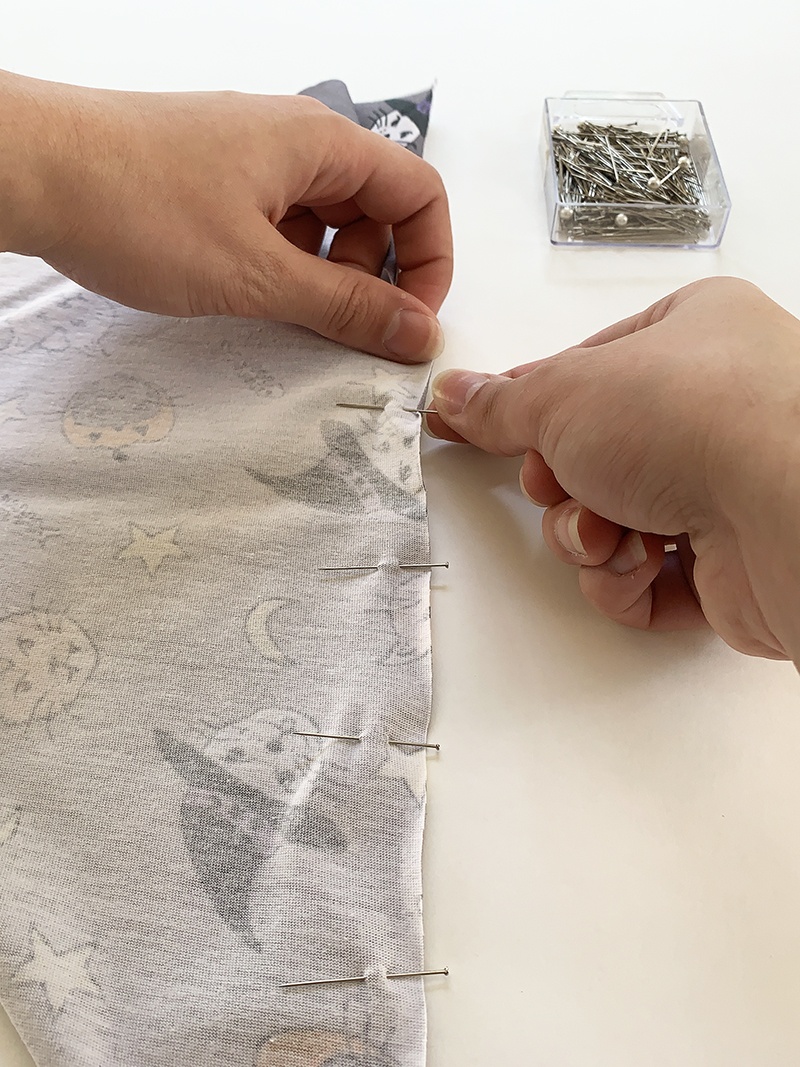
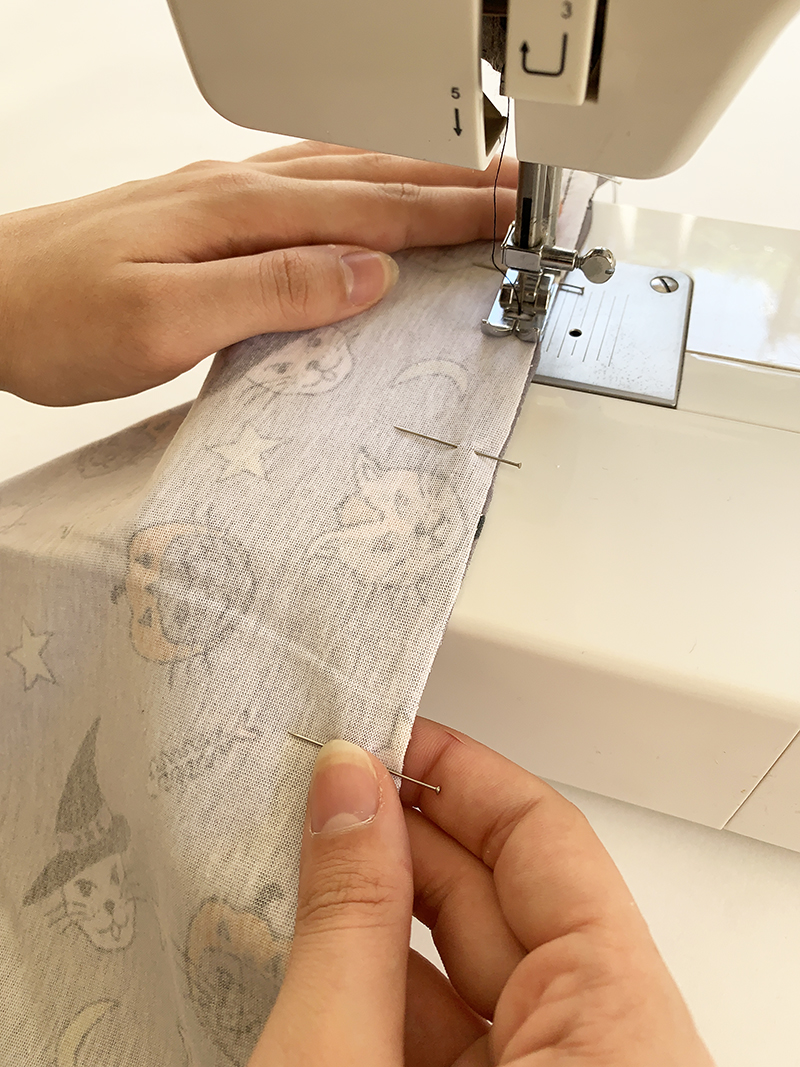
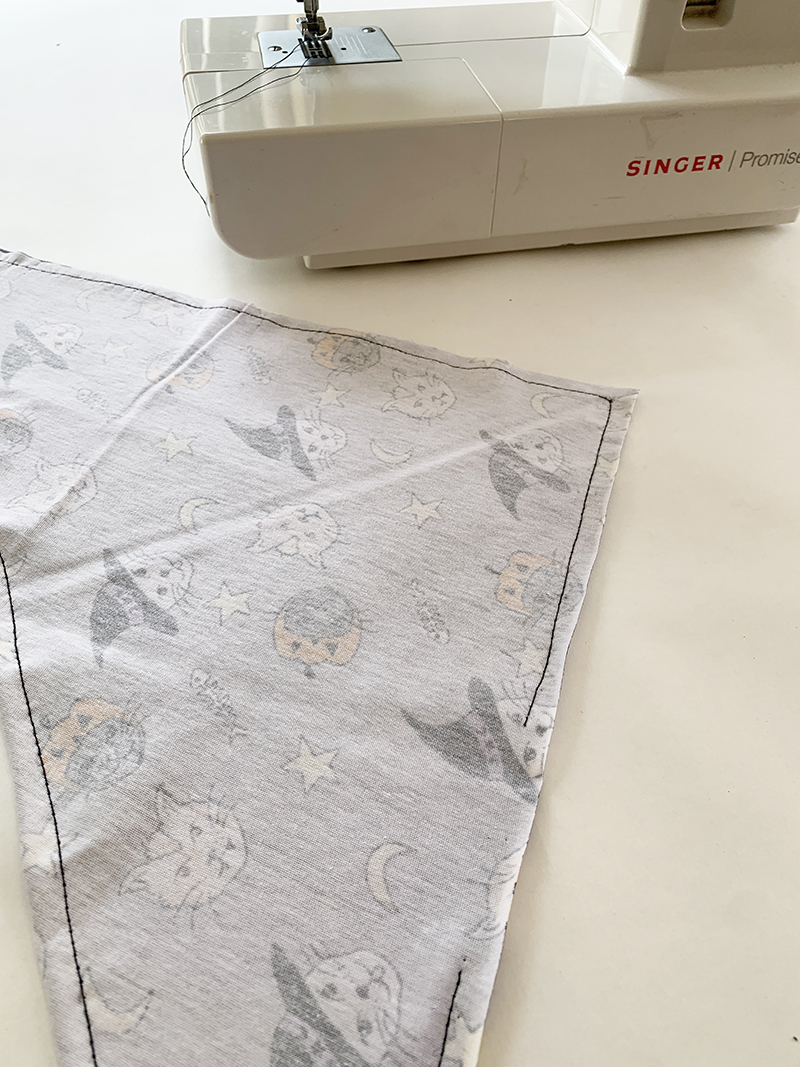
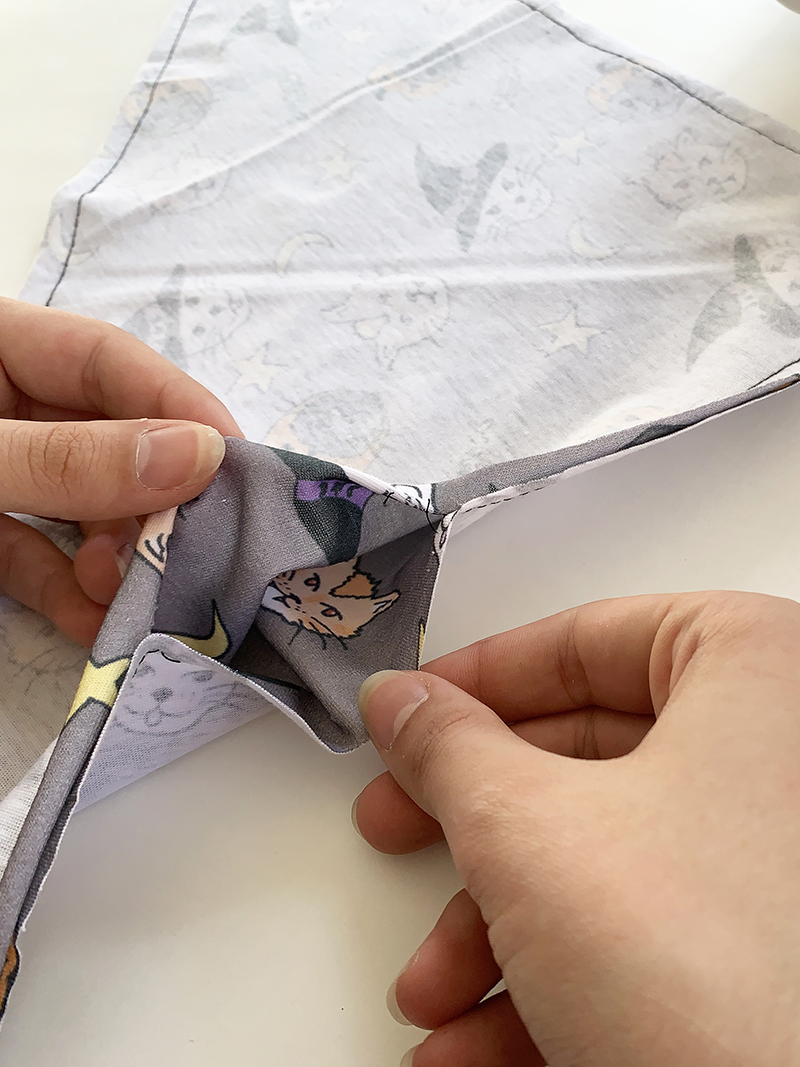
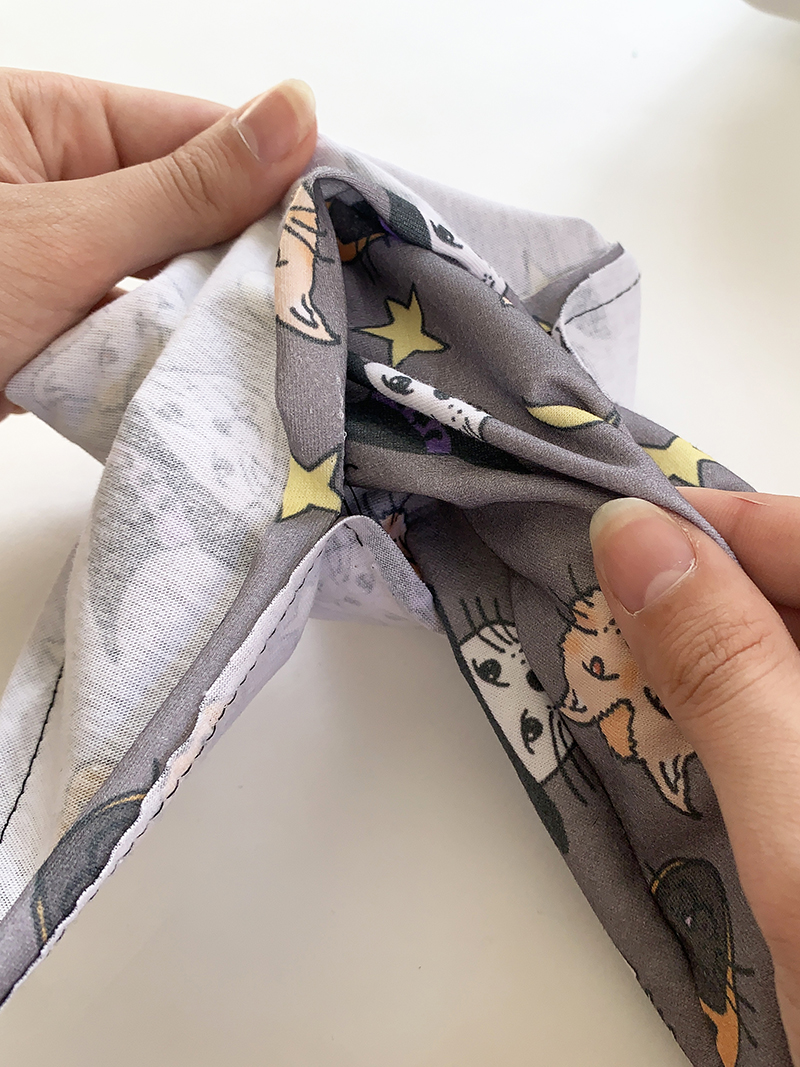
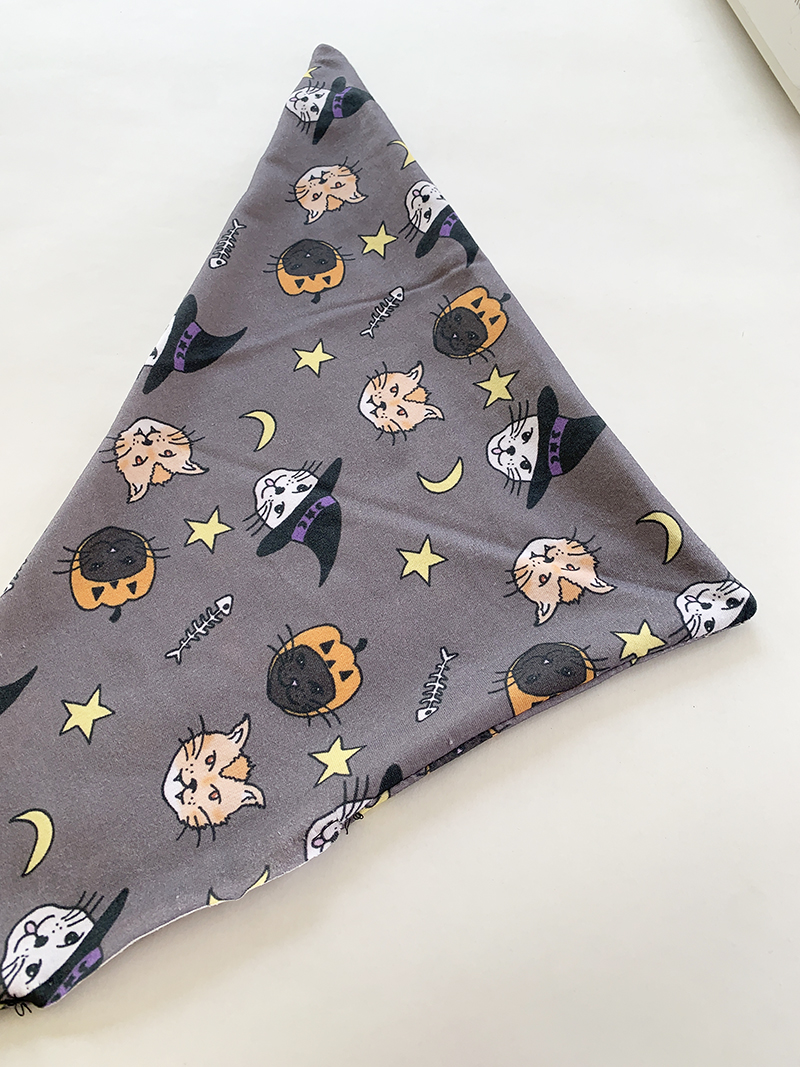
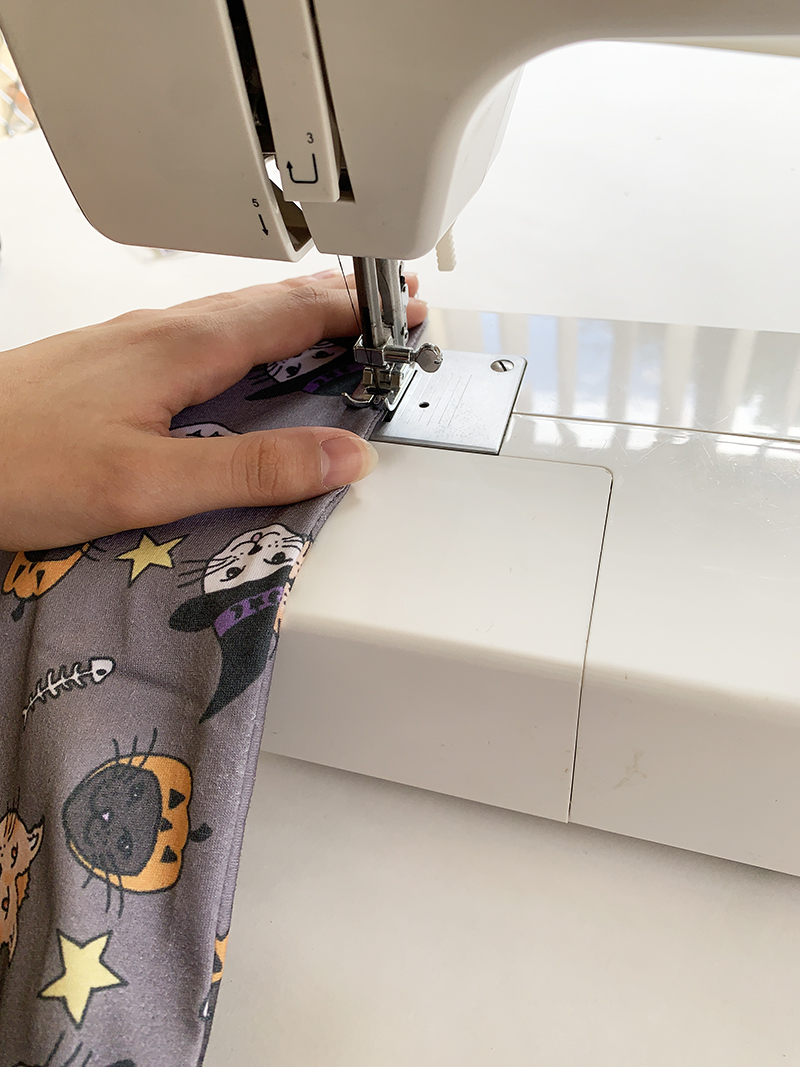
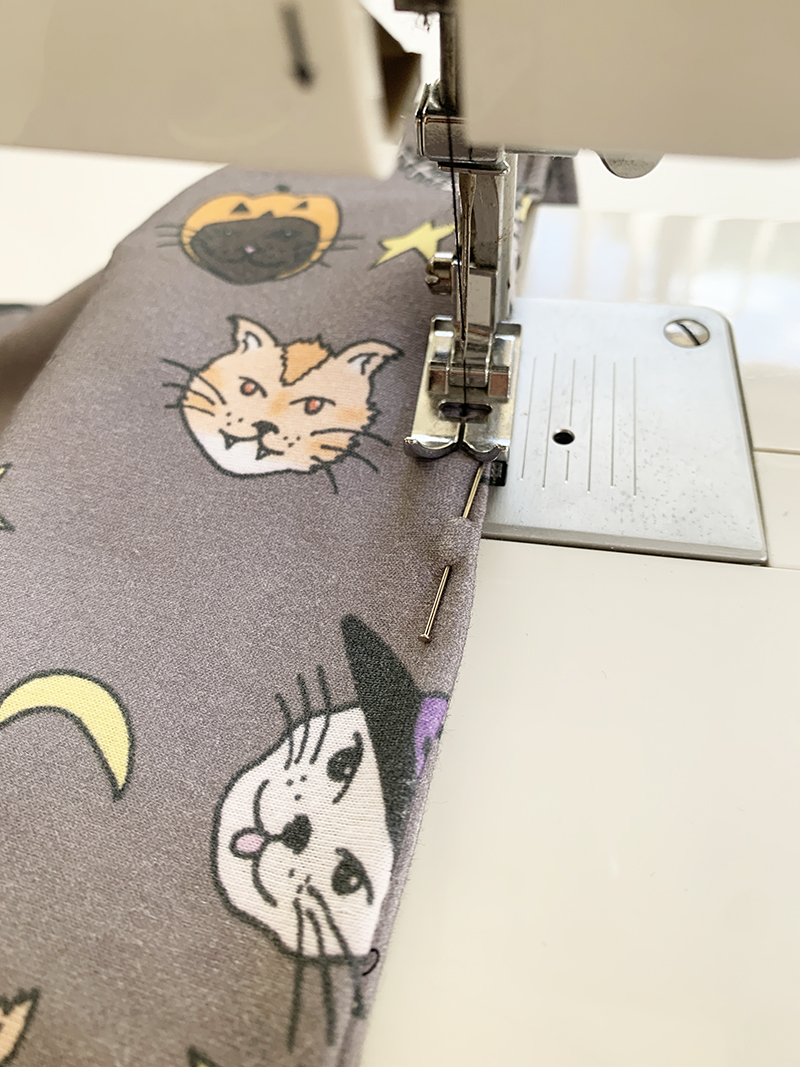
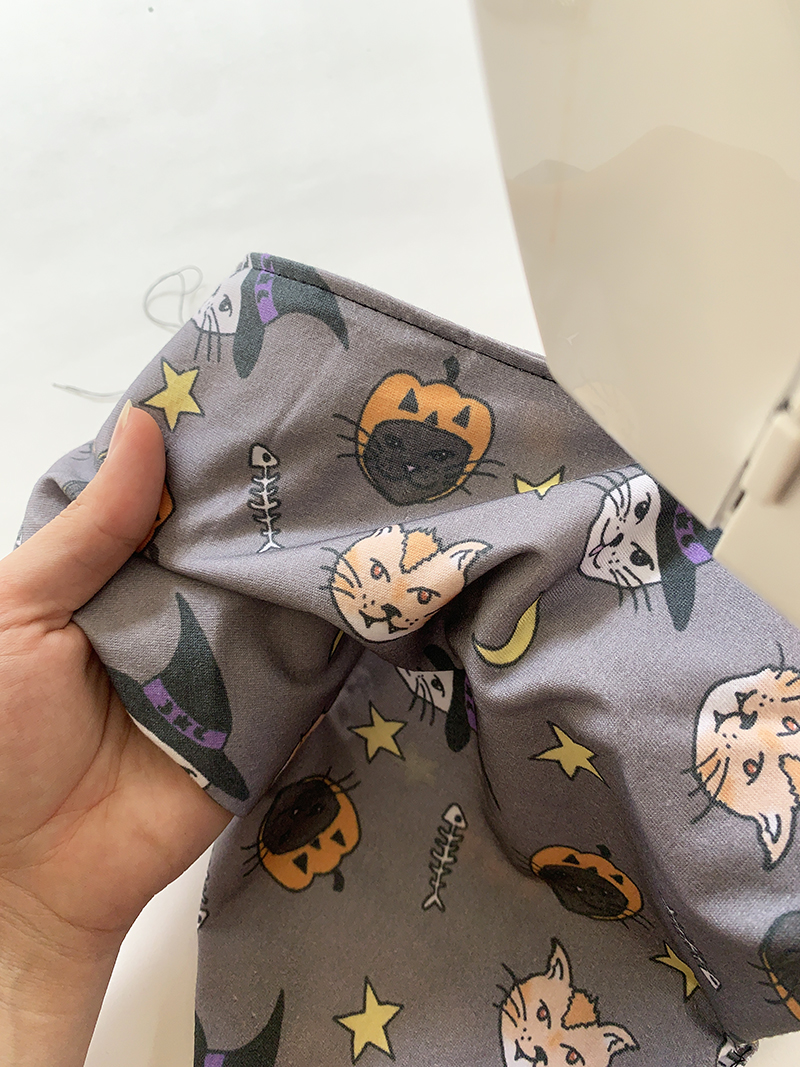
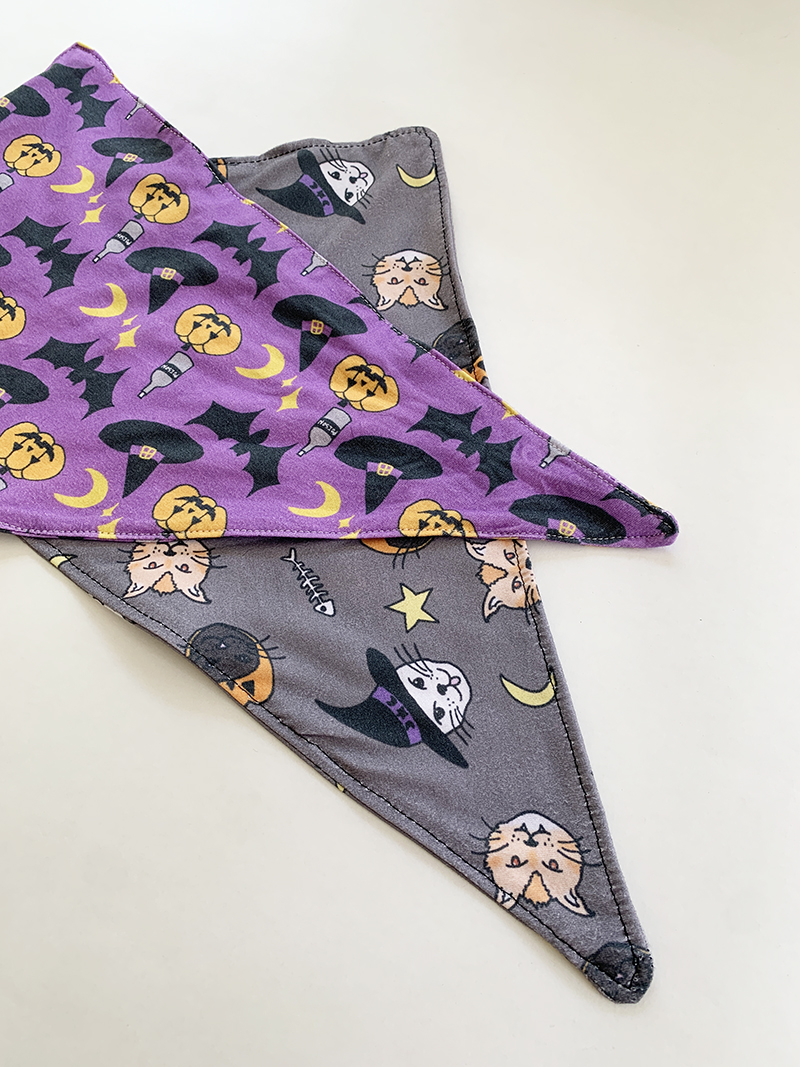
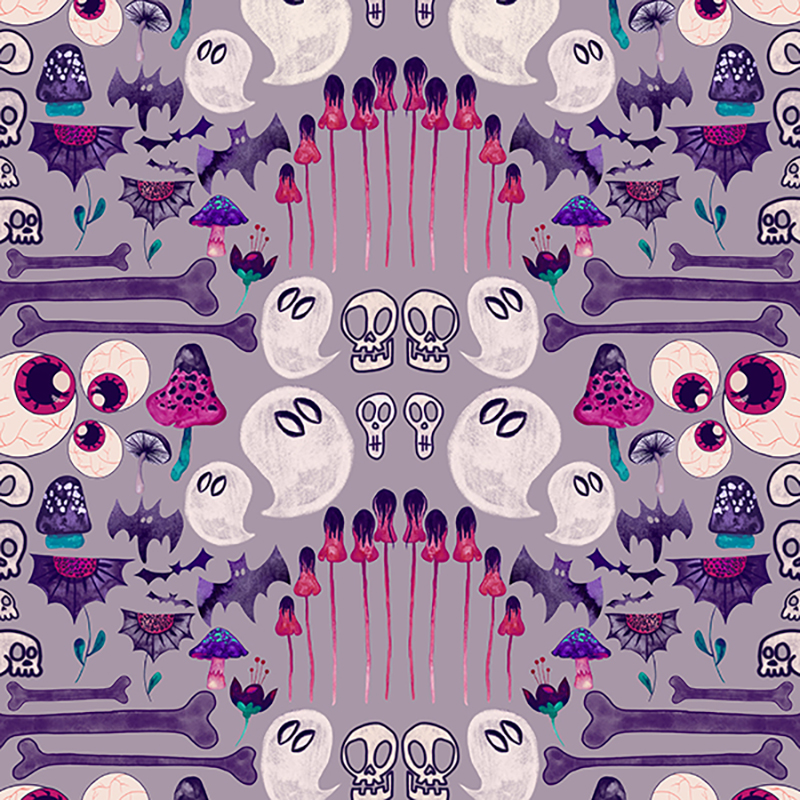
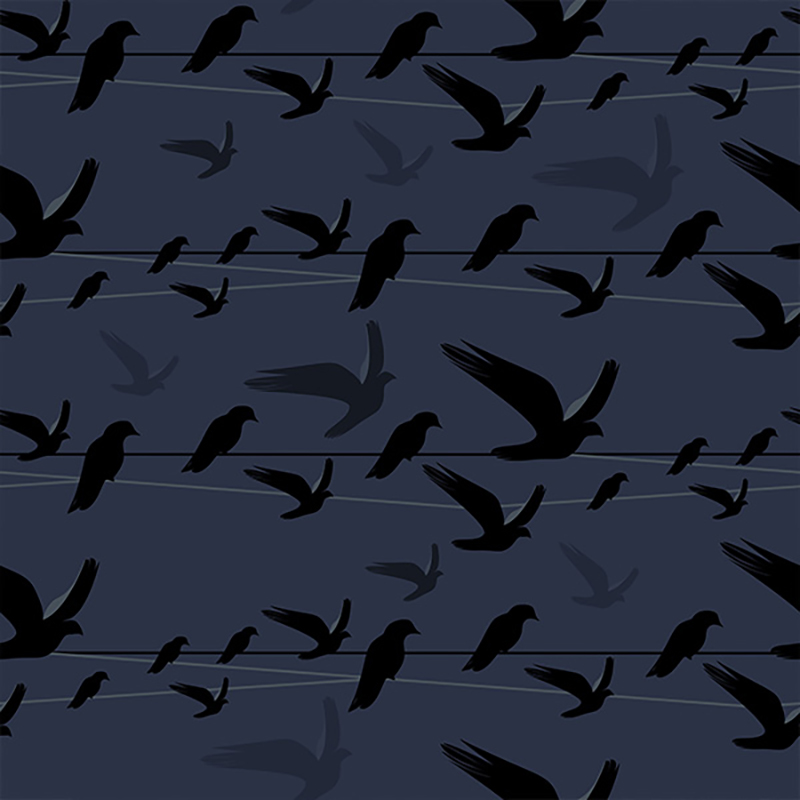
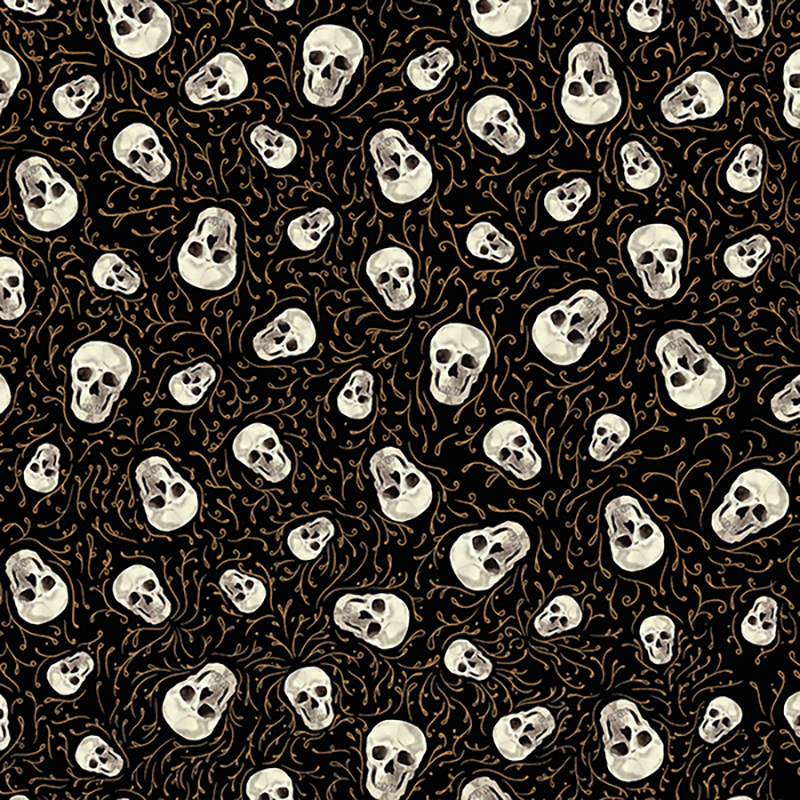
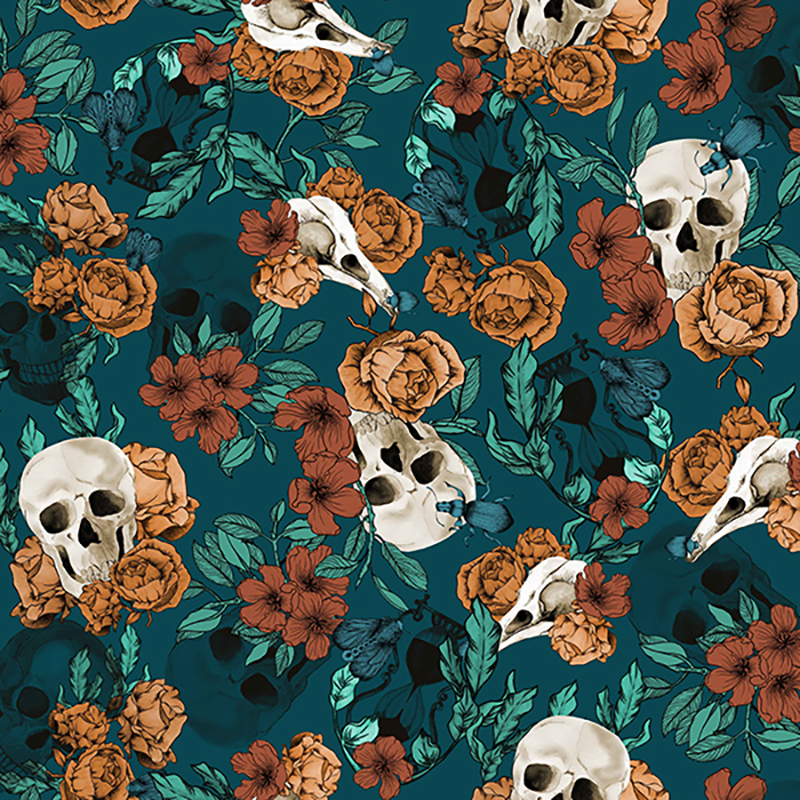
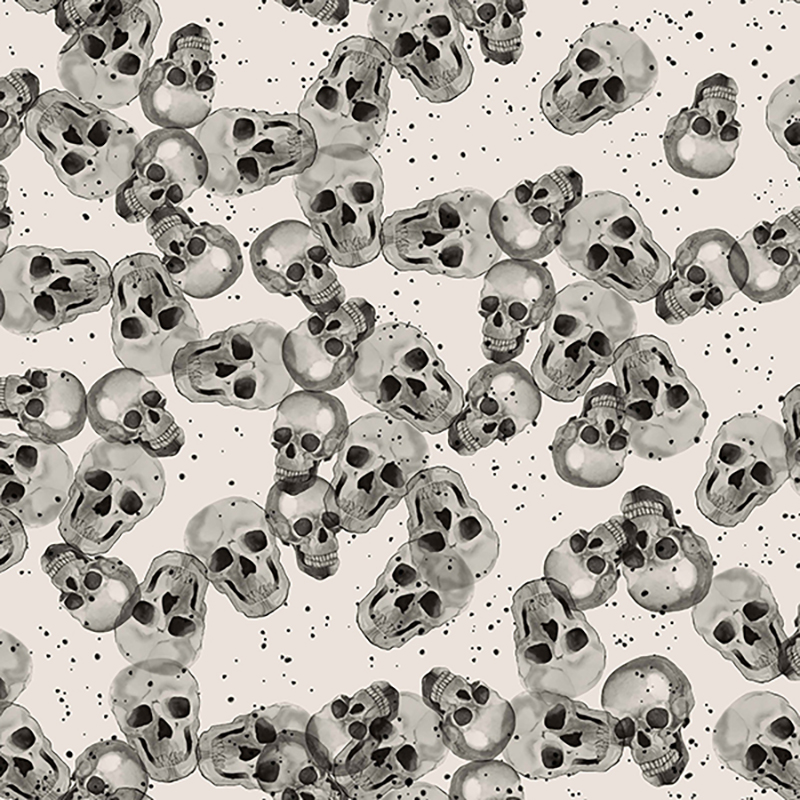
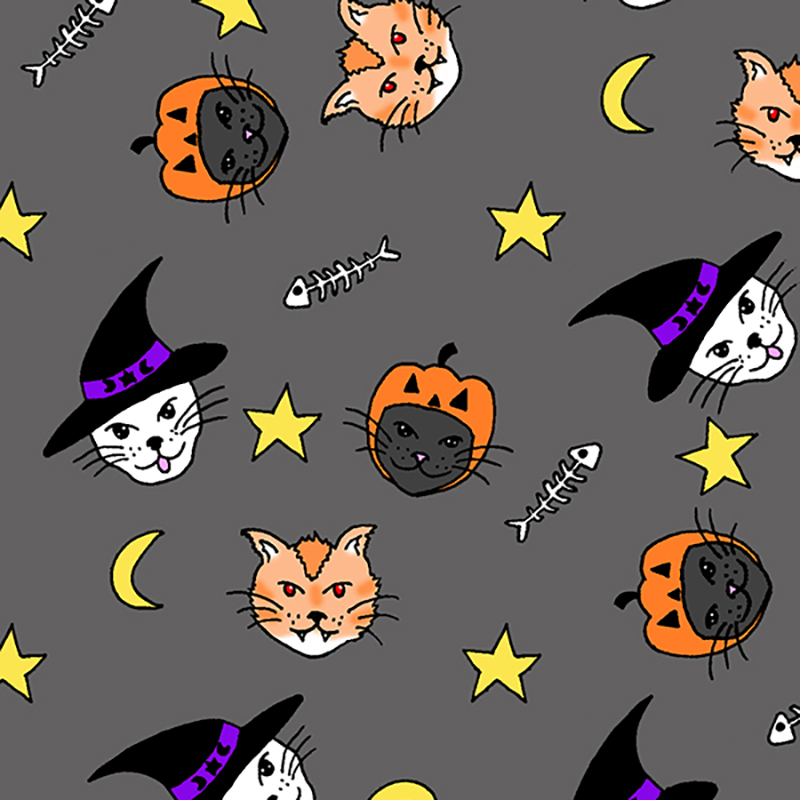
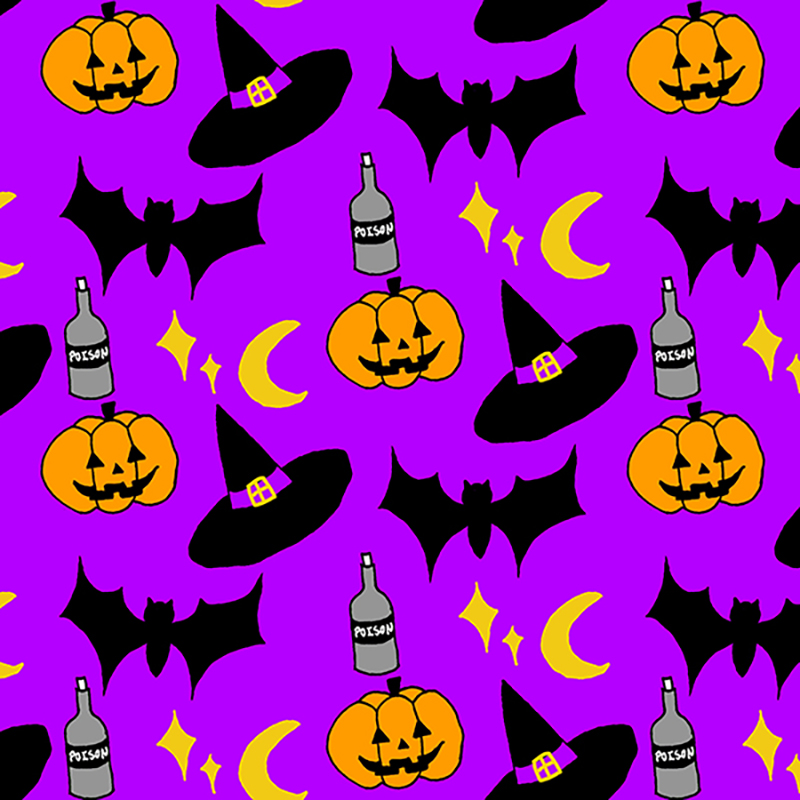
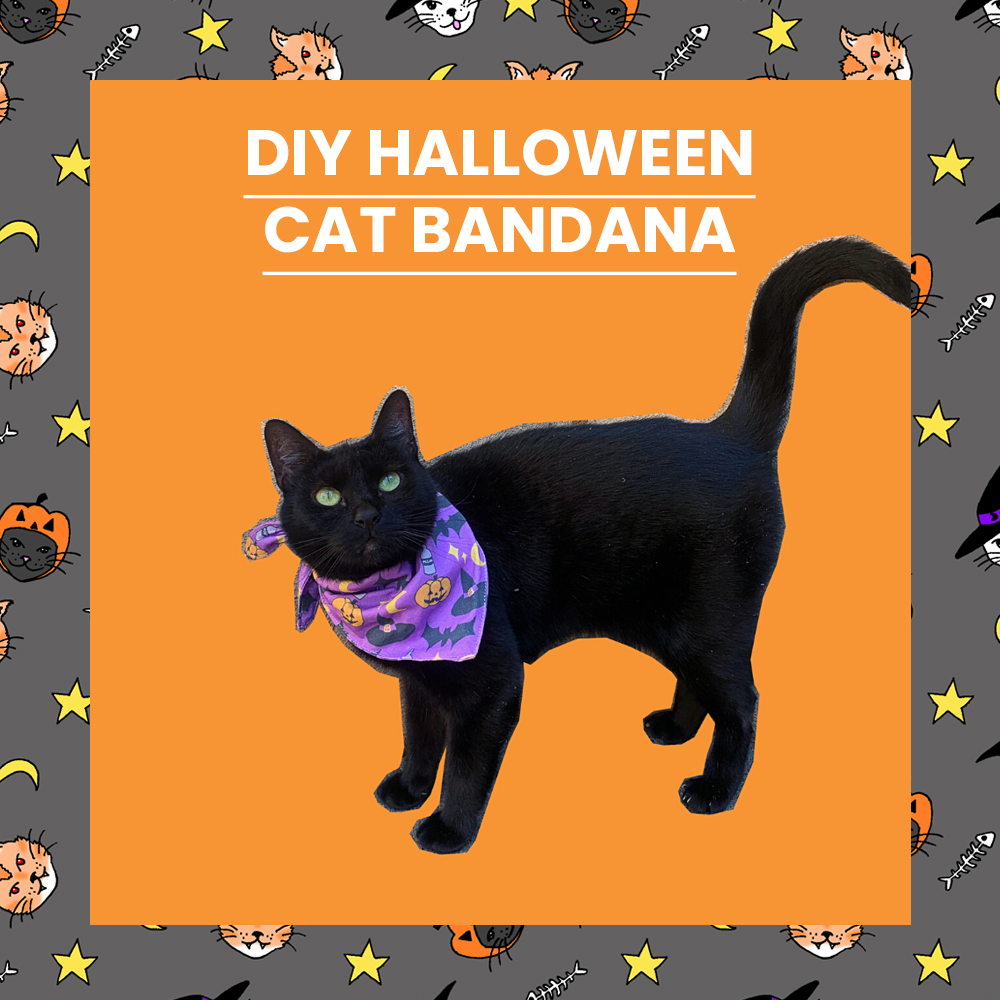
With Spooky Season well and truly on its way, we wanted to give you a fun little Halloween DIY project to make for your pets…well, cats specifically!  

Everyone on our team is avid cat lovers and most of us have our own fur babies to dress up. We always see cute seasonal looks for dogs but where’s all the fun cat costumes, right? Well with this tutorial, you can create your own custom Halloween bandana for your cats this October! 

Get creative, keep on reading to find out how you can make your own Spooky Cat Bandanas! 


What you need:  

  • Custom Printed Fabric (we recommend our Ashton, Ebe, Oliver, Aerocorp and Cotton Poplin fabrics). 
  • Scissors 
  • Dressmaker Pins 
  • Sewing Machine or Sewing Needle 
  • Sewing Thread – you can match the colour of your fabric. 
  • A cat of course! 

Introducing our cats:

Halloween Cat Bandanas_5

Method: 

1. The most important step of all…order some wonderful custom printed fabric, you can design your own or order designer fabrics from our Fabric Shop. We recommend our Ashton, Ebe and Cotton Poplin for a natural fabric option or our Oliver and Aerocorp fabrics for a polyester (easy care) option!   We’ve gone with our Ashton fabric which is a lovely lightweight Cotton Jersey.

Halloween Cat Bandanas_6 Halloween Cat Bandanas_7

2. Using a pair of scissors cut out a square shape, we’ve gone with 40 x 40cm, but you can go smaller or larger depending on the size of your cat.   

Halloween Cat Bandanas_12

3. Once you’ve got an even square cut out, you’re going to fold over your fabric diagonally – printed side to printed side, corner to corner; to create a triangle shape.  

Halloween Cat Bandanas_13 Halloween Cat Bandanas_16

4. Once you have your triangle shape and all the edges match up, you’re going to pin together the edges so the fabric doesn’t move around when trying to sew.  

Halloween Cat Bandanas_15

5. Now it’s time to sew! We’ve used a sewing machine for our bandanas but you can easily use a sewing needle as well. You’re going to stitch a straight stitch, 1cm in from the raw edge starting from one of the corners. Sew around the sides of your triangle angle shape, leaving a 6cm open gap so you can flip it right-way out when you’re done.  

Halloween Cat Bandanas_14 Halloween Cat Bandanas_4

6. Once you’ve got your pieces stitched together, from the 6cm opening you’re going to pull the inside out. Make sure all the corners are completely pulled out and everything is lying flat, as we’ll be stitching around each edge again.  

Halloween Cat Bandanas_18 Halloween Cat Bandanas_17 Halloween Cat Bandanas_3


7. When you’ve got your Bandana completely pulled out, so that the print is now on the outside; you’re going to top stitch 0.5cm in from each side, the whole way around. Make sure to tuck in the raw edge of the 6cm gap, pin it and stitch over this part as well. This will create nice, flat edges around your Bandana and a stronger stitch for durability. 

Halloween Cat Bandanas_2 Halloween Cat Bandanas_8 Halloween Cat Bandanas_1

You now have an adorably spooky Cat Bandana to dress your cat in for the Halloween Season!  

Halloween Cat Bandanas_9

Keep on scrolling to check out some more fun Halloween Prints that are available now in our Fabric Shop. You can order any of these prints on our stock fabrics and create your own custom cat bandana or any Halloween themed DIY project! 

Bone Collector_Sami Sparrow web‘Bone Collector’ by Sami Sparrow

Zombie Ducks_Krystal-Anne Knafl‘Zombie Ducks’ by Krystal-Anne Knafl

Vintage Halloween Masks_Sue Michael‘Vintage Halloween Masks’ by Sue Michael

Emilie Otto_Spooky Ink‘Spooky Ink’ by Emilie Otto

Crows_Carly Westbye‘Crows’ by Carly Westbye

Crows Gathering_Carly Westbye‘Crows Gathering’ by Carly Westbye

SPOOKY SKULLS_IANNY BASTOS‘Spooky Skulls’ by Ianny Bastos

SKULLS AND ROSES_IANNY BASTOS‘Skulls and Roses’ by Ianny Bastos

MONOCHROMATIC SKULLS_IANNY BASTOS‘Monochromatic Skulls’ by Ianny Bastos

Spooky Costume Cats_Ella Mackay‘Spooky Costume Cats’ by Ella Mackay

Spooktacular Halloween_Ella Mackay‘Spooktacular Halloween’ by Ella Mackay

Coffee Monsters Messy - Blue‘Coffee Monsters’ by Louise Addison

DIY Connie Dress Sew along w/ Style Sew Me | DIY with Digital Fabrics

diy with digital fabrics style sew me
Getting beautiful fabric is just the beginning because what will you make with it once you receive it? Eryn from Style Sew Me created a gorgeous DIY dress using Digital Fabrics Bold Rose Midnight Purple fabricOur mission at Digital Fabrics is to help you to bring your creativity and your amazing ideas to life!

digital fabrics style sew me
To sew the dress she used her Connie Dress pattern which you can purchase through her site. And shop the Bold Rose Midnight Purple fabric and more in the Digital Fabrics shop.

See how you can DIY this look here

DIY Pleated Bodice+Circle Skirt Dress | DIY with Digital Fabrics

DIY Pleated Bodice+Circle Skirt Dress DIY with Digital Fabrics
The beauty with fabrics is what you can make with them. Creative DIY talent Oaishe created a gorgeous DIY pleated bodice and circle skirt dress using the TEA ROSE cotton sateen fabric

In her tutorial she shows us how to beautiful details of how she creates the pleats in the bodice and then how you can create and attach the circle skirt to create a unique dress. For this DIY project you need about 2-3 yards/meters of fabric.

Did you know that printing fabrics with us is super easy? Create your design, Upload and pay, Receive your fabric! Our minimum order is just 1 m.

Save

Save

Save

Save