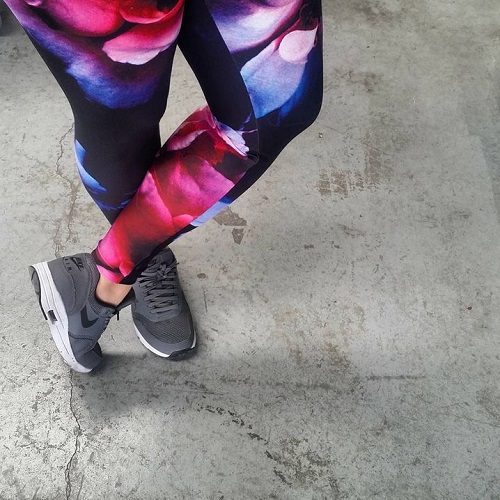
Snippets’. Chats with Creatives. Here at Digital Fabrics we love everything print, pattern and colour and we love to know what makes designers tick. This series is all about asking some fun and different questions and learning about the inspirations and ideas behind the artist and their work. We hope to inspire others by sharing snippets of these creative stories. We gave the artists and designers featured a varied list of questions to choose from so we will learn something new from everyone involved, should be fun!
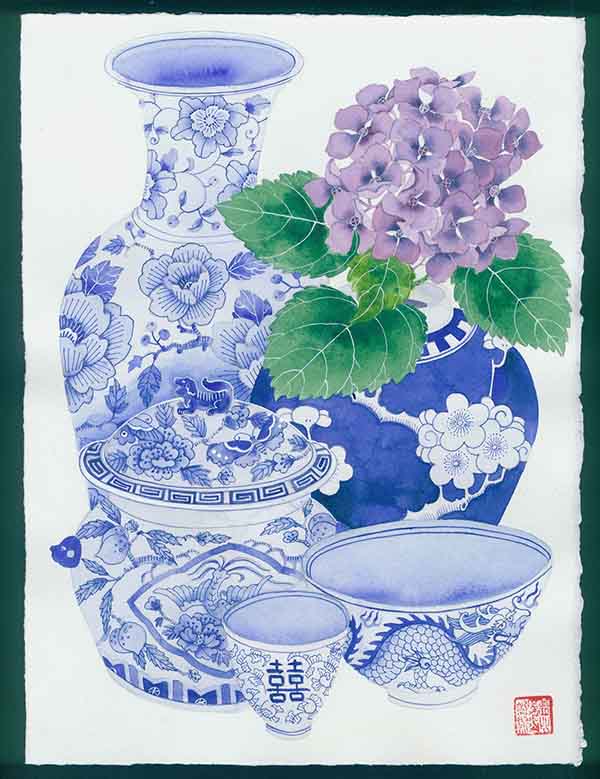
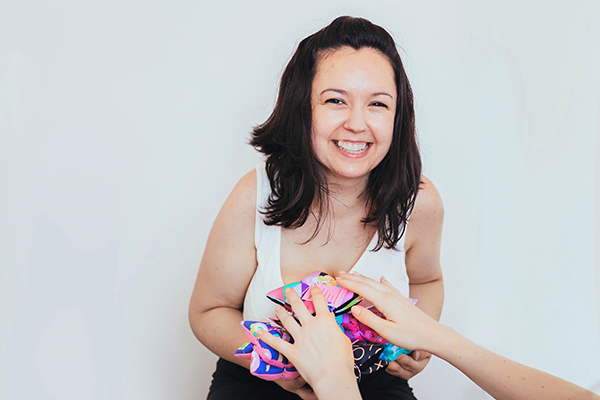
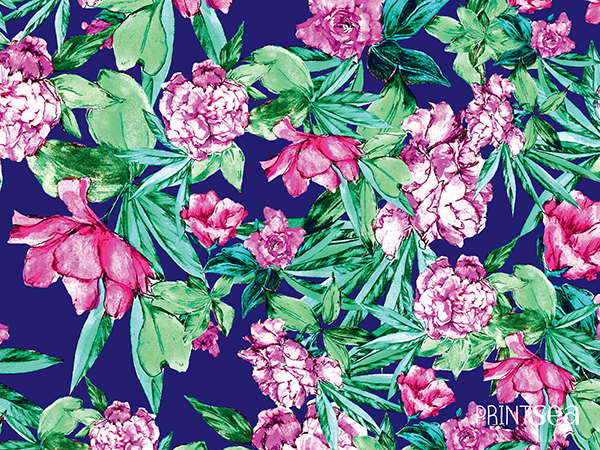
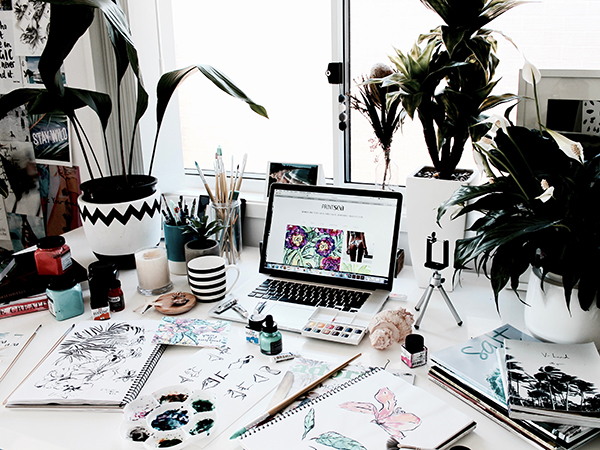
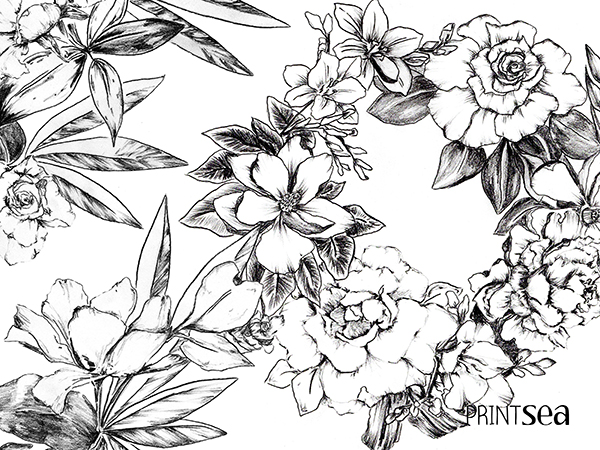
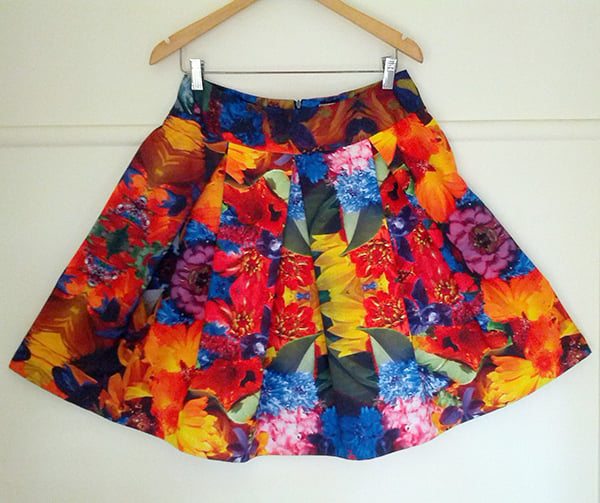
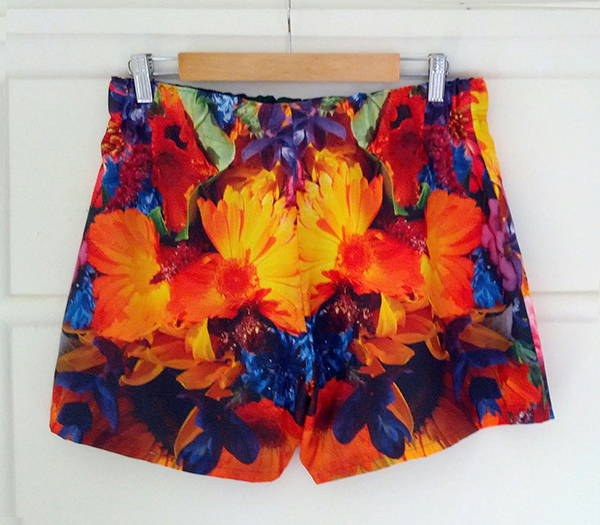
Today on Snippet’s we are talking to Gabby Malpas, an artist with a flair for painting detailed still life of Australian grown flora and fauna with a hint of what Gabby calls ‘chinoiserie.’
Tell us a bit about yourself and what your creative practice is, how and when you began:
I’m Chinese, I was born in NZ and adopted into a white family of 9 children making me #10. I trained as a potter in Dunedin, after Art school I started using inks and watercolour on paper – as it is very much like liquid glaze. I left NZ in 1988, lived in the UK until 2003 and arrived in Sydney later that year. I’ve been a professional artist since late 2014 but exhibited and painted the whole way through since leaving art school.
I’ve been a digital project manager in agency and corporate since around 1992 – girl’s gotta eat and pay for holidays! These days I license my work, exhibit regularly, work with clients on creative stuff and get involved in a lot of adoption and community causes.
I am still learning how not to be a dick.
Which five words best describe you?
Most can’t be repeated in public but how about: scary, mad, loyal, loud, and dependable.
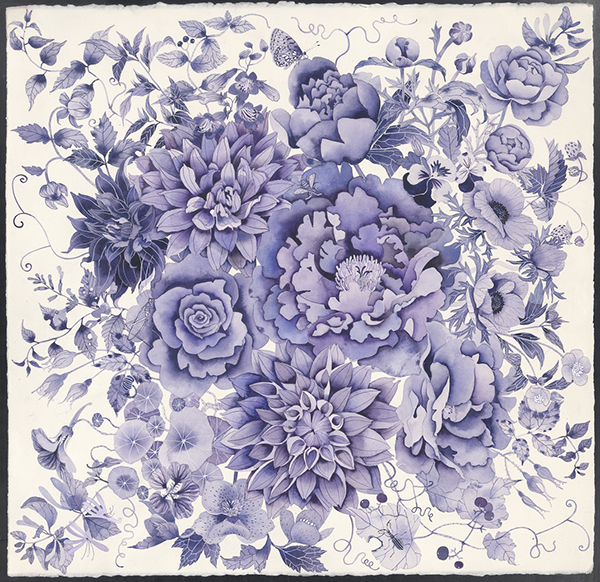 How would you describe your work, and what influences your style?
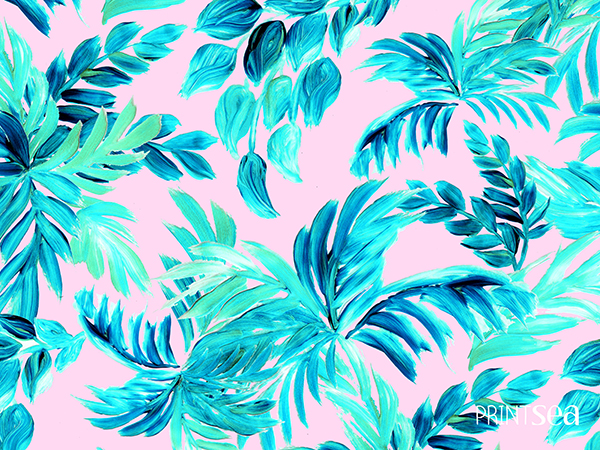
My work is figurative watercolours. It has been dismissed as purely decorative but a lot of my work actually communicates my life experiences as a trans racial, Chinese adoptee. Some of the messages are a little hard to swallow – which is why I temper these with lavish and engaging imagery. I am influenced by a lot of artists and things: from Paul Klee, Matisse and Elizabeth Blackadder as European artists, to Japanese woodcuts and traditional SE , Central and West Asian imagery, textiles and ceramic designs.
What would your dream creative project look like?
Anything that gives me free rein to do what I like and I get paid for it… hang on – that’s a lot of what I do now.
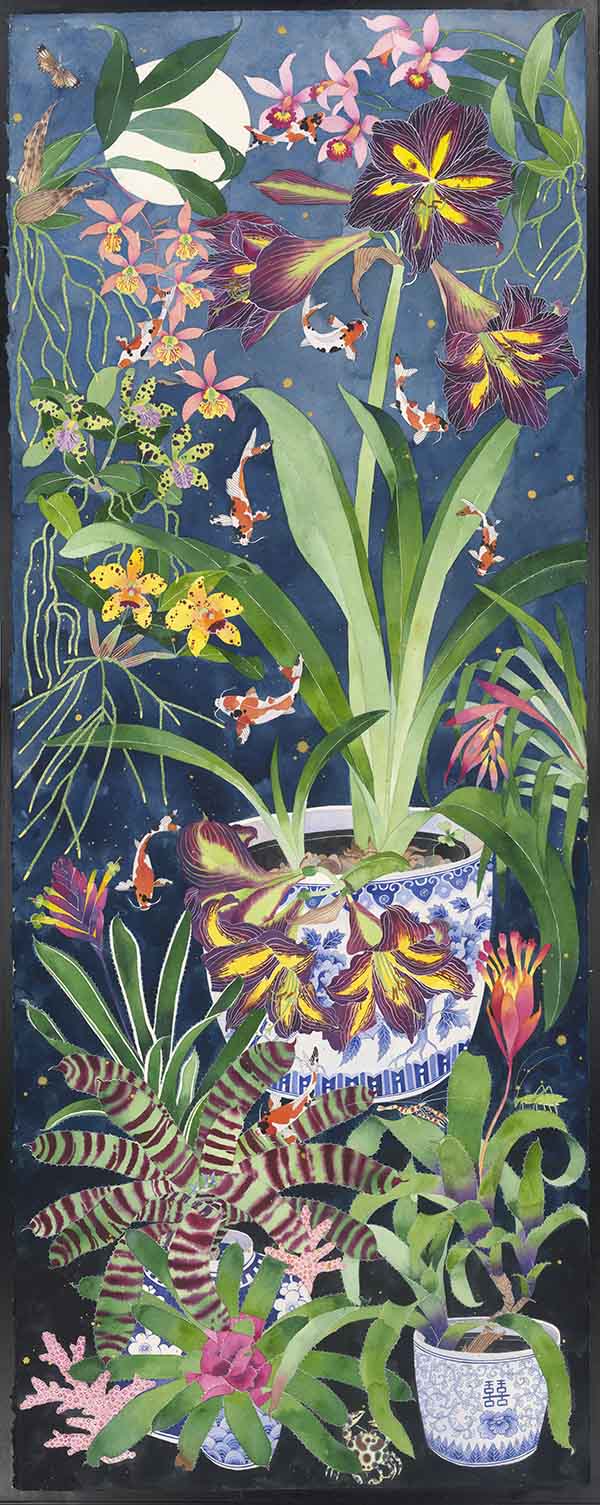 Which other Australian designers, artists or creative people are you enjoying at the moment?
Well I discovered Cressida Campbell when I got here and she’s my idol but there are a heap of fabulous designers I follow on Instagram and Facebook – I appreciate artists who just do their thang and are not worried about fashion or what’s hot. Oh and I’ve loved Ken Done since 1988 when I went to Brisvegas expo.
What has been your proudest achievement to date, creative or otherwise?
There have been a few: Getting some artwork into Liberty of London in the 90s, getting into the Affordable art Fair Sydney in 2009 was the first step to getting somewhere in Oz but finally calling myself a professional artist in Dec 2014 has got to be up there after nearly 30 years of slog.
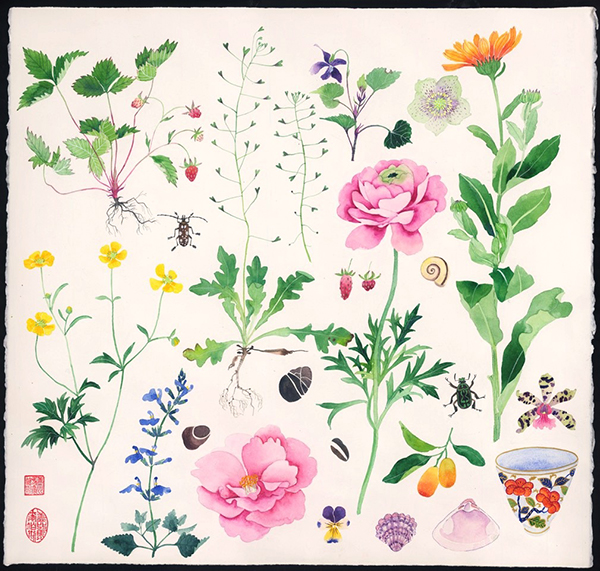 In another life what natural talent would you wish for?
It would be infinitely cool to be good at math.
If you could have your portrait painted by any artist dead or alive, who would you choose?
Not one for portraits but would love to see what Robert Crumb would do.
If you could only use one colour in your work what would it be?
PINK!
Love your Locals:
City/Town/Village where you currently reside:
Alexandria Sydney – yep, a local
Favourite spot for a bite:
Fratelli Fresh, Mitchell Road or Tuki Kanuki Erko. Fave pho place is Phd in Marrickville
Secret Inspirational spot: can I have 3?
The Asian Galleries at the AGNSW, the lotus pond in the botanic gardens and Kinokunya bookshop though I wish they’d let you sit on the step stools.
You can follow what Gabby is upto: Website, Instagram, Facebook
